31
Scanner Operations Operations
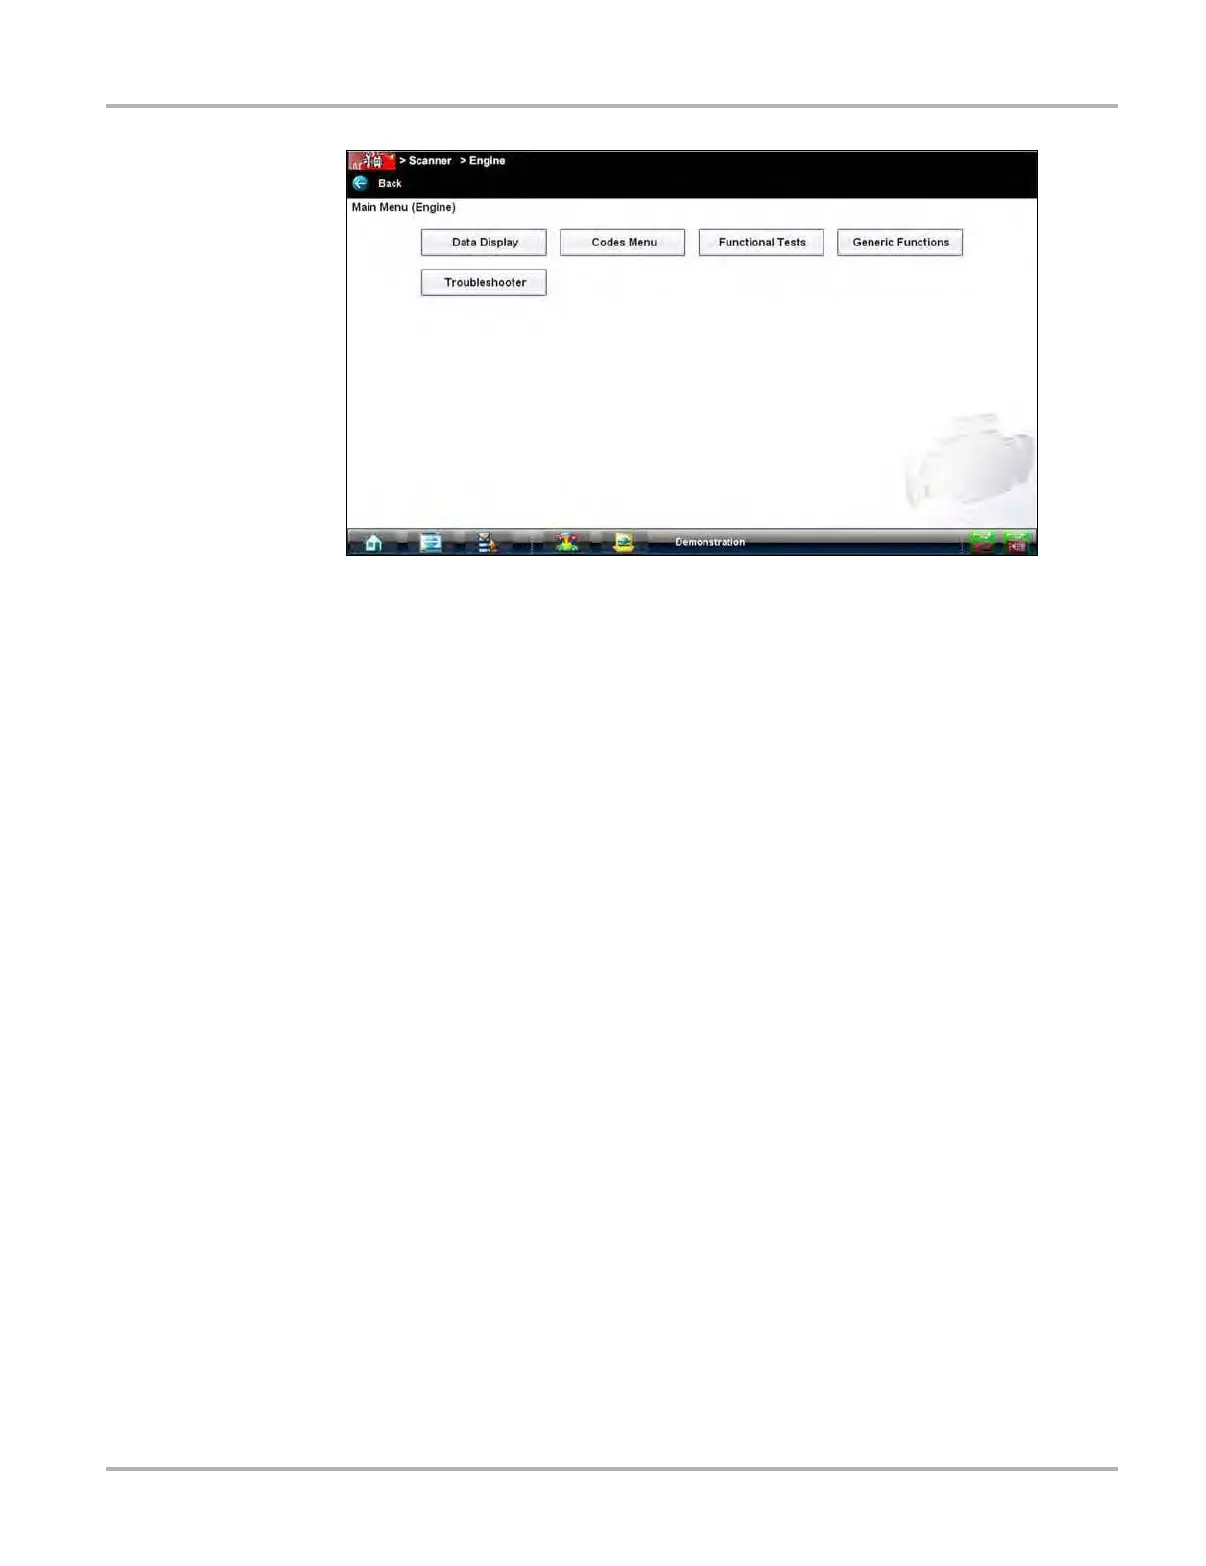
Figure 5-12 Sample Scanner Main menu
Main menu options vary slightly by year, make, and model. The main menu may include:
• Data Display— displays data parameter information from the vehicle control module.
Selecting may open a submenu of viewing options.
• Codes Menu—displays diagnostic trouble code (DTC) records from the vehicle control
module. Selecting may open a submenu of viewing options.
• Clear Codes—erases DTC records and other data from the ECM. This selection is found on
a Codes submenu for some models.
• Functional Tests—provides specific subsystem and component tests. The tests vary
depending on the manufacturer and model.
• Actuator Tests—similar to functional tests, checks the operation of certain actuators, such as
solenoid valves and relays.
• Memory Resets—allows you to reprogram adaptive values for certain components after
making repairs. Selecting opens a submenu. These options are found on the Functional Tests
Menu for some models.
• System Tests—provides specific subsystem testing. Performing these tests is similar to
functional tests.
• Generic Functions—lets you access certain available Generic OBD II functions from a
proprietary menu (1996 and newer vehicles only).
• Troubleshooter—provides step-by-step procedures, integrating parameter data and
retrieving trouble codes when appropriate, for specific symptoms of the identified vehicle.
z To perform a Scanner test
1. Launch the Scanner—Tap Scanner on the Home screen.
2. Identify the vehicle—Identify the test vehicle by selecting from the menu options.
3. Select the system—Select the system to be tested from the systems menu.
4. Connect the data cable to the vehicle—Follow the on-screen connection instructions to
connect the Scan Module to the test vehicle.
5. Select a test from the Scanner main menu—Select the desired test.