- 19 -
Refer to the “Custom Setup” section of this manual for instructions about setting
the Scanner for printer communication. Refer to the “Remote Printer Setup” section
of the Reference Manual for information on setting-up the printer.
All print-outs of a screen or a frame include the vehicle identification.
After connecting the printer and ensuring that communication is set correctly, scroll
the thumbwheel to “Print Screen” or “Print Frame” and press Y. This starts the
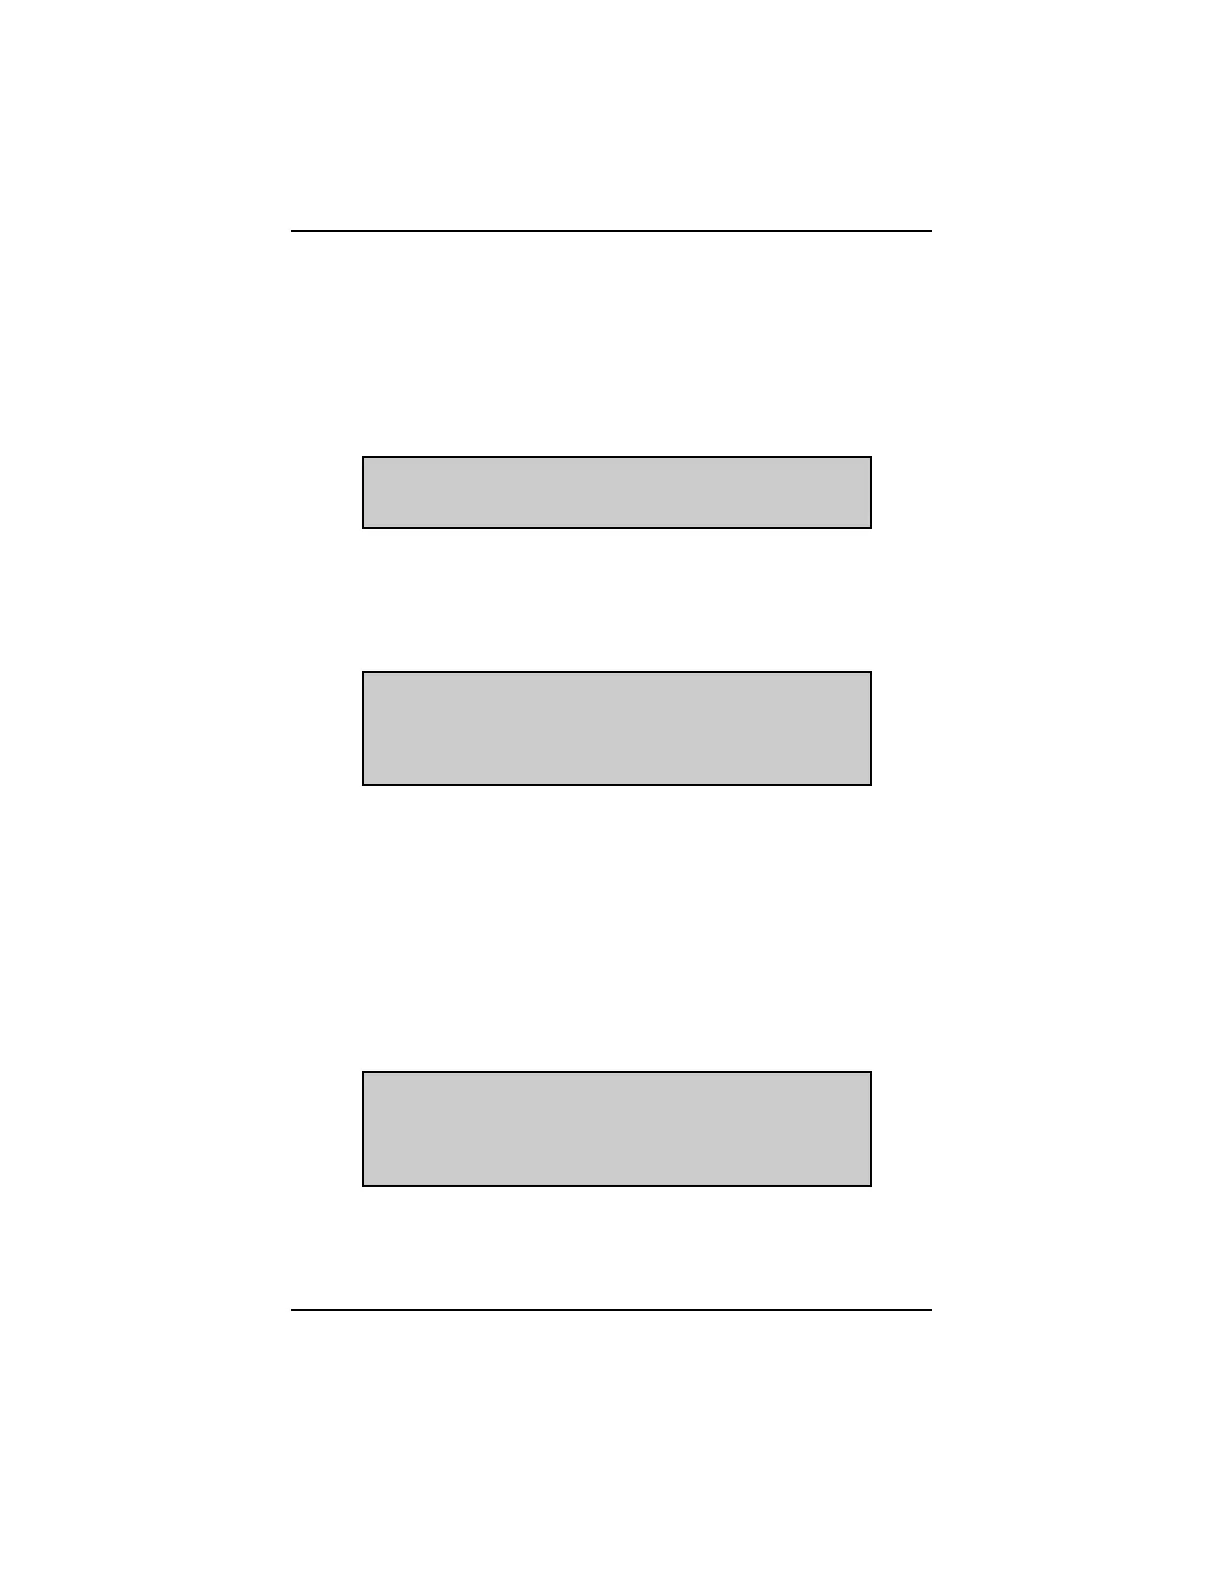
printing operation, and the Scanner displays:
When printing is complete, it automatically returns to the “Exit“ menu. If N is
pressed to abort the printing, the Scanner returns to the “Exit” menu before printing
is complete.
If the printer does not respond or fails during printing, the Scanner displays this
additional message on lines 3 and 4:
If the printer problem is corrected or if the printer recovers, it returns to the normal
printing display. Lines 3 and 4 clear automatically and the printer resumes printing.
ARM MOVIE
Perform the following steps to arm the Y button as a trigger to record a movie:
1: From the “Main Menu”, select “Codes & Data” and press Y.
2: After entering “Codes & Data”, press N for the “Exit” menu.
3: Scroll to “Arm Movie” and press Y. The following will be displayed:
4: Pressing Y erases any previous movie stored in Scanner memory and arms
the Y button to trigger a new movie. The Scanner automatically returns to the
previously selected data mode and “Arm” appears at the left side of the top
line.
OPERATION
PRINTING. WAIT.
PRESS N TO ABORT PRINTING.
PRINTING. WAIT.
PRESS N TO ABORT PRINTING.
PRINTER NOT RESPONDING. CHECK PRINTER.
CHECK PRINTER PAPER.
PRESS Y TO CLEAR MOVIE MEMORY AND ARM
MOVIE TRIGGER. FRAME NUMBERS WILL
APPEAR ON C&D SCREEN AFTER MOVIE IS
TRIGGERED.