- 6 -
OPERATION OVERVIEW
The Scanner Code-Reading functions and other tests available depend on the
type of vehicle tested and the cartridge. Basic operation consists of the following:
1: Insert the Cartridge.
If the cartridge does not seat smoothly and easily, do not force it. Remove it
from the scanner and be sure the edge connector fingers are not bent. Check
for dirt or nicks on the side of the cartridge and inside the cartridge slot. Remove
dust and dirt from the cartridge edge connector with a clean, dry, soft cloth.
Remove grease or oil with a clean cloth or a small amount of electronic contact
cleaner. Polish the cartridge edge connectors with a pencil eraser. Remove
all eraser dust before inserting the cartridge into the scanner.
Caution: Do not use water, solvent or abrasive material on the cartridge
connector. Do not try to clean the socket inside the scanner.
2: Use the Quick ID button or connect to the vehicle to activate the Scanner.
3: Select the model year, model type, engine type and options.
4: Follow the connection instructions displayed at the end of the Vehicle
Identification and connect to the vehicle. Go to the “Main Menu”.
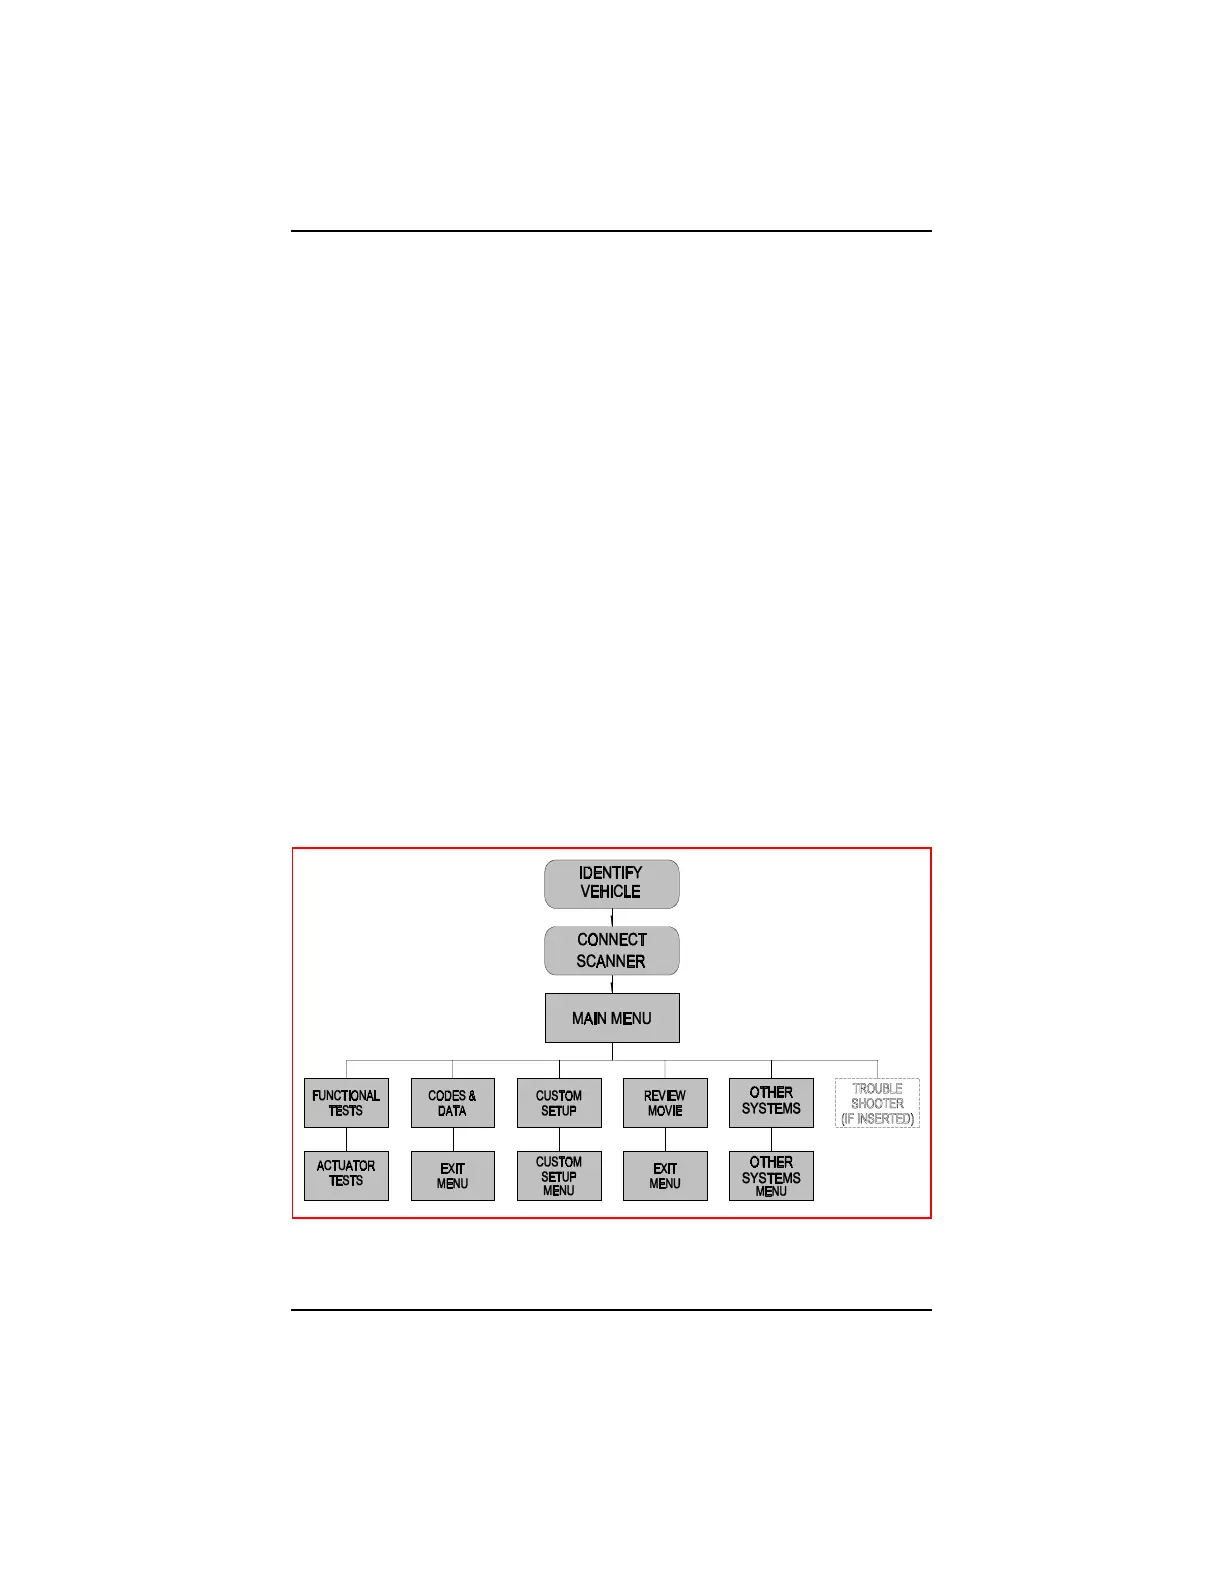
5: Choose the required tests.
Figure 2: EXAMPLE OF THE BASIC SCANNER TEST MENUS
INTRODUCTION