84
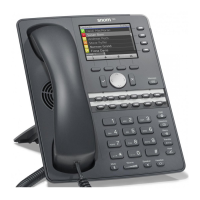
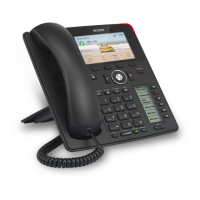
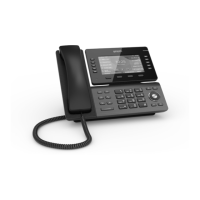
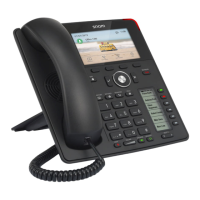
Appendix 3 - Labeling Function Keys P1-P12
The phone comes with a strip of paper that you can use to label the function keys with LEDs. If you want
to type and print the labels, use the interactive Word document in snom's Wiki (http://wiki.snom.com/
D375/Documentation) in the section "Function Key Label Template".
1. Open the file and click into the cell where you wish to enter a name or other text. Please note:
◦ Font size will adjust to the number of characters you enter into each cell.
◦ You can change the text alignment from centered to left or right, but make sure that you do not
change the size of the cells, or the strip will not fit into the indented space on the phone.
2. Use the arrow keys on your keyboard to move the cursor into another cell or click into the cell. The
keys labeled 1 - 6 with the white text fields on the template correspond to the keys labeled P1 - P6 on
the Function keys page of the phone's web interface; the keys labeled 7 - 12 with the gray text fields
correspond to P7 - P12.
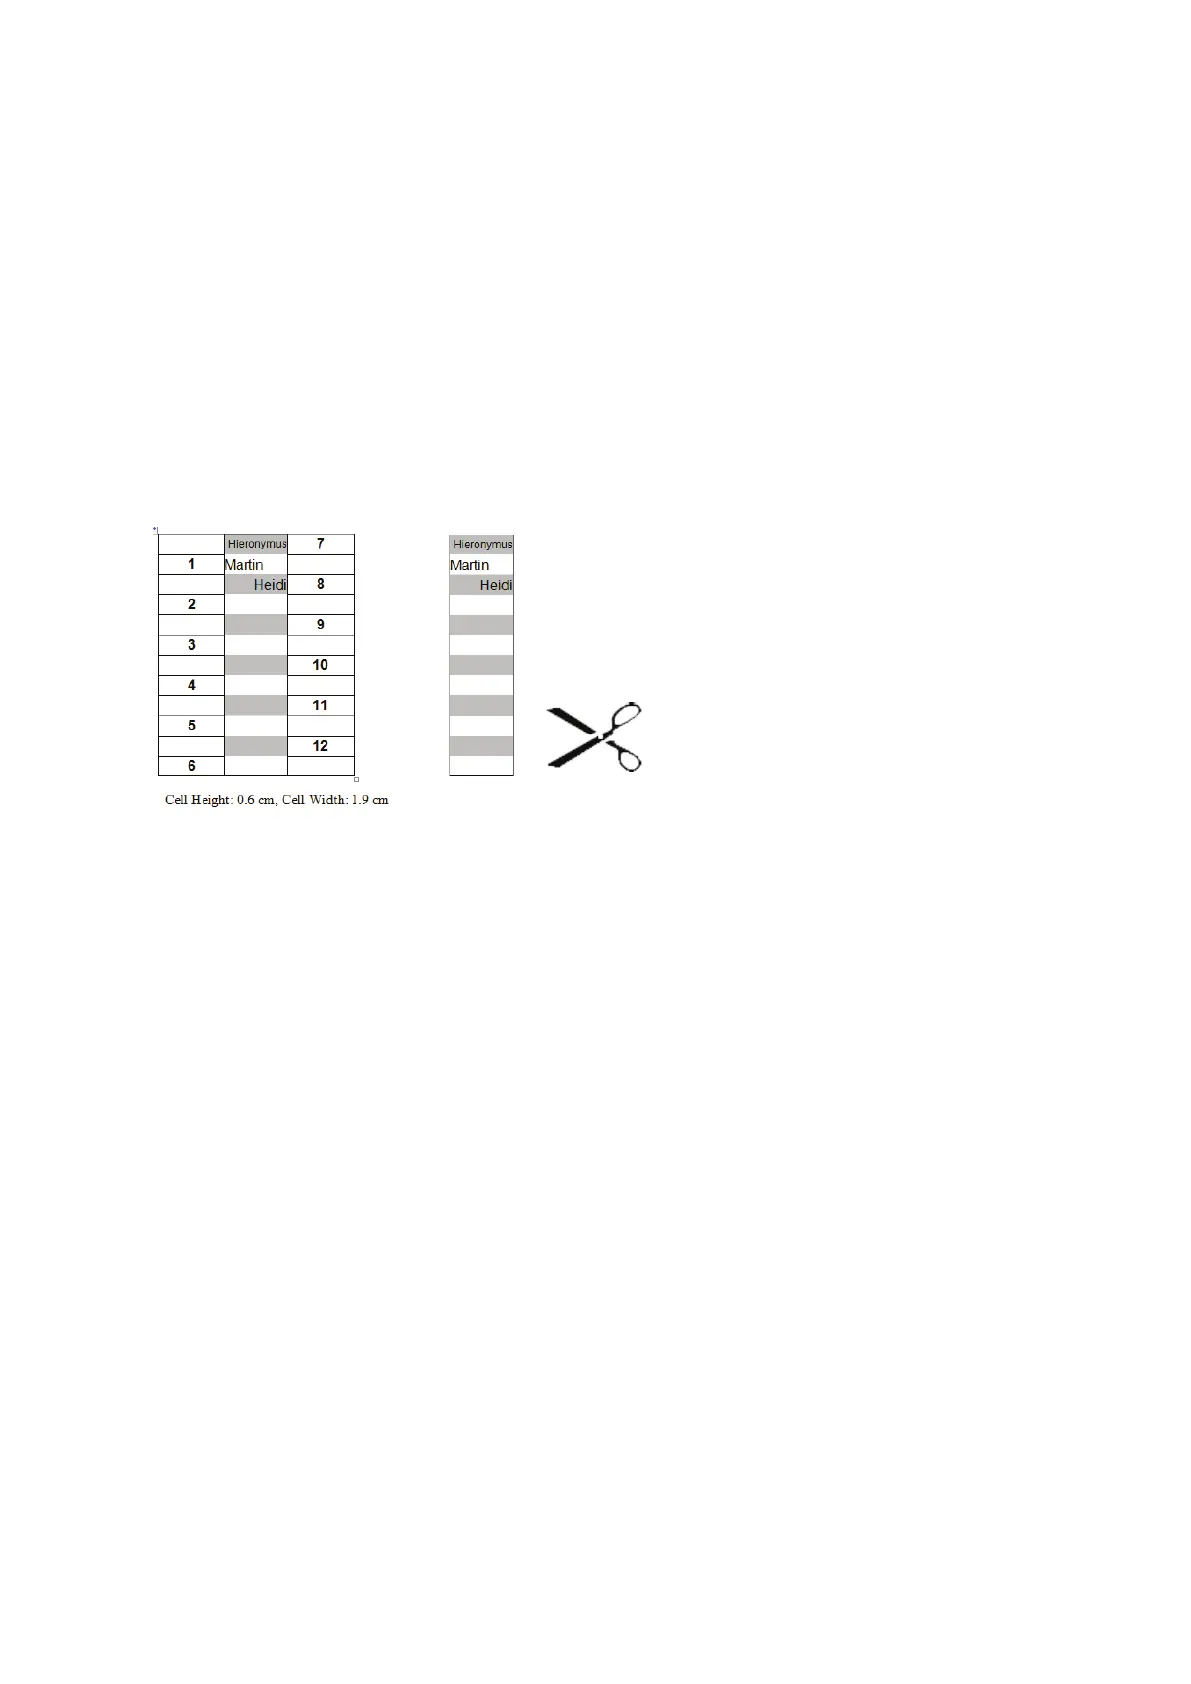
Fig. 1 Fig. 2
3. Print the page in the actual size (100%).
4. Cut out the middle strip with the 12 text fields (Fig. 2, above).
5. Remove the transparent plastic cover between the two rows of function keys with LEDs.
6. Place the paper strip into the indented area and replace the plastic cover.