Adjusting the Black Balance and the White Balance
56
Chapter 3 Adjustments and Settings for Shooting
3 Place a white test card under the same
lighting conditions as for the subject to
be shot and zoom up to it.
Alternatively, any white object such as a
cloth or a wall can be used.
The absolute minimum white area is as
follows.
Note
Make sure there are not bright spots in the
rectangle.
4 Adjust the lens iris.
Manually adjusted lens: set the iris to an
appropriate setting.
Lens with automatic iris: set the automatic/
manual switch on the lens to automatic.
5 Flick the AUTO W/B BAL switch to
WHT and then release the switch.
The switch returns to the center position, and
the adjustment is executed.
During adjustment, the message
“AWB:EXECUTING WHITE BALANCE”
is displayed on the viewfinder screen (in
display mode 2 or 3).
The white balance adjustment ends in about
one second with the message shown in the
following figure, and the adjustment setting
is automatically stored in the memory (A or
B) that was selected in step 1.
Note
If the camera has a zoom lens with an automatic iris,
the iris may hunt
1)
during the adjustment. To
prevent this, adjust the iris gain knob (indicated as
IG, IS, or S) on the lens.
For details, refer to the lens operation manual.
1) Hunting: Repeated brightening and darkening of
the image, resulting from repeated response to
automatic iris control.
If the automatic white balance adjustment
cannot be made
If the white balance adjustment cannot be
completed normally, an error message will appear
for about 3 seconds on the viewfinder screen.
Possible messages are listed below.
The white object must be within the
rectangle and have an area of at least 10%
of the screen.
Rectangle centered on the screen. The
lengths of the sides are 70% of the length
and width of the screen.
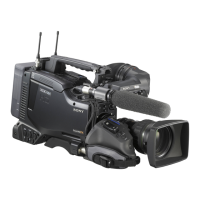
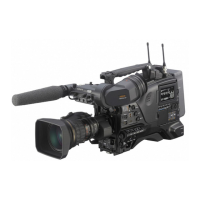
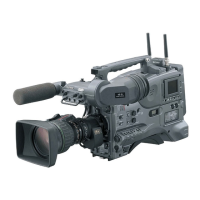
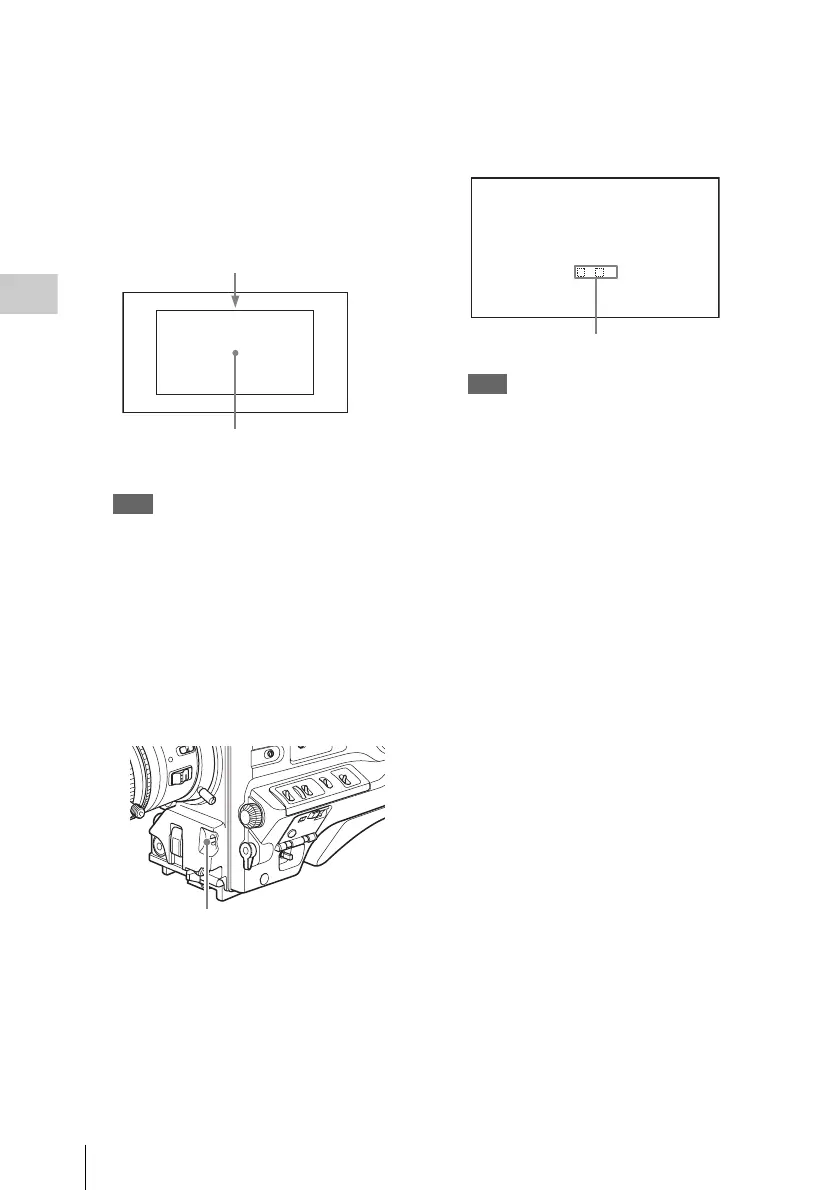
AUTO W/B BAL switch
AWB:OK
. K
Approximate color temperature
of the subject
 Loading...