STR-DA3300ES/DG1100
1111
STR-DA3300ES/DG1100
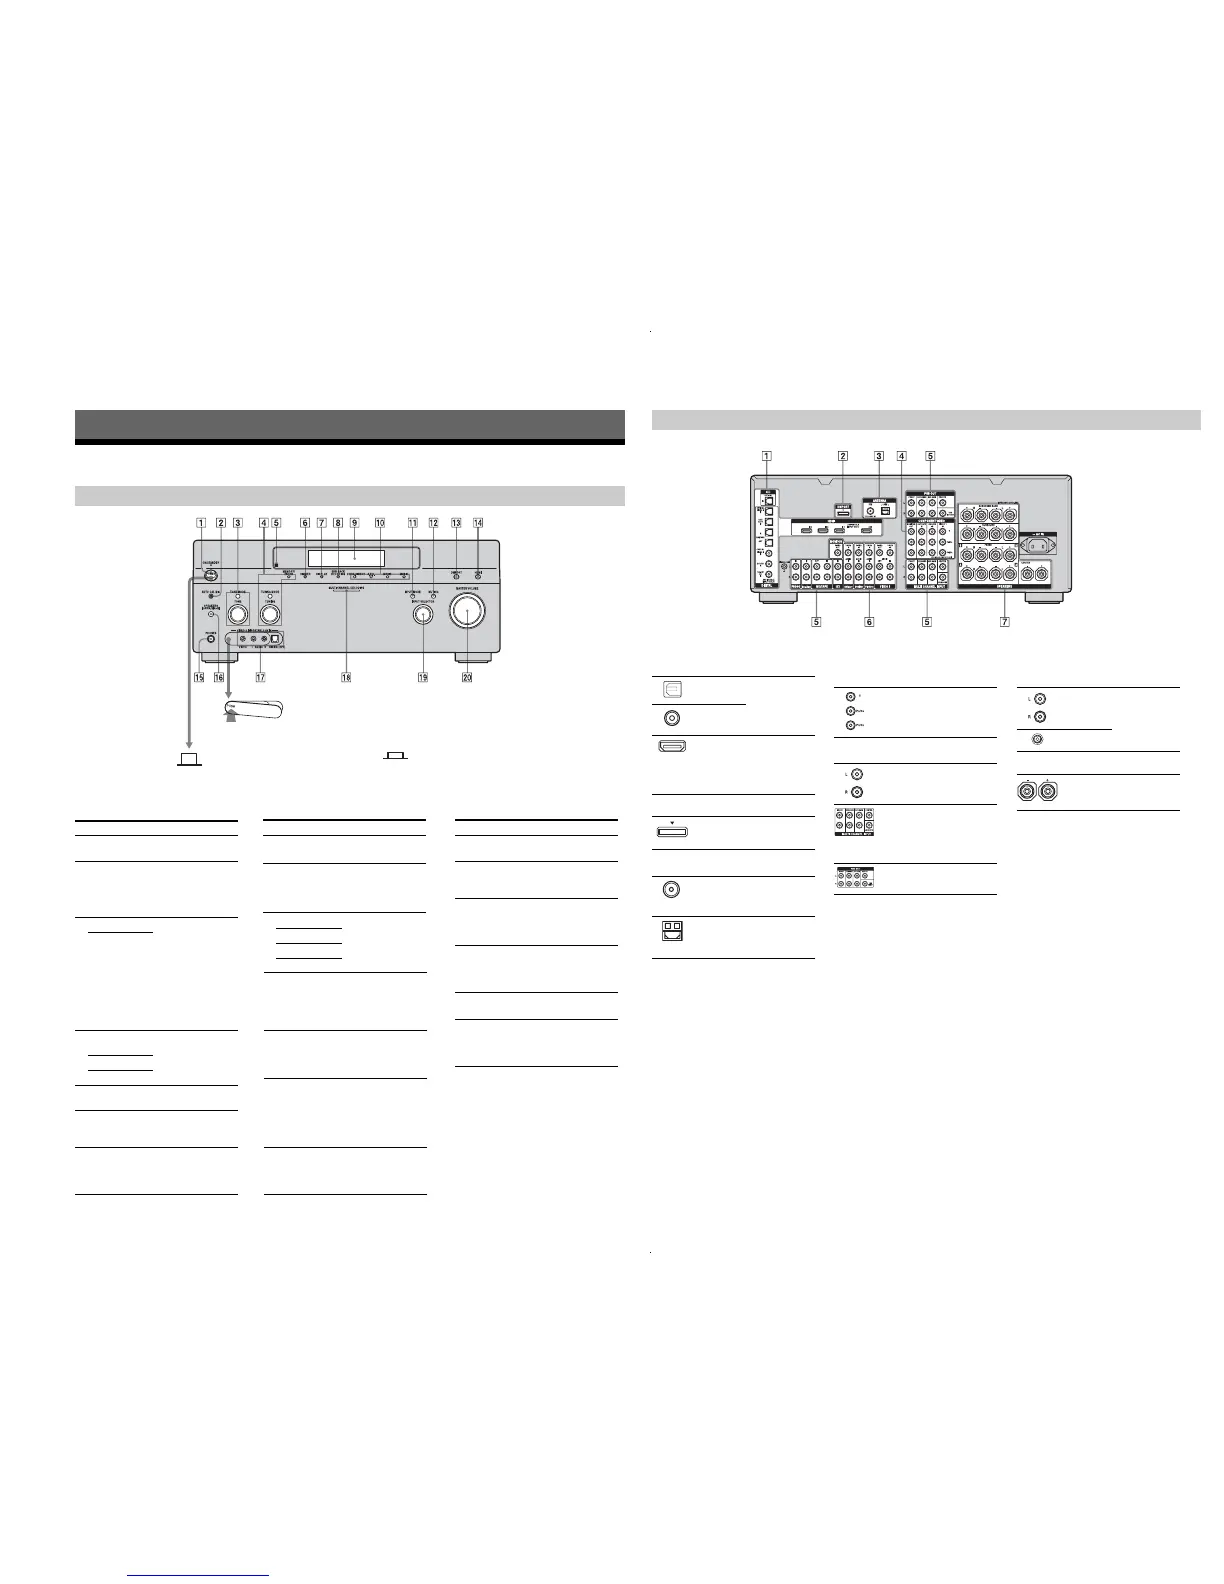
Description and location of parts
(DA3300ES: AEP, Russian, Ukrainian and UK models)
Getting Started
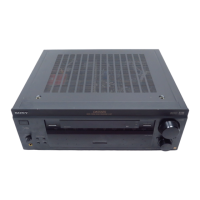
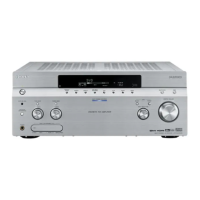
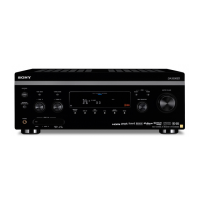
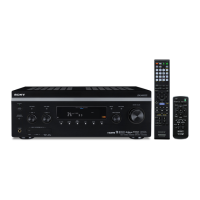
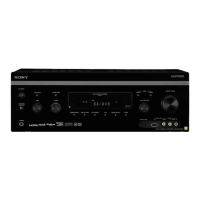
Front panel
To remove the cover
Press PUSH.
When you remove the cover, keep it out
of reach from children.
Status of the POWER button
Off
The receiver is turned off (initial
setting).
Press POWER to turn the receiver on.
Yo u cannot turn the receiver on using
the remote.
On/Standby
Press ?/1 on the remote to turn the
receiver on or set it to the standby mode.
When you press POWER on the
receiver, the receiver will be turned off.
Name Function
A POWER Press to turn the
receiver on or off.
B AUTO CAL MIC
jack
Connects to the
supplied optimizer
microphone for the
Digital Cinema Auto
Calibration function.
C TONE MODE Adjusts FRONT/
CENTER/
SURROUND/
SURROUND BACK
BASS and TREBLE.
Press TONE MODE
repeatedly to select
BASS or TREBLE,
then turn TONE to
adjust the level.
TONE
D MEMORY/
ENTER
Press to operate a tuner
(FM/AM).
TUNING MODE
TUNING
E Remote sensor Receives signals from
remote commander.
F DIMMER Press repeatedly to
adjust brightness of the
display.
G DISPLAY Press repeatedly to
select information
displayed on the
display.
H SUR BACK
DECODING
Press to activate SB
DECODING.
I Display
window
The current status of
the selected component
or a list of selectable
items appears here.
Name Function
J 2CH/A.DIRECT Press to select sound
field.
A.F.D.
MOVIE
MUSIC
K INPUT MODE Press to select the input
mode when the same
components are
connected to both
digital and analog jacks.
L MUTING Press to turn off the
sound temporarily.
Press the button again
to restore the sound.
M DMPORT Press to select the
audio/video input
signal from the
component connected
to the DIGITAL
MEDIA PORT adapter.
N HDMI Press to select input
source from the
component connected
to the HDMI IN jack.
O PHONES jack Connects to
headphones.
P SPEAKERS
(OFF/A/B/A+B)
Switch to OFF, A, B,
A+B of the front
speakers.
Q VIDEO 3 IN/
PORTABLE AV
IN jacks
Connect to a portable
audio/video component
such as a camcorder or
video game.
R MULTI
CHANNEL
DECODING
lamp
Lights up when multi-
channel audio signals
are decoded.
Name Function
S INPUT
SELECTOR
Turn to select the input
source to play back.
T MASTER
VOLUME
Turn to adjust the
volume level of all
speakers at the same
time.
Rear panel
A DIGITAL INPUT/OUTPUT section
OPTICAL IN/
OUT jacks
Connect to a DVD
player, Super Audio
CD player, etc. The
COAXIAL jack
provides a better
quality sound.
COAXIAL IN
jacks
HDMI IN/
OUT* jacks
Connect to a DVD
player, Blu-ray Disc
Player, or a satellite
tuner. An image and
the sound are output
to TV or a projector.
B DMPORT
Connects to a Sony
DIGITAL MEDIA
PORT adapter.
C ANTENNA section
FM ANTENNA
jack
Connects to the FM
wire antenna (aerial)
supplied with this
receiver.
AM
ANTENNA
jack
Connects to the AM
loop antenna (aerial)
supplied with this
receiver.
D COMPONENT VIDEO INPUT/
OUTPUT section
Y, P
B
/C
B
, P
R
/
C
R
IN/OUT*
jacks
Connect to a DVD
player, TV, or a
satellite tuner.
*You can watch the selected input image when you
connect the MONITOR VIDEO OUT jack to a TV.
Yo u can operate this receiver using a GUI (Graphi
cal User Interface).
E AUDIO INPUT/OUTPUT section
AUDIO IN/
OUT jacks
Connect to a tape
deck or MD deck, etc.
MULTI
CHANNEL
INPUT jacks
Connect to a Super
Audio CD player or
DVD player with an
analog audio jack for
7.1 channel or 5.1
channel sound.
PRE OUT jacks Connect to an
external power
amplifier.
F VIDEO/AUDIO INPUT/OUTPUT
section
AUDIO IN/
OUT jacks
Connect to a VCR or
a DVD player etc.
VIDEO IN/
OUT* jacks
G SPEAKERS section
Connects to speakers.
Ver. 1.2