Installation and set-up manual 208668 29
CRANEX Novus e 3. Installing the unit
Connection using the Direct Connection method
1. Standalone confi guration.
Connect one end of the Ethernet cable to the
unit (the connector at the rear of the column)
and the other end to the PC.
Network confi guration.
Connect one end of the Ethernet cable to the
unit (the connector at the rear of the column)
and the other end to the network.
2. Switch the Unit on.
3. PC: Start the PC. Then open the dental
imaging software that was previously installed
and select Settings:
- SCANORA software: Select Tools / Cranex
Novus e Settings and then the Settings tab.
- DIGORA for Windows software: Select
Options / Cranex Novus e Settings and then
the Settings tab.
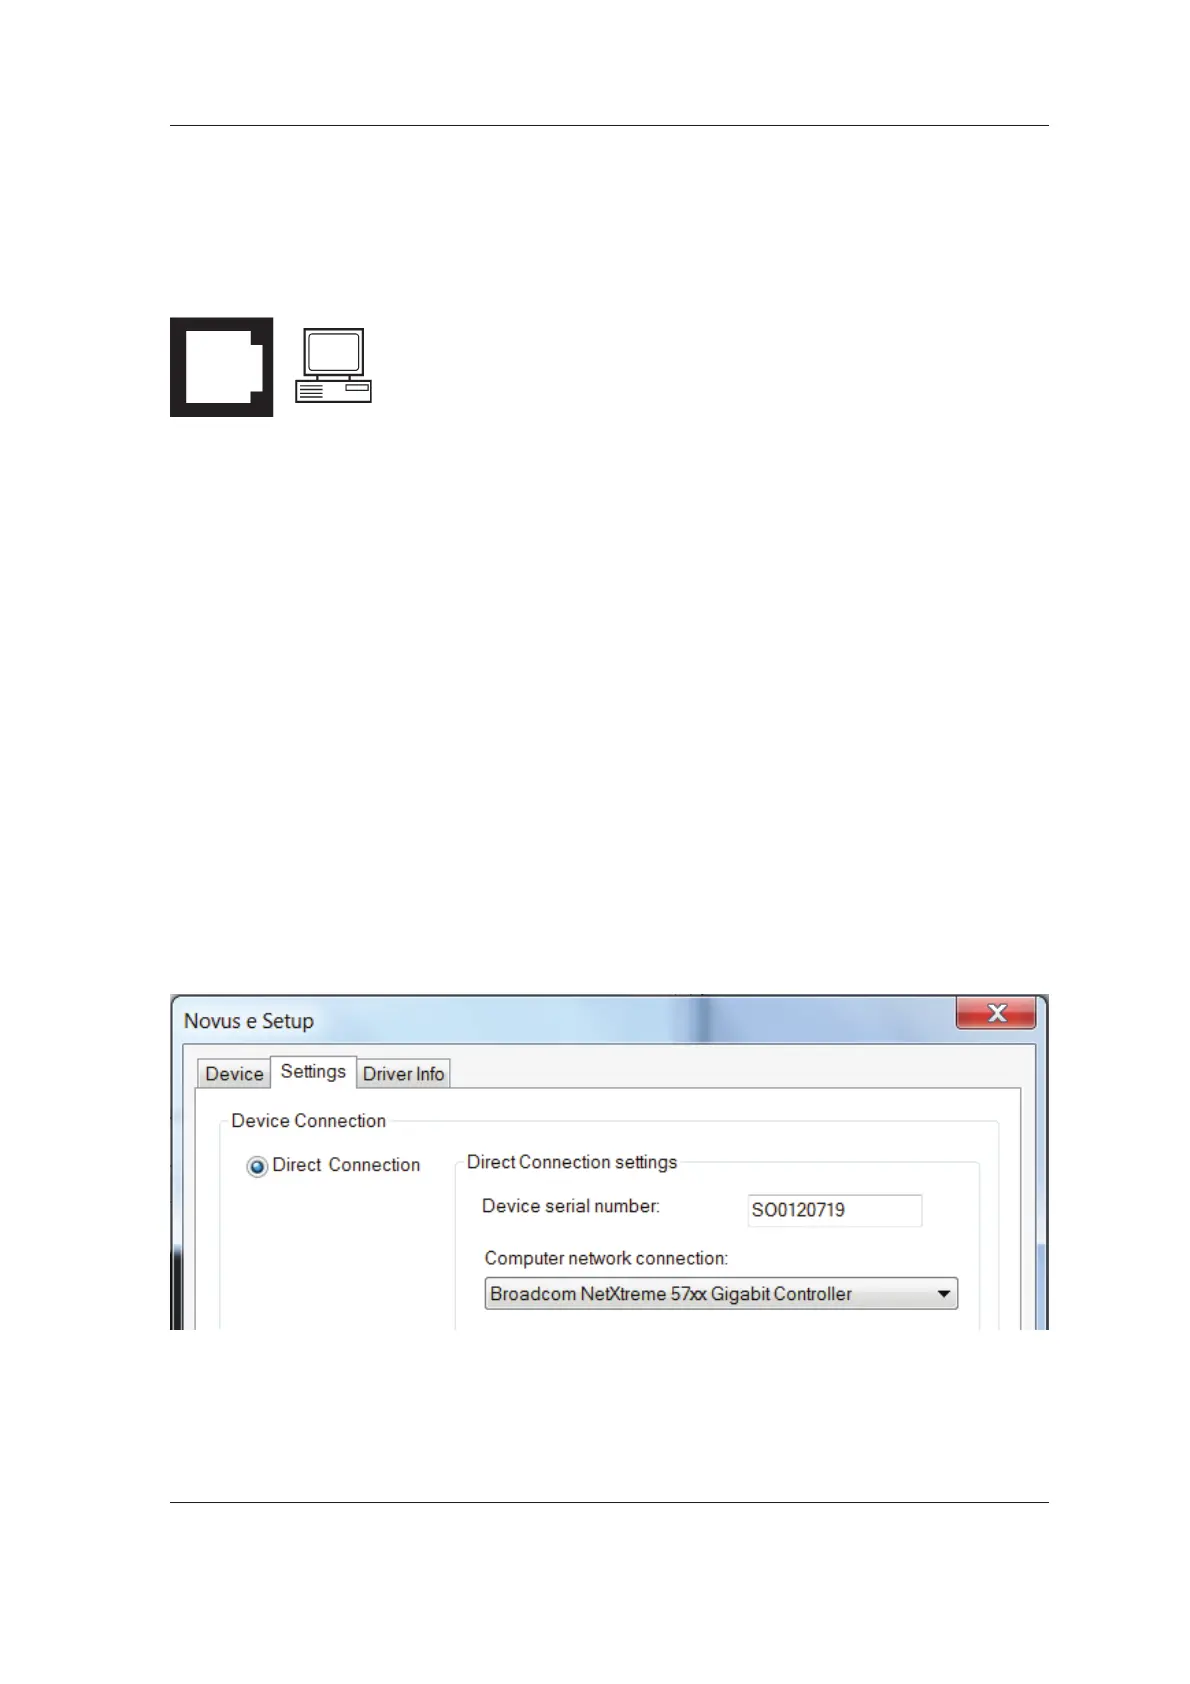
4. PC: In the Device Connection section, click
the Direct Connection radio button and then
key in the complete device Serial Number of
the unit (it is on the type label) into the Device
serial number fi eld.
Select the correct Network Interface
Card (NIC) from the Computer network
connection drop down list.