Installation and set-up manual 208668 41
CRANEX Novus e 4. Checking the alignment and fi nishing the installation
6. The service screen will appear.
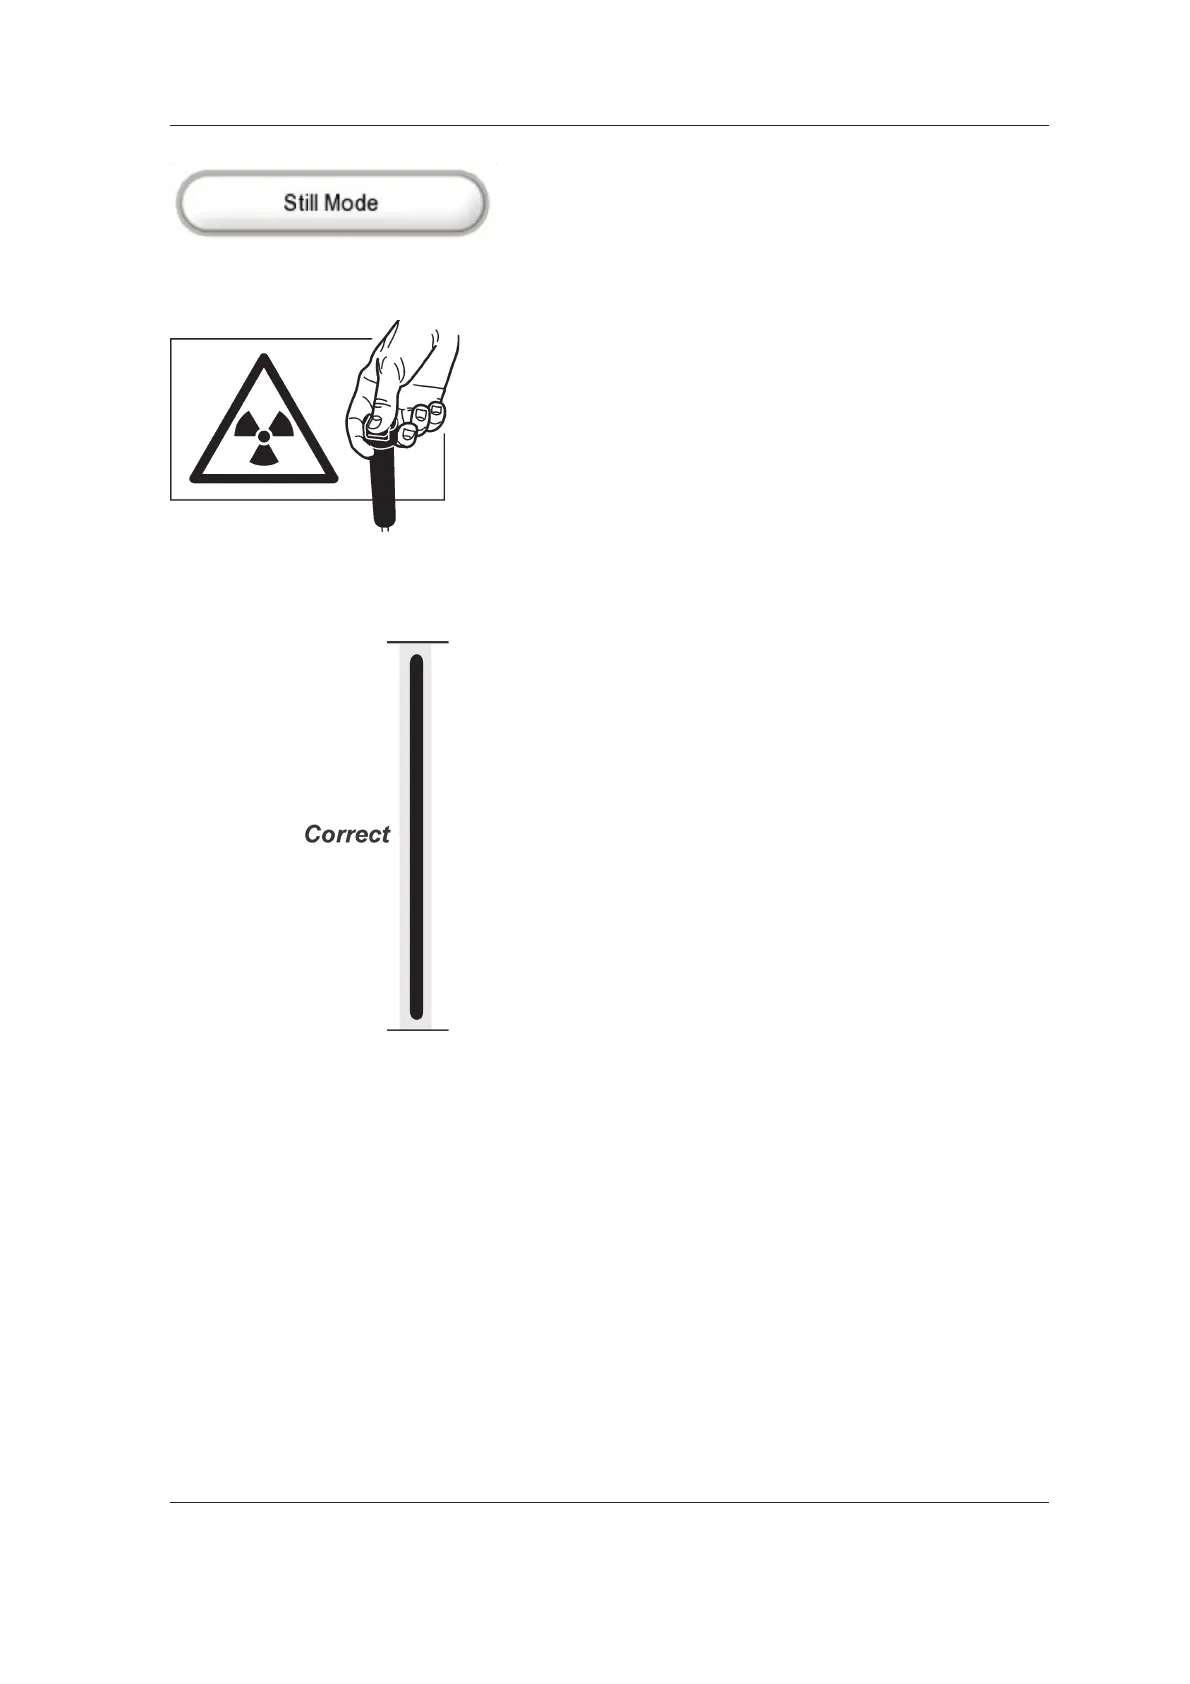
Select Still Mode.
7. Protect yourself from radiation.
Press and hold down the exposure switch to
take an exposure.
NOTE:
The rotating unit doesn't move while taking
exposures in Still Mode.
8. PC: Use the dental imaging software to
examine the image that appears.
If the beam and CCD sensor are correctly
positioned the image will show a vertical black
line (the beam) in the middle of a vertical light
gray area (the CCD aperture).
Both the beam (black line) and the CCD
aperture (light gray area) must be vertical and
the bottom edge of the beam (black line) must
be between 0.1 and 2 mm from the bottom
edge of the image.
If the beam (black line) is too far to the right
or left or too high or too low or if the CCD
aperture (gray area) is tilted to one side,
the CCD sensor and/or the beam must be
adjusted. See 5.1 Aligning the CCD sensor
and 5.2 Adjusting the beam.
9. Touch the Arrow key to exit the Still Mode
and return to the main screen.