Servo Installation
In gas- and glow-powered aircraft where vibration is
present, the servos should be mounted using the
supplied rubber grommets and bushings. Do not over-
tighten the mounting screws. The diagram will assist
you in properly mounting the grommets and bushings.
In electric and non-powered aircraft, there are many
acceptable methods for mounting the servo, including
servo tape and even glue. See the information included
with your aircraft for the recommendation for installing
servo(s) in your aircraft.
How to Range Test the DX7
Before each flying session, and especially with a new model, it is important to perform a range check. The DX7
incorporates a range testing system which, when
the bind button on the back of the transmitter
is pressed and held, reduces the output power,
allowing a range check.
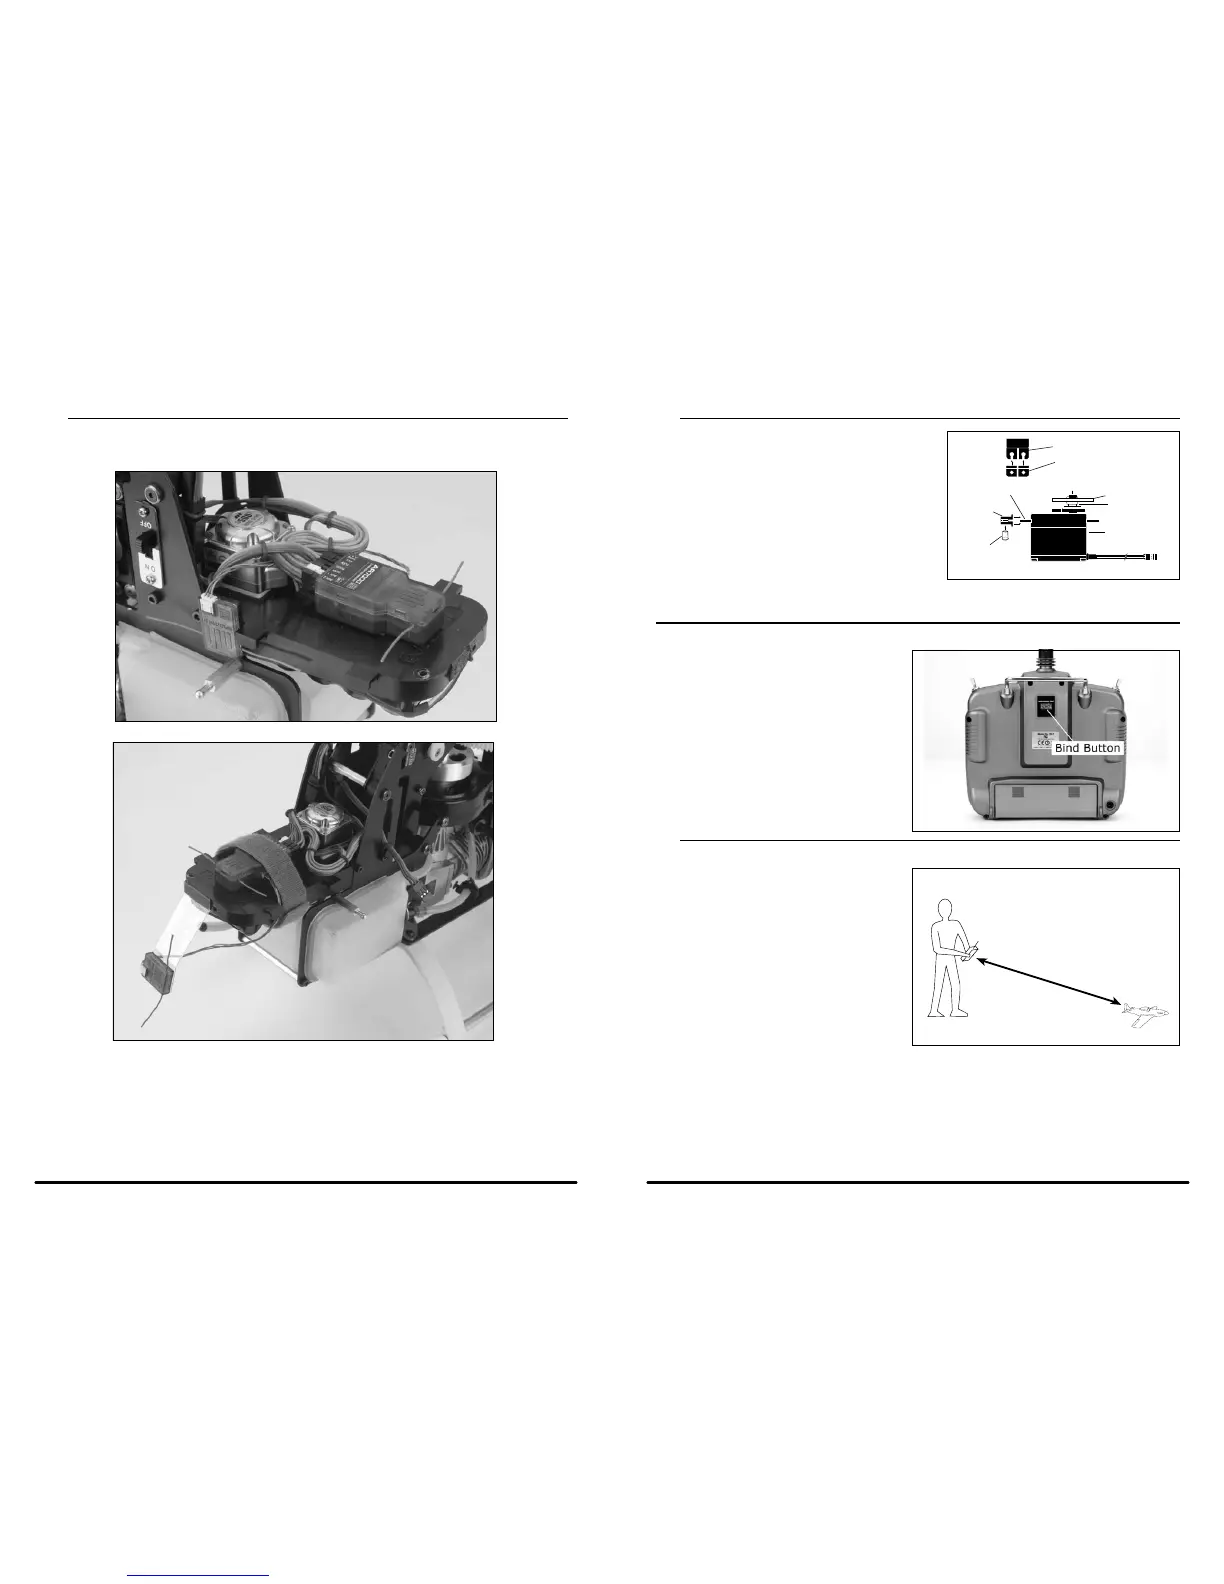
Range Testing the DX7
1. With the model resting on the ground, stand 30 paces (approx. 90 feet) away from the model.
2. Face the model with the transmitter
in your normal flying position and
depress and hold the bind button
on the back of the transmitter. This
causes reduced power output from the
transmitter.
3. You should have total control of the
model with the button depressed at 30
paces (90 feet).
4. If control issues exist, call the Product
Support Team at
1-877-504-0233 for further assistance.
SPEKTRUM DX7 • INTRODUCTION
SPEKTRUM DX7 • INTRODUCTION
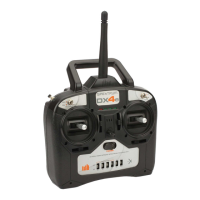
Receiver Installation (continued)
In helicopters, there is generally enough room on the servo tray to achieve the necessary separation. If needed a
mount can be fashioned using clear plastic to mount the external receiver.

 Loading...