Advanced Range Testing Using a Flight Log
While the above Standard Range Testing procedure is recommended for most sport aircraft, for sophisticated
aircraft that contain significant amounts of conductive/reflective materials (e.g., turbine-powered jets, some
types of scale aircraft, aircraft with carbon fuselages, etc.) the following advanced range check will confirm that
all internal and remote receivers are operating optimally and that the installation (position of the receivers) is
optimized for the specific aircraft. This Advanced Range Check allows the RF performance of each individual
internal and remote receiver to be evaluated and the location of each individual remote receiver to be optimized.
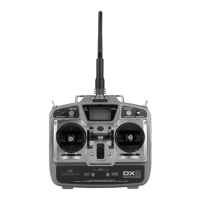
Advanced Range Testing the DX7
1. Plug the Flight Log (optional) into the data port in the AR7000 receiver and turn on the system
(transmitter and receiver).
2. Advance the Flight Log until F- frame losses are displayed, by pressing the button on the Flight Log.
3. Have a helper hold your aircraft while observing the Flight Log data.
4. Standing 30 paces away from the model, face the model with the transmitter in your normal flying
position and depress and hold the bind button on the back of the transmitter. This causes reduced
power output from the transmitter.
5. Have your helper position the model in various orientations (nose up, nose down, nose toward the
transmitter, nose away from the transmitter, etc.) while your helper is watching the Flight Log, noting
any correlation between the aircraft’s orientation and Frame Losses. Do this for 1 minute. The timer on
the DX7 can be used here. For giant-scale aircraft, it’s recommended that the airplane be tipped up on
its nose and rotated 360 degrees for one minute, then record the data. Next place the airplane on its
wheels and do a second test, rotating the aircraft in all directions for one minute.
6. After one minute, release the bind button. A successful range check will have recorded zero frame
losses. Scrolling the Flight Log through the Antenna fades (A, B, L, R) will allow you to evaluate the
performance of each receiver. Antenna fades should be relatively uniform. If a specific antenna is
experiencing a high degree of fades, then that antenna should be moved to a different location.
7. A successful Advanced test will yield the following:
H- 0 holds
F- 0 frame losses
A, B, R, L- Antenna fades will typically be less than 100. It’s important to compare the
relative antenna fades and if a particular receiver has significantly higher antenna fades (2
to 3X), then the test should be redone, and if the same results occur, move the offending
receiver to a different location.
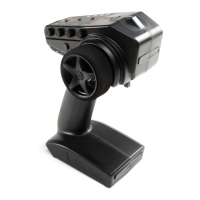
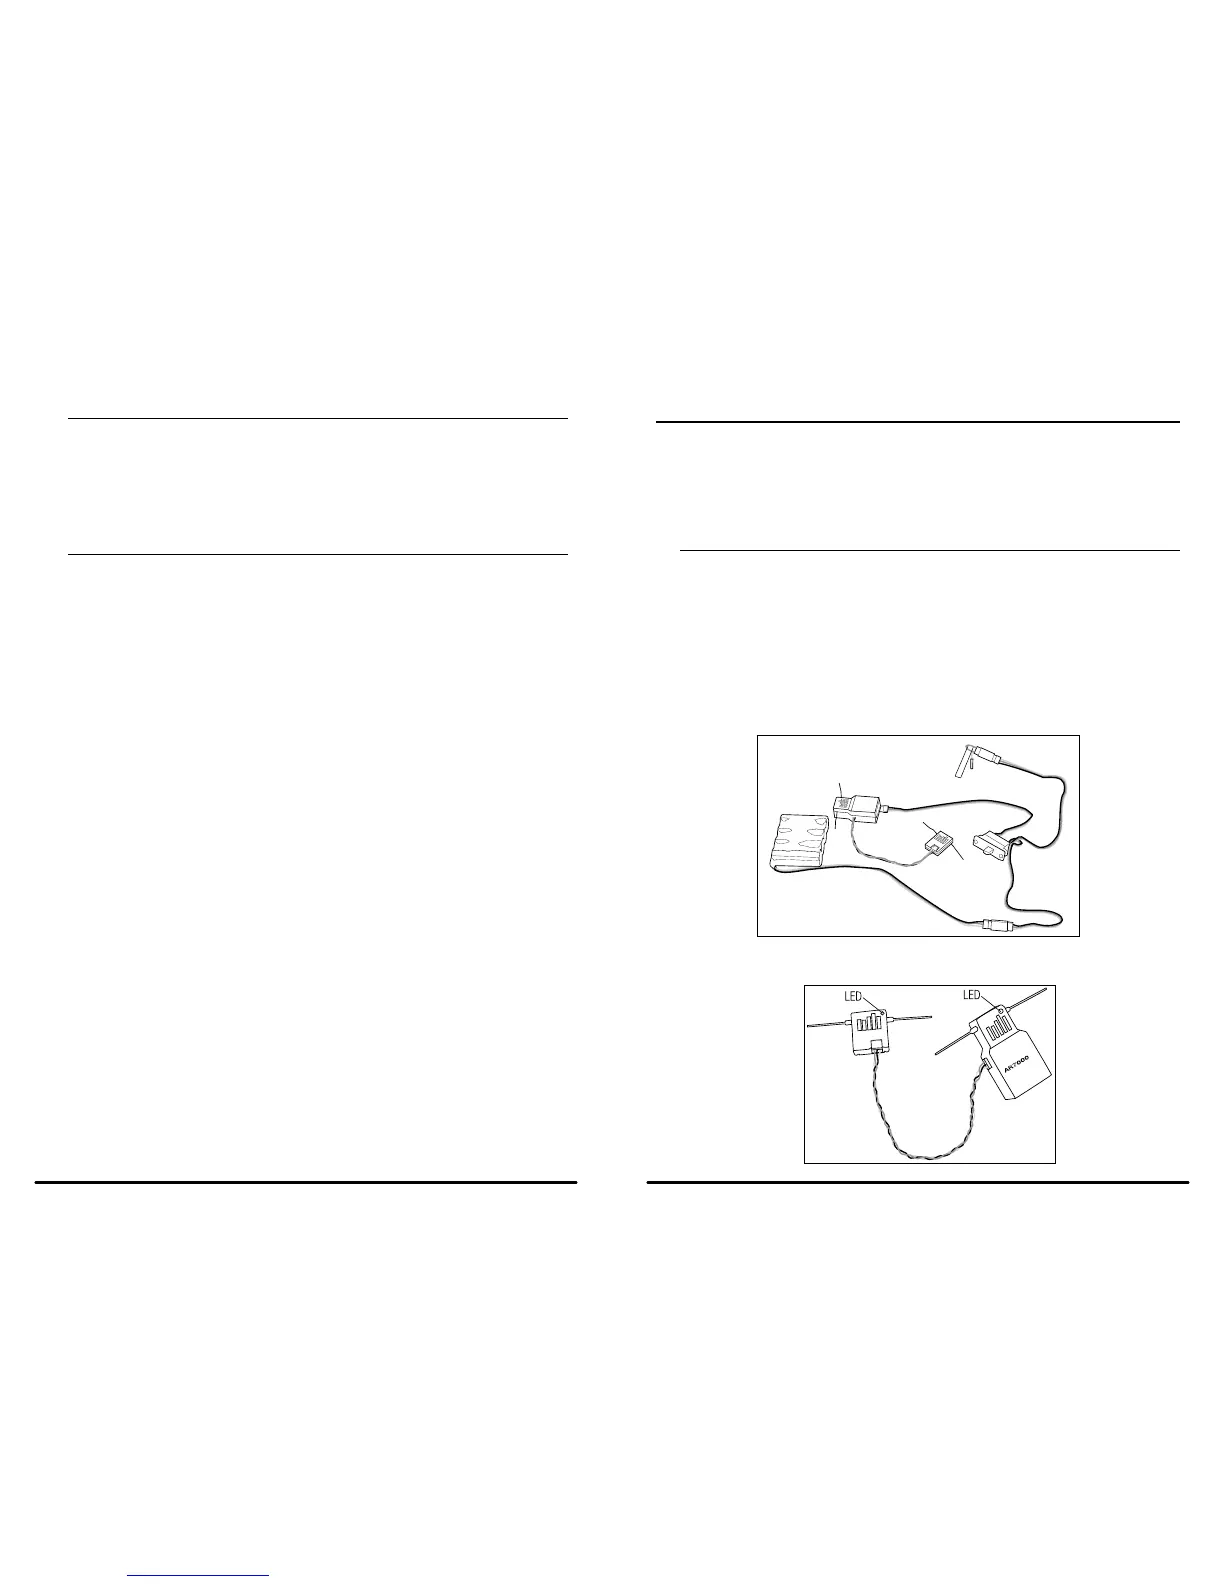
Binding
The AR7000 receiver must be bound to the transmitter before it will operate. Binding is the process of teaching
the receiver the specific code of the transmitter so it will connect to that specific transmitter. Once bound, the
receiver will only connect to the transmitter when the previously bound model memory is selected. If another
model memory is selected, the receiver will not connect. This feature is called ModelMatch and prevents flying a
model using the wrong model memory.
SmartSafe
™
Failsafe
The AR7000 features the SmartSafe failsafe system.
SmartSafe:
• Prevents unintentional electric motor response on start-up.
• Eliminates the possibility of overdriving servos on start-up.
• Establishes low-throttle failsafe if the RF signal is lost.
• Maintains last-commanded control surface position in the event of RF link interruption.
Note: Failsafe positions are stored via the stick and switch positions on the transmitter during
binding.
1. With the system hooked up as shown, insert the bind plug in the charge plug receptacle.

 Loading...