Battery Charging
Transmitter/Receiver
It is imperative that you fully charge both the transmitter and the receiver battery packs prior to each
flying session. To do so, using the included wall charger, leave the charger and batteries connected overnight
(16 hours).
The charger supplied with this system is designed to recharge your batteries at a rate of 110mA for the
transmitter and 110mA for the receiver battery pack.
Transmitter Polarity
The center pin on all Spektrum transmitters is negative. Therefore, the center pin on all Spektrum chargers is
negative, not positive. This is different from many
other manufacturers’ chargers and radio systems.
Beware of improper connections based on “color
coded” wire leads, as they may not apply in this
instance. You must make sure that the center
pin of your Spektrum transmitter is always
connected to the negative voltage of your charger
for correct polarity hookup.
Charger
The pilot lamps should always be ON during the charging operation. If they’re not, check to make sure that both
the transmitter and receiver are switched OFF. Do not use this charger for equipment other than Spektrum. The
charging plug polarity may not be the same and equipment damage can result. During the charging operation,
the charger’s temperature is slightly elevated. This is normal.
CENTER
PIN IS
NEGATIVE
OUTSIDE IS POSITIVE
CHARGER PIGTAIL FOR RECEIVER
AFTERMARKET PIGTAIL FOR TRANSMITTER
BLACK TO POSITIVE
BLACK WITH WHITE STRiPE TO NEGATIVE
RIGHT SIDE OF TRANSMITTER
RED–POSITIVE / BROWN–NEGATIVE / ORANGE–SIGNAL
CENTER
PIN IS
NEGATIVE
OUTSIDE IS POSITIVE
CHARGER PIGTAIL FOR RECEIVER
AFTERMARKET PIGTAIL FOR TRANSMITTER
BLACK TO POSITIVE
BLACK WITH WHITE STRiPE TO NEGATIVE
RIGHT SIDE OF TRANSMITTER
RED–POSITIVE / BROWN–NEGATIVE / ORANGE–SIGNAL
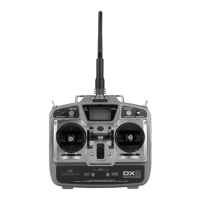
SPEKTRUM DX7 • INTRODUCTION
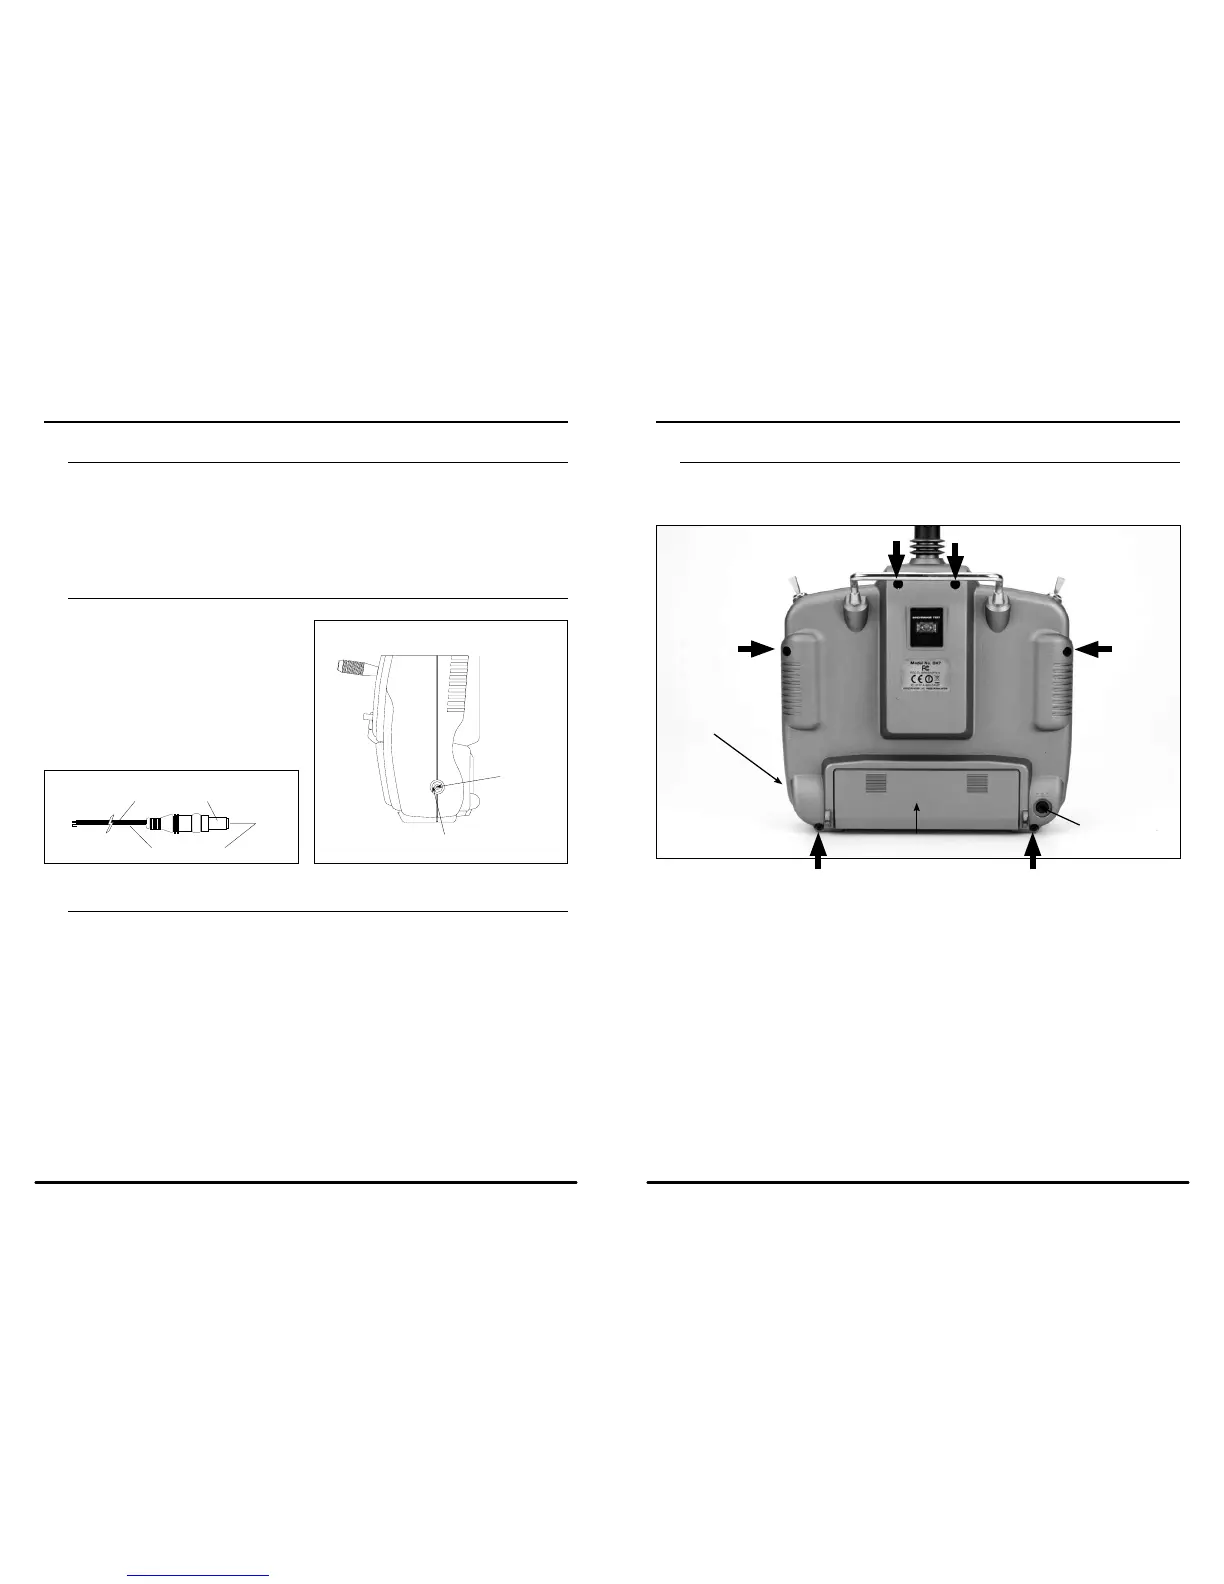
Control Stick Tension Adjustment
Removing the Back of the Transmitter
Remove the battery cover by pressing down on the ridged areas of the cover and sliding the cover towards the
bottom of the transmitter. Unplug the battery and set it aside. Carefully remove the screws from the back of the
transmitter using a small Phillips screwdriver.
Note: Use care when installing the screws securing the back of the transmitter. They are
threading into plastic and can be stripped if over-tightened.
SPEKTRUM DX7 • INTRODUCTION
CHARGING JACK FOR
NiMH BATTERY
BATTERY COVER
TRAINER JACK
CAUTION: THE BATTERY CONNECTOR
IS KEYED SO THAT IT CAN ONLY BE PLUGGED
IN ONE DIRECTION. DO NOT FORCE.

 Loading...