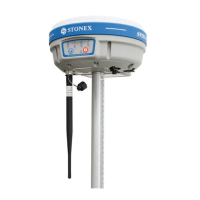
Stonex S10A GNSS Receiver – User Manual 16
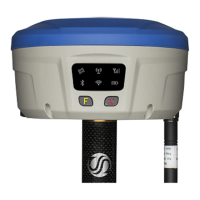
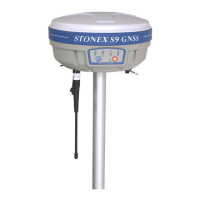
Installation of Base
1) Once a tripod is open on the chosen base point, fix the tribrach and
mount the receiver on it.
2) Screw the transmitting radio antenna into the port “UHF”: using the 40cm
supporting pole P/N 30-350057 is suggested, in order to increase the
antenna height.
3) Switch on the receiver and select the base working mode.
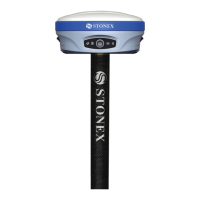
Installation of Rover
1) Mount the controller bracket on the telescopic pole and mount the
controller into the bracket; screw the second S10A on the pole and mount
receiving antenna into the port “UHF”.
2) Power on the receiver and select the rover working mode.
3) Switch on the controller and start the software, in order to initialize the
setting of the S10A. ( following the instruction manual of the field software,
such as Stonex SurvCE or Stonex CUBE)
For very accurate measures, we suggest to use a bipod or a tripod to support
the telescopic pole in a stable way.
4.2. Working mode settings
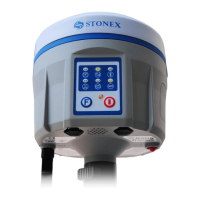
F key: Function key
The F key is used to switch the different working and data link modes (radio,
network, external radio + Network) of the receiver; lightly press the F key to
voice broadcast the current work status.
I key: Power key
Used to power on/off the receiver and as Confirm function.
- Power on receiver: Press I key, all led will flash after one beep, after that
receiver will switch on.
- Power off receiver: Long press I key, all led will flash after one beep.
Press I key again to confirm, the voice prompts turn off the device.