42
Chapter 2
Getting Started
4. Enter the stock number.
5. Enter the year or select the year from the dropdown list.
6. Enter or select from the dropdown list the make, model, and color of the vehicle
7. Enter any applicable notes.
8. Assign the vehicle to a department by checking the appropriate box.
9. Click Save.
Note: You must enter the VIN or stock number and assign it to a department. The remaining elds are optional.
Importing Vehicle Information
The KeyAdvantage software allows you to import vehicle information from a at le into the vehicle database.
In order to be imported successfully, the le must be a text (.TXT) le in tab-delimited format. The following nine
columns are required and must be listed in order:
1. VIN number (17 characters)
2. Stock number (10-character limit)
3. Year (4 characters)
4. Make (20-character limit)
5. Model (20-character limit)
6. Color (20-character limit)
7. Status (A=Active, I=Inactive, L=Lost, S=Sold)
8. Note1 (50-character limit)
9. Note2 (50-character limit)
You must include all nine elds in the vehicle data le, even if no data is present. The blank elds create
placeholders and ensure that the vehicle data is imported into the correct elds in the database. Press the Tab
key to create a eld placeholder when no data is present.
Note: The VIN or stock number is required for the data to be imported. All other values, such as make, model,
and year, are optional.
To import a vehicle le into the KeyAdvantage database, do the following:
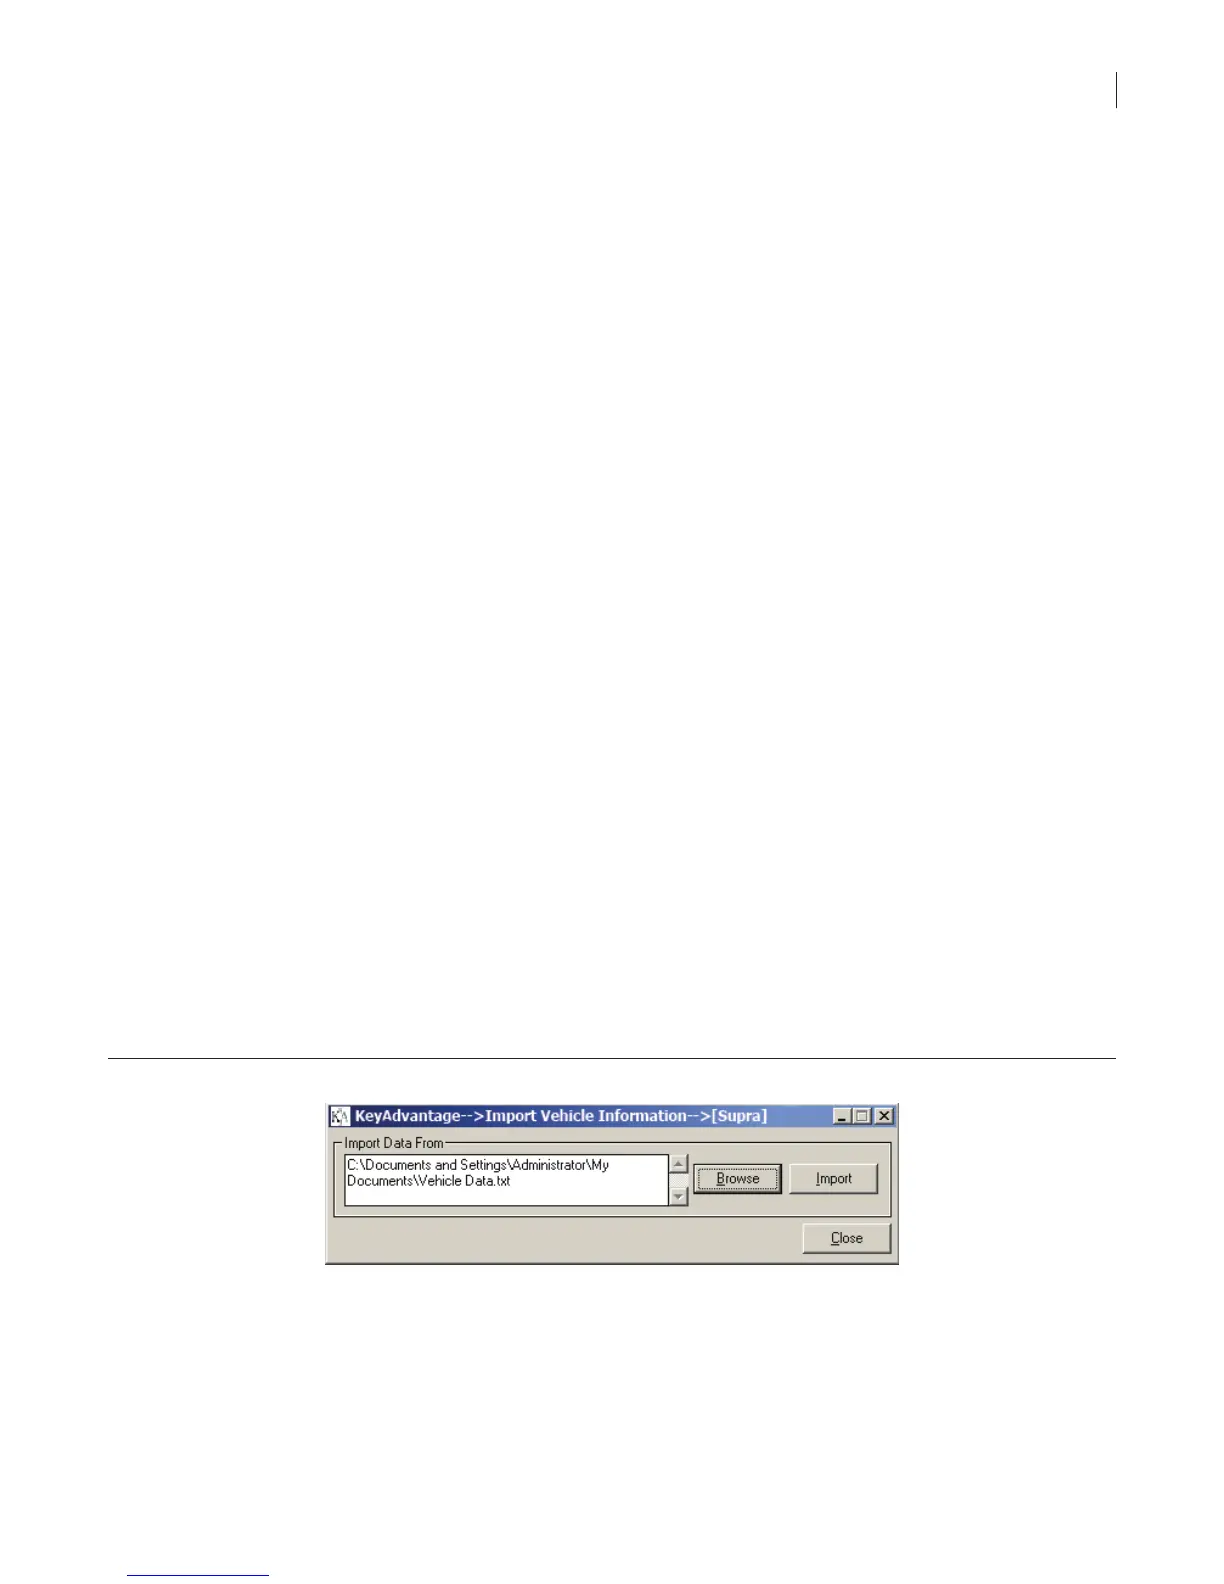
1. Click Vehicle Information > Import Vehicle Information. The Vehicle Import window displays, as shown
in Figure 15.
Figure 15. Vehicle import window
2. Click Browse to locate the vehicle data le on the computer.
3. When the vehicle data le is shown in the Import Data From box, click Import.
4. Select the department to which you want the vehicles assigned.