© 2016 THINKWARE. All rights reserved.
Confidential Restricted
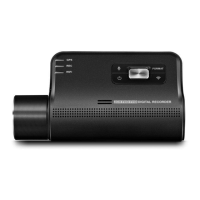
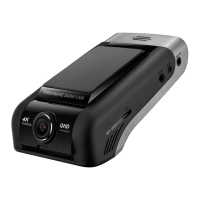
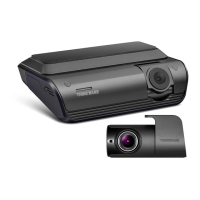
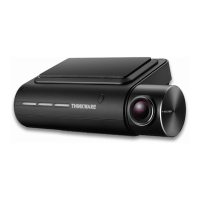
Overview of the sequence for mounting a front camera
01. Locate the fuse box and remove the cover.
02. After checking the fuse configuration diagram, make wirings. (B+, ACC, GND)
03. After connecting the hardwiring cable and the terminal, perform a basic operation test. (Test items:
power supplies)
04. Remove the weather strip from the front passenger seat.
05. Remove the A pillar.
06. Temporarily wire the hardwiring cable. (Proceed with pre wirings at the fuse box)
07. Nicely arrange the hardwiring cable. (Tie it with the existing cables.)
08. Recover A pillar and the weather strip.
09. Neatly insert the remaining cable into the ceiling of the front glass.
10. Attach a holder.
11. Perform a basic function test on the dash cam. (Test items: power supplies, parking recording,
continuous recording and event recording and so on.)
12. Wait one day(24 hours) until the 3M tape in the holder is firmly attached. Then ship out without a
terminal installed in it.
7