© 2016 THINKWARE. All rights reserved.
Confidential Restricted
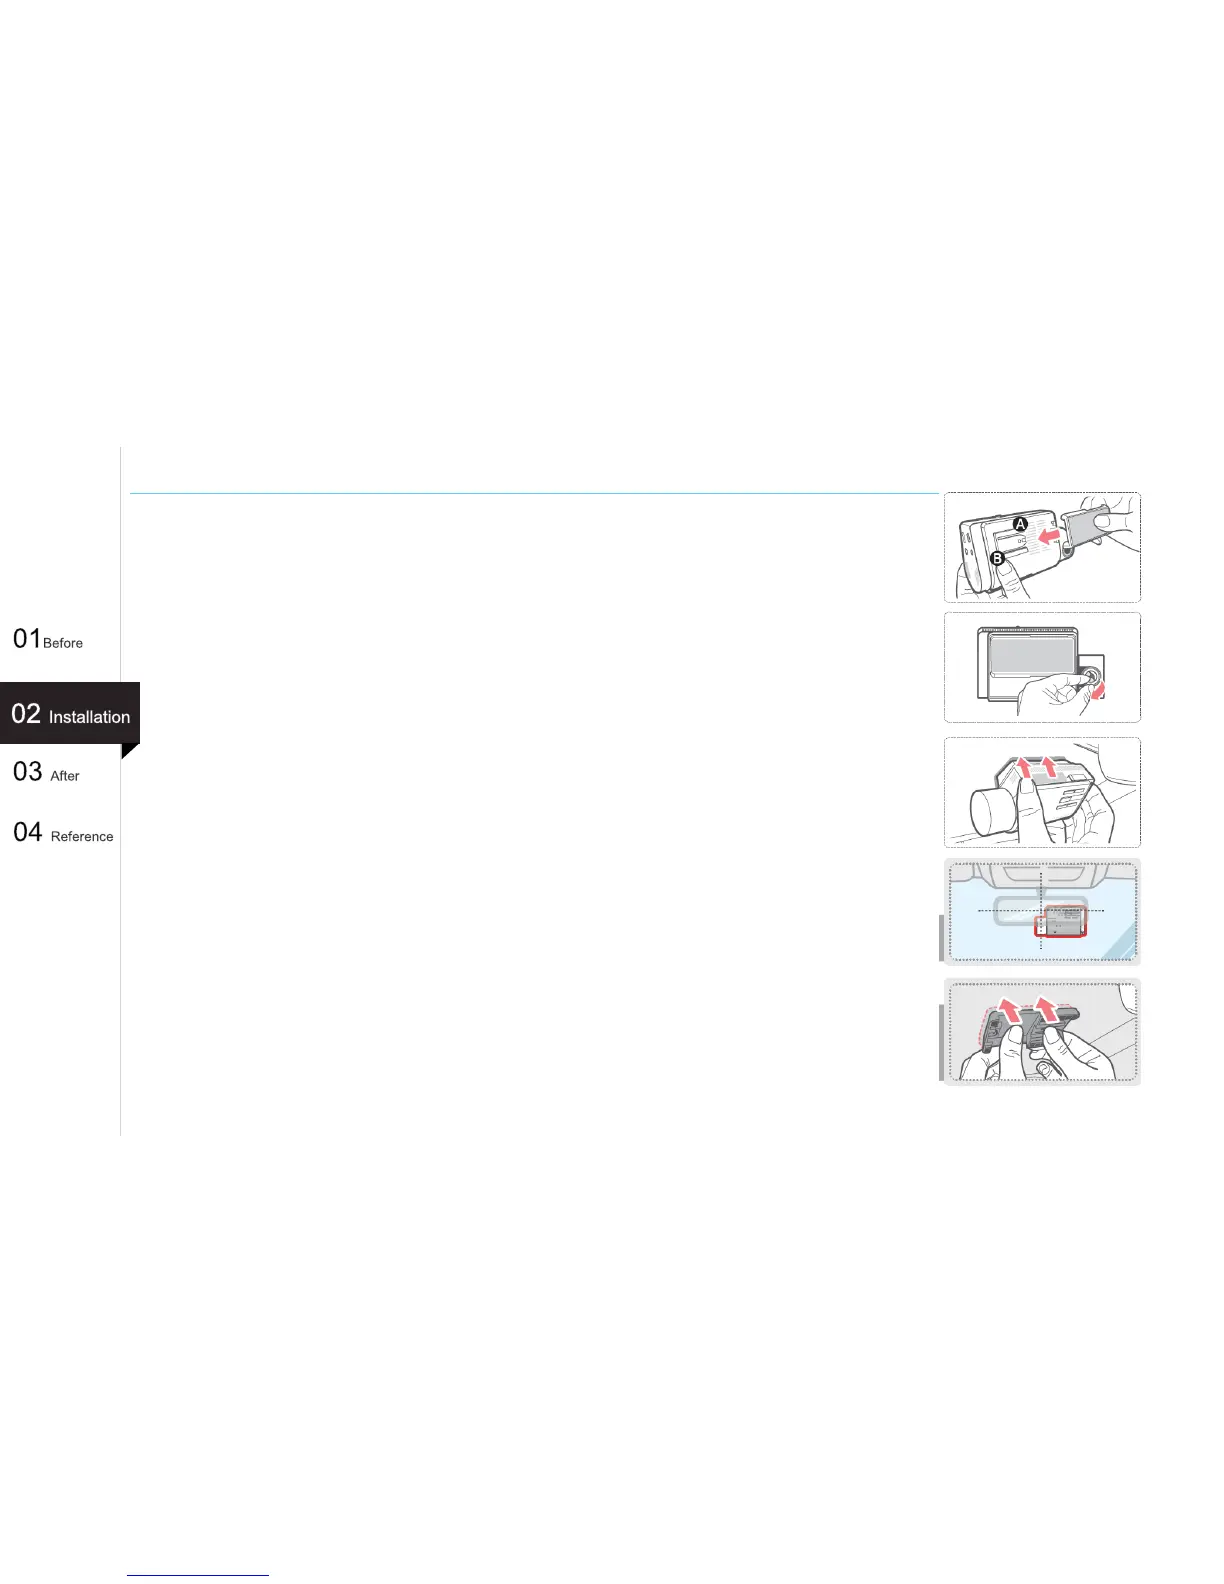
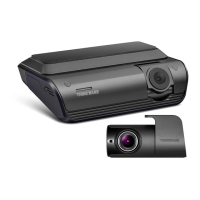
Attaching a mounting (Non LCD Type)
[TIP]
The lens of the camera is located on the left side of the main unit, install the dash
cam to the right side of the rearview mirror so that lens should be located on the
center of the car.
[TIP]
To ensure that the mount is safely secured, separate the device from the mount after
installation and press the mount against windshield for 5 minutes while maintaining
pressure. Allow 24 hours for the adhesive on the mount to set before connecting the
dash cam.
1. Place the mount so it is aligned with the connector (A), and push it toward (B) until it
clicks into place.
2. Remove the protective film from the camera lens.
3. Clean the area on the windshield where the dash cam will be installed.
With dash cam main unit still attached to the mount, remove the protective tape from
the back of the mount.
4. Attach the adhesive side of the mount on the windshield where it has an
unobstructed view of the road but does not interfere with the driver’s view.
19
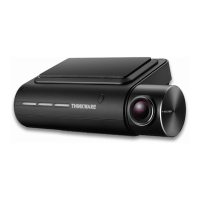
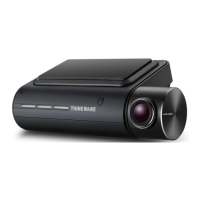
(Ex : F750)