24
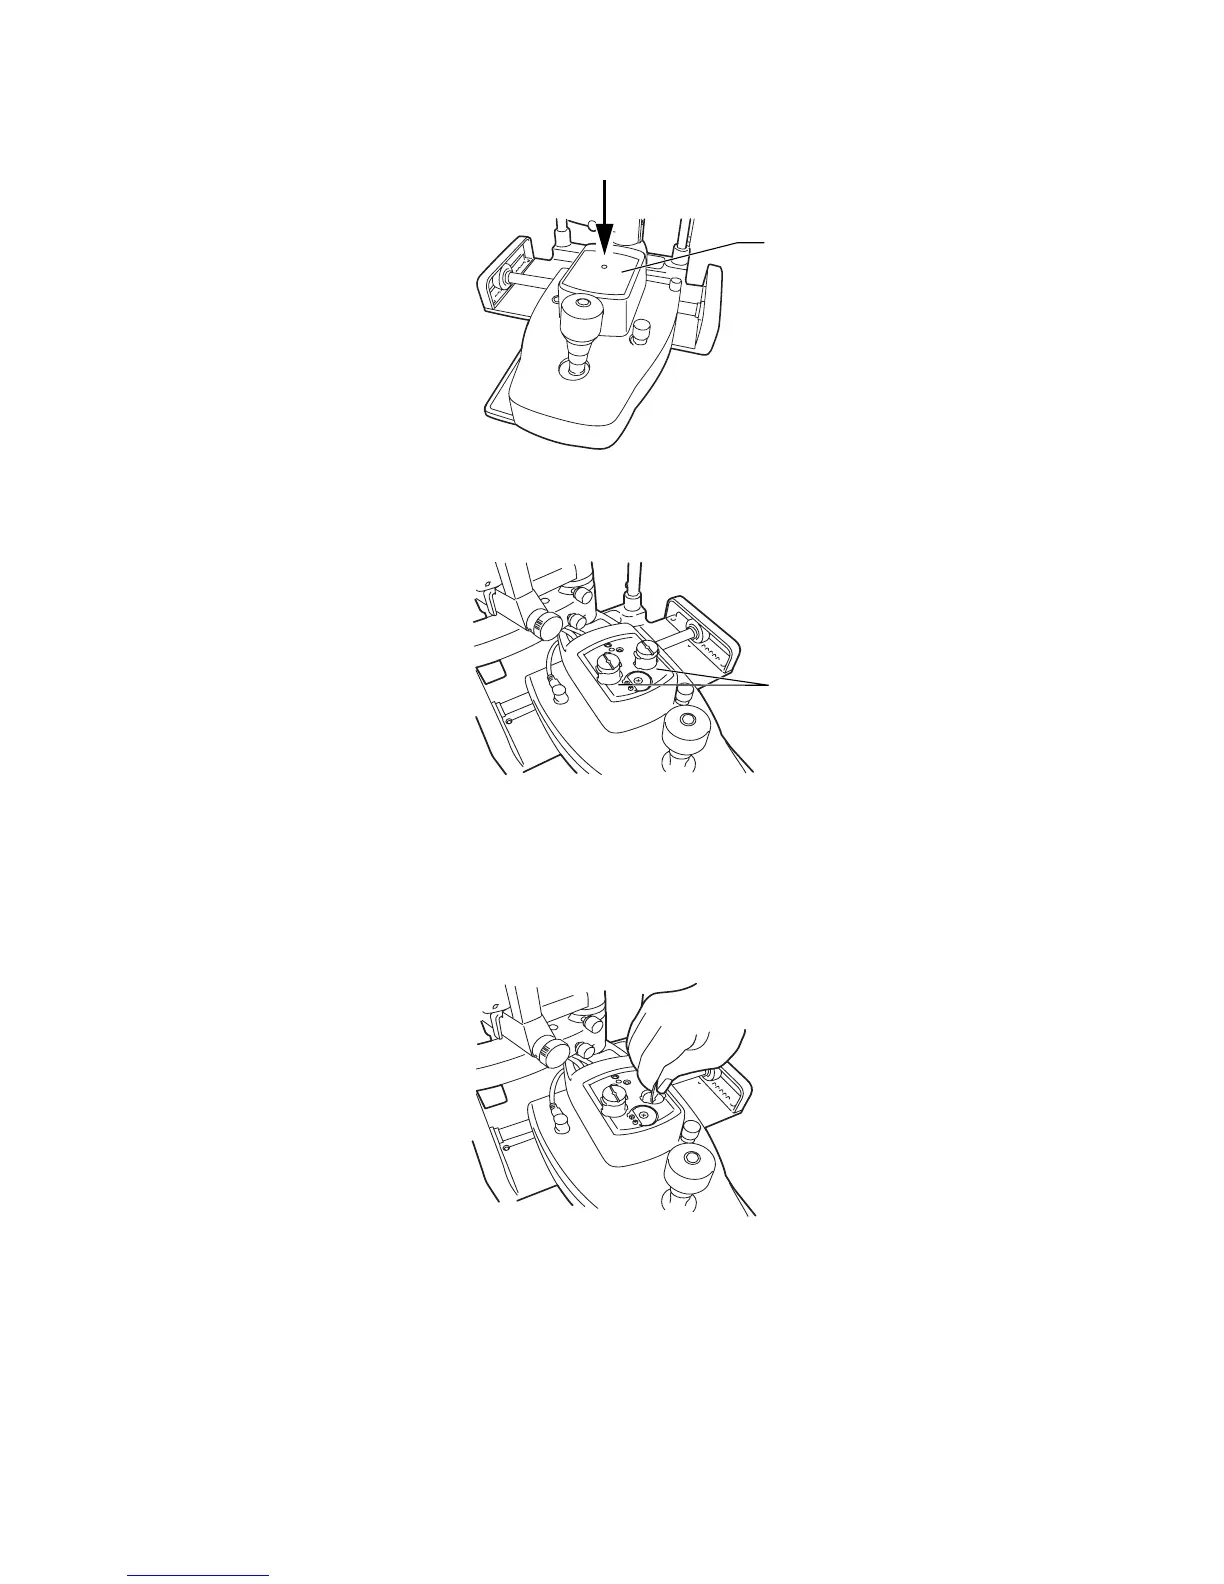
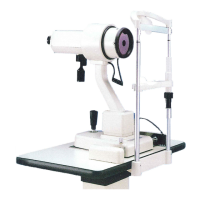
ASSEMBLY PROCEDURE
COUNTER-BALANCE PROCEDURE
1 Turn the control lever clockwise and raise the base to the top position, remove the center
screw and take off the cover.
2 Insert the auxiliary spring unit vertically into the auxiliary spring port, with the flange face
turned upwards. (Make sure that the spring is inserted into the groove in the bottom of the
port.)
3 Open the auxiliary spring unit with the auxiliary spring port, and lightly push the spring till it
stops. (A large screwdriver, a flat sheet metal tool, a coin, etc. can be used to this end.)
4 With the auxiliary spring unit lightly touching the stopper, turn about 90° (in either direc-
tion), then release. The auxiliary spring locks into the positioning groove and assembly is
complete. (To remove the auxiliary spring, lightly press it down to the stopper, rotate it 90°
and remove from the port.)
Cover
Auxiliary spring port