
R
Richard MannAug 3, 2025
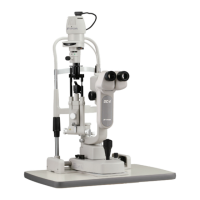
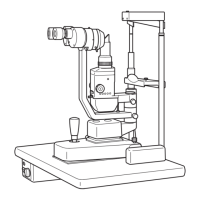
What to do if control lever is not working on Topcon RM-8900?
- ZZachary GardnerAug 3, 2025
If the control lever or another movable part on your Topcon Medical Equipment is not working correctly, do not move it forcibly and call a serviceman.