Installation (for qualified installers only) 59
© Travis Industries 3/13/18 - 1474 42 & 54PB GSB2 Aust.
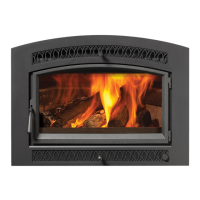
9 Connect the flat, white connector to the back of the included remote battery box. Make sure the two
guides are on the top of the connector when inserting it into the battery box.
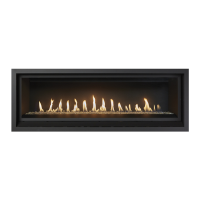
10 Attach the remaining connector with the red and black wires to the wire harness where the battery
box was disconnected from in step 4.
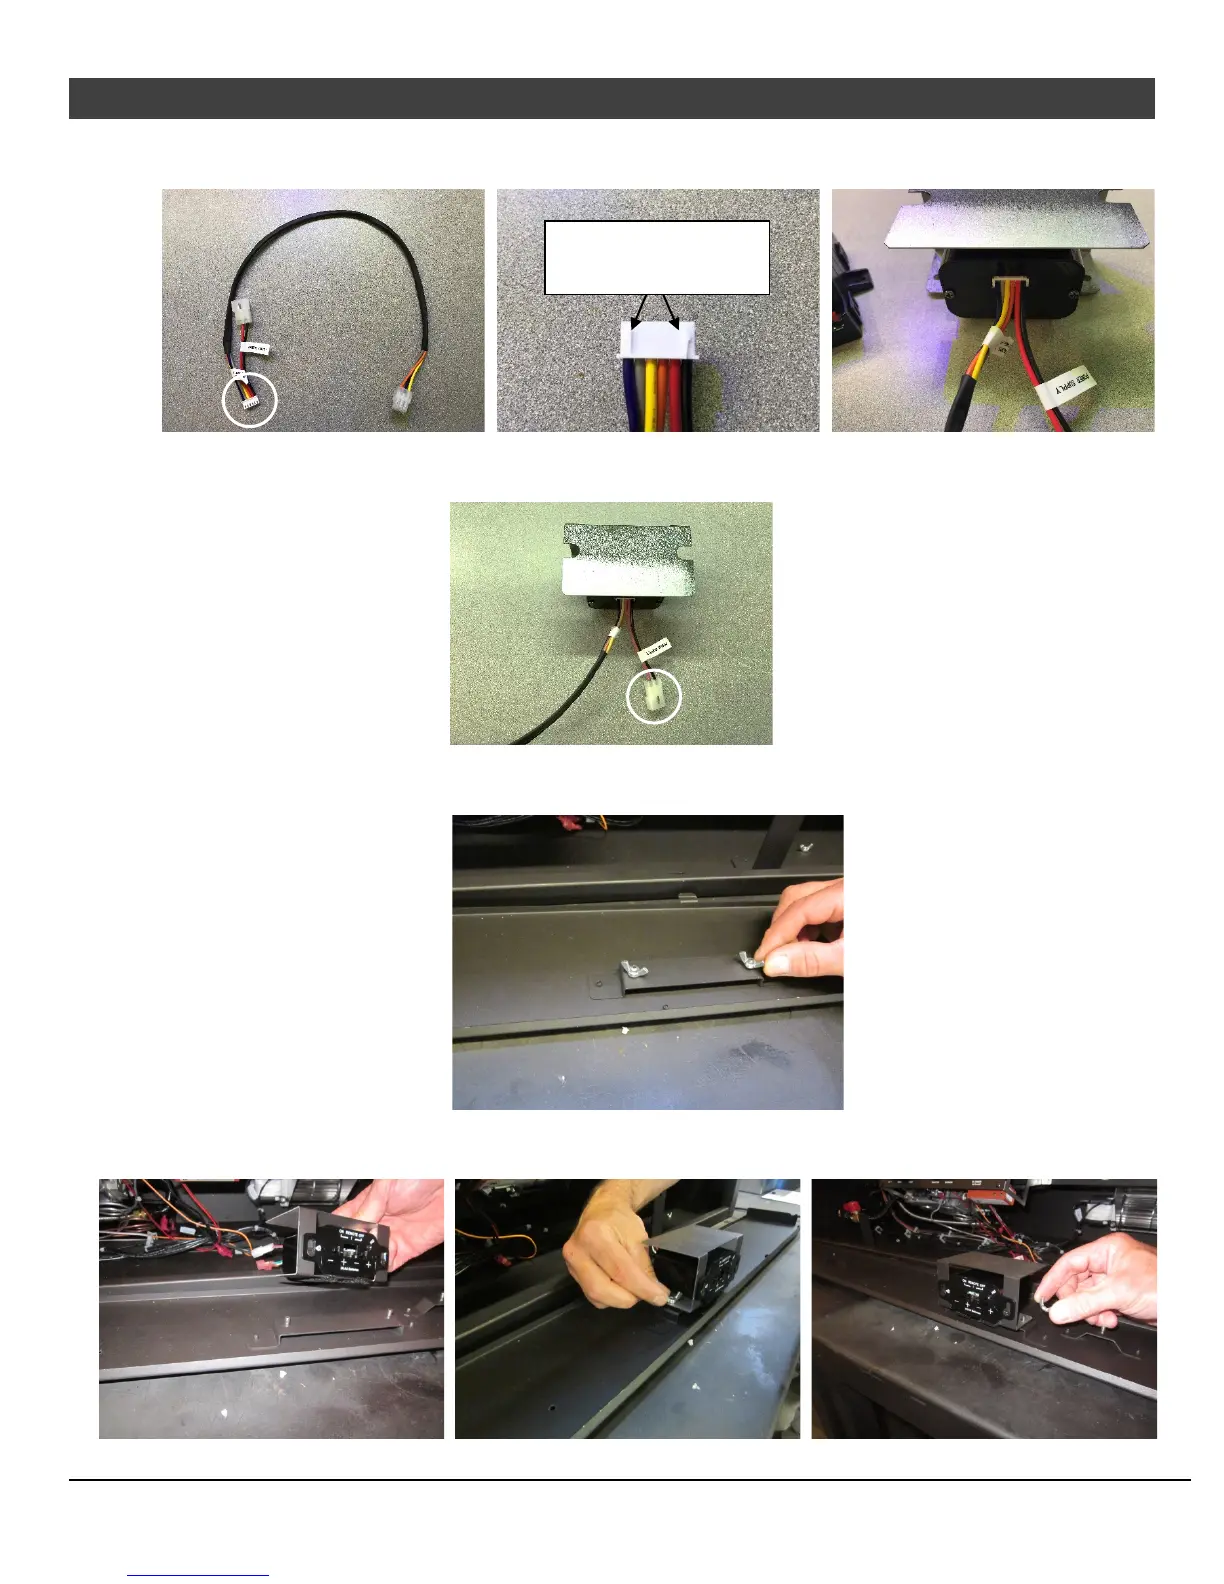
11 On the back side of the panel you removed there be a bracket with two wing nuts. Remove the wing
nuts and set aside for reinstallation.
12 Align the two holes on the bottom of the receiver assembly with the studs and secure the assembly to
the bracket using the two wing nuts removed in the previous step.
Make sure the guides
are facing upward