© Copyright 2013 TRENDnet. All Rights Reserved.
TRENDnet User’s Guide
TEG-448WS
39
4. Click Save Settings to Flash (menu).
5. Click Save Settings to Flash (button), then click OK.
Note: This step saves all configuration changes to the NV-RAM to ensure that if the
switch is rebooted or power cycled, the configuration changes will still be applied.
View the current VLAN database
Bridge > VLAN > VLAN Database
1. Log into your switch management page (see “Access your switch management page
”
on page 7).
2. Click on Bridge, click on VLAN, and click on Private VLAN.
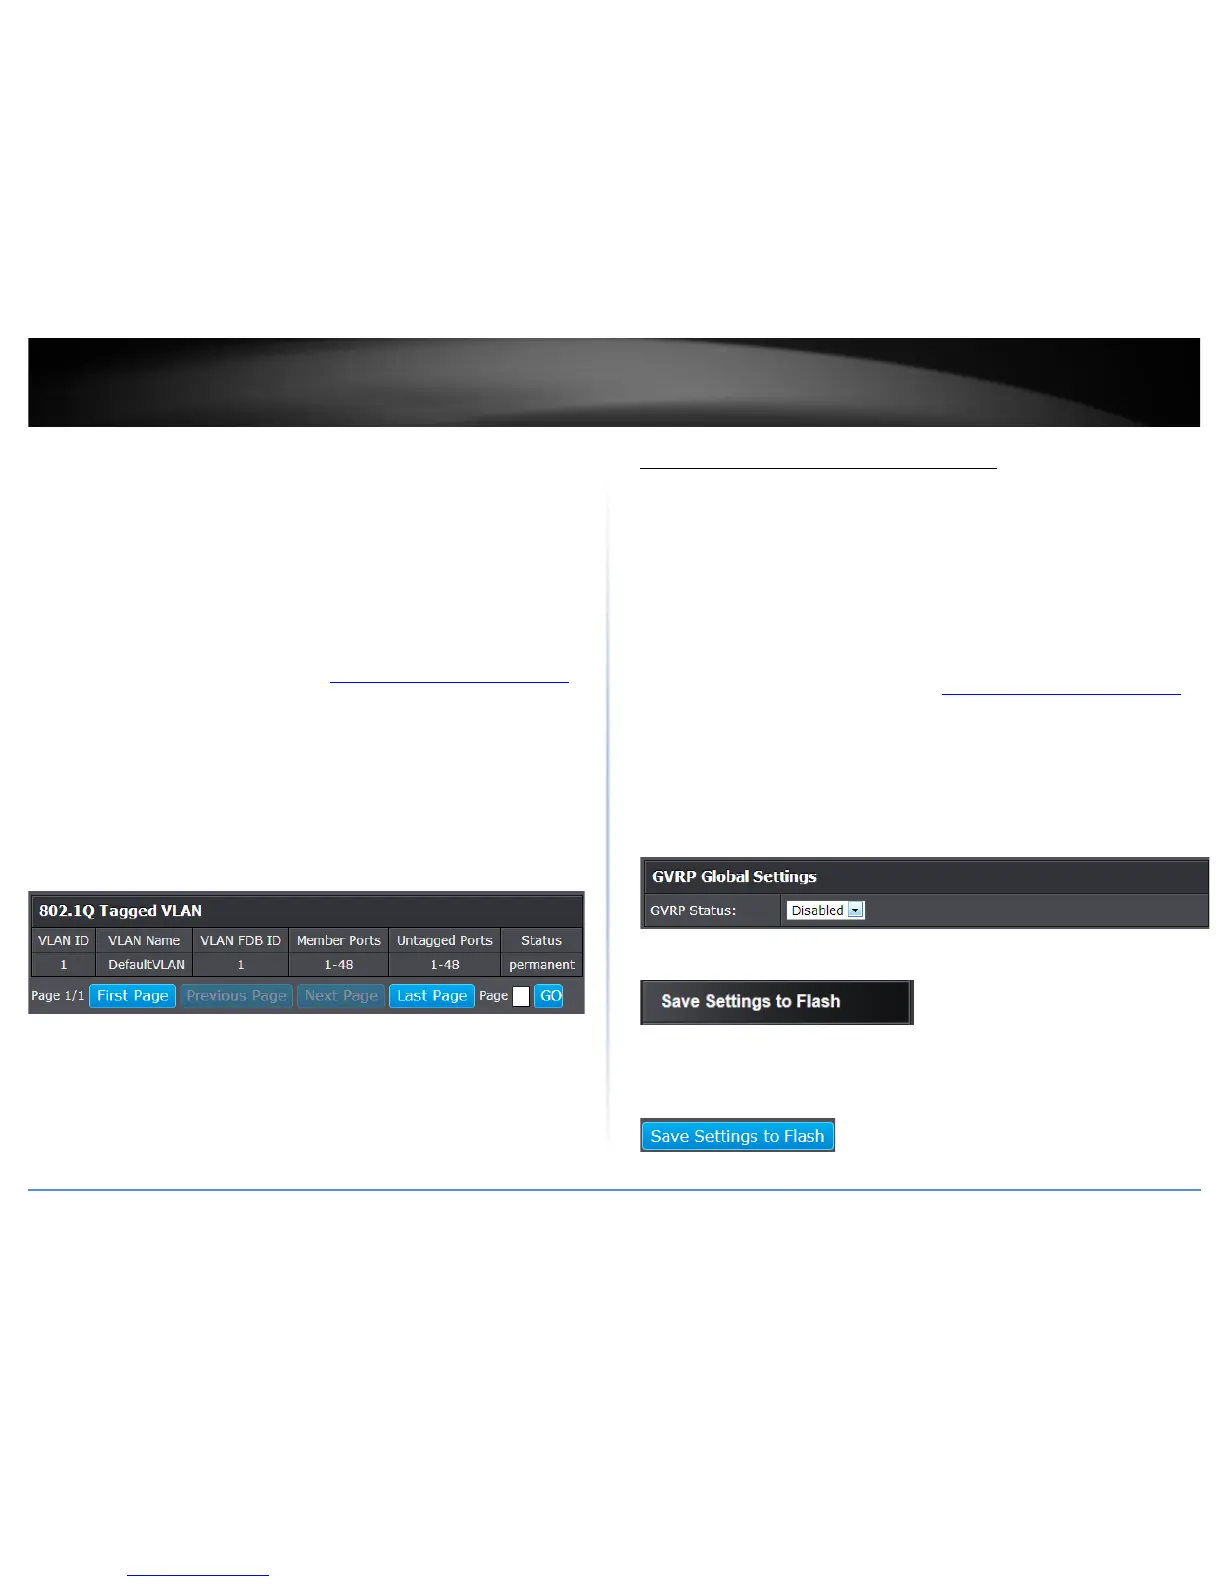
3. View the current VLAN database in the table.
If the entries span multiple pages, you can navigate page number in the Page field and
click Go or you can click First, Previous, Next, and Last Page to navigate the pages.
GVRP (GARP VLAN Registration Protcol)
The GARP VLAN Registration Protocol (GVRP) allows network devices to share VLAN
information and to use the information to modify existing VLANs or create new VLANs,
automatically. This makes it easier to manage VLANs that span more than one switch.
Without GVRP, you have to manually configure your switches to ensure that the various
parts of the VLANs can communicate with each other across the different switches.
With GVRP, which is an application of the Generic Attribute Registration Protocol
(GARP), this is done for you automatically.
Enable GVRP
Bridge > GVRP > GVRP Global Settings
1. Log into your switch management page (see “Access your switch management page
”
on page 7).
2. Click on Bridge, click on GVRP and click on GVRP Global Settings.
3. Click the GVRP Status drop-down list and select Enabled to activate GVRP or disabled
to deactivate GVRP. Click Apply to save the settings.
4. Click Save Settings to Flash (menu).
5. Click Save Settings to Flash (button), then click OK.
Note: This step saves all configuration changes to the NV-RAM to ensure that if the
switch is rebooted or power cycled, the configuration changes will still be applied.