18
3. If accessing the KVM for the first time, enter the username administrator and the password password. For security purposes, changing
the username and password is strongly recommended. Once the default username and password are entered, the web management
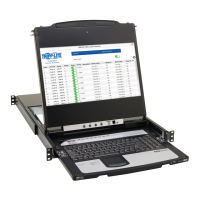
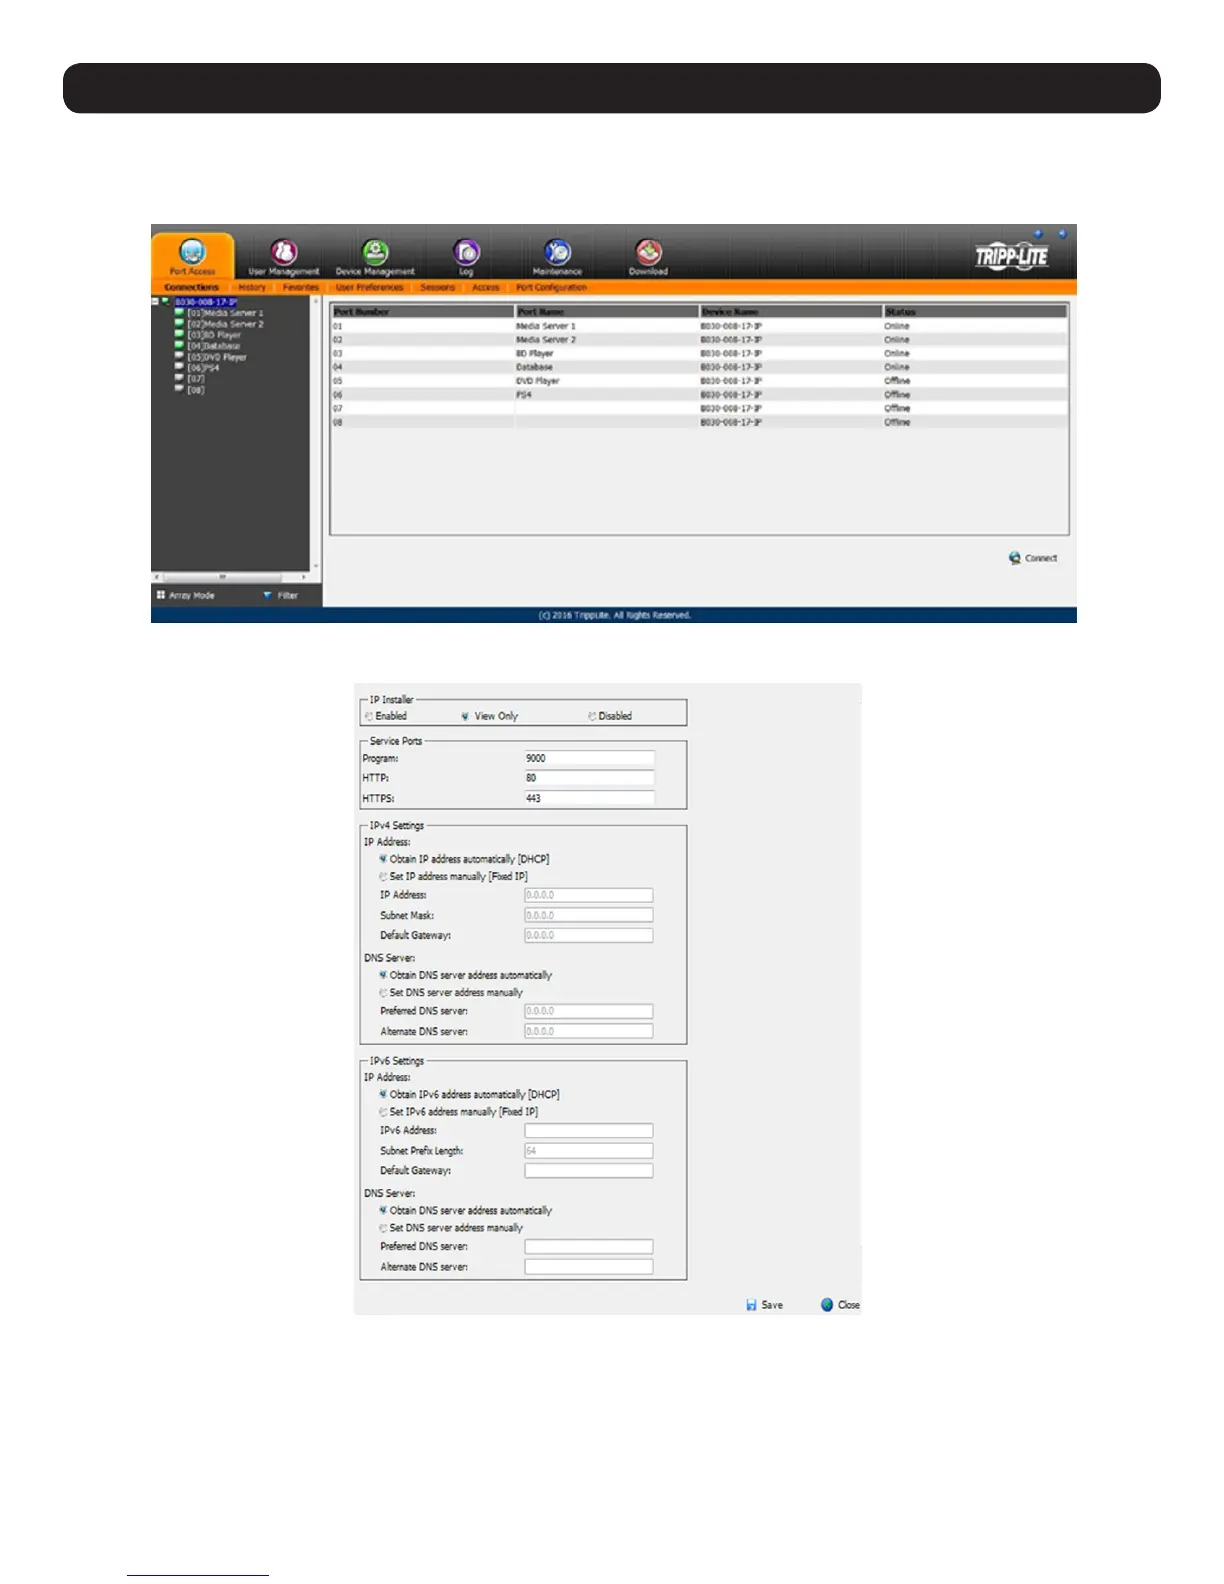
interface will appear with the following page displayed:
4. Click on the Device Management icon at the top of the page, then click on the Network tab. The Network page will appear.
5. The KVM switch supports both IPv4 and IPv6 addresses. The Network page can set the IP address manually or be automatically assigned
via DHCP server. By default, the IP address is set to be automatically assigned via DHCP server. To manually assign an IP address, check
the Set IP address manually check box in the IPv4 Settings or IPv6 Settings sections, depending on your network.
6. When checked, the IP address and DNS server address fields open up. Enter the desired settings in the fields. Once all IP address and DNS
server address information is entered, click the Save icon at the bottom of the screen. Upon logging out of the KVM (click the Logout icon
in the upper-right corner of the screen), the KVM will reset itself and the IP address settings just entered will be implemented.
7. Installation
 Loading...