11
7. Installation
5
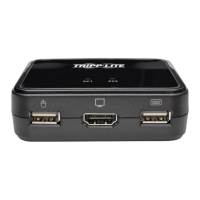
(Optional) Add an external console to the KVM by connecting an HDMI or DVI* monitor and USB keyboard and mouse to the console ports
on the back of the device.
6
Connect the LAN port on the back of the device to the network using Cat5e/6 cable.
7
Plug the included power cord into a Tripp Lite Surge Protector, Power Distribution Device (PDU), Uninterruptible Power Supply (UPS) or AC
wall outlet.
8
Power the connected computers.
9
Power the KVM device.
*Using an HDMI to DVI adapter cable, such as Tripp Lite’s P566-Series cables.
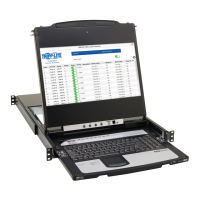
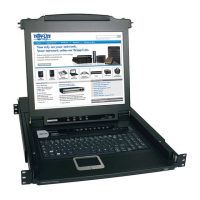
7.5 Opening / Closing the Console
The console consists of two modules: an LCD module located under the top cover and a keyboard / touchpad module below the LCD module.
The modules can slide together or independently of one another. This allows the LCD to be available for viewing while the keyboard / touchpad
module is not in use.
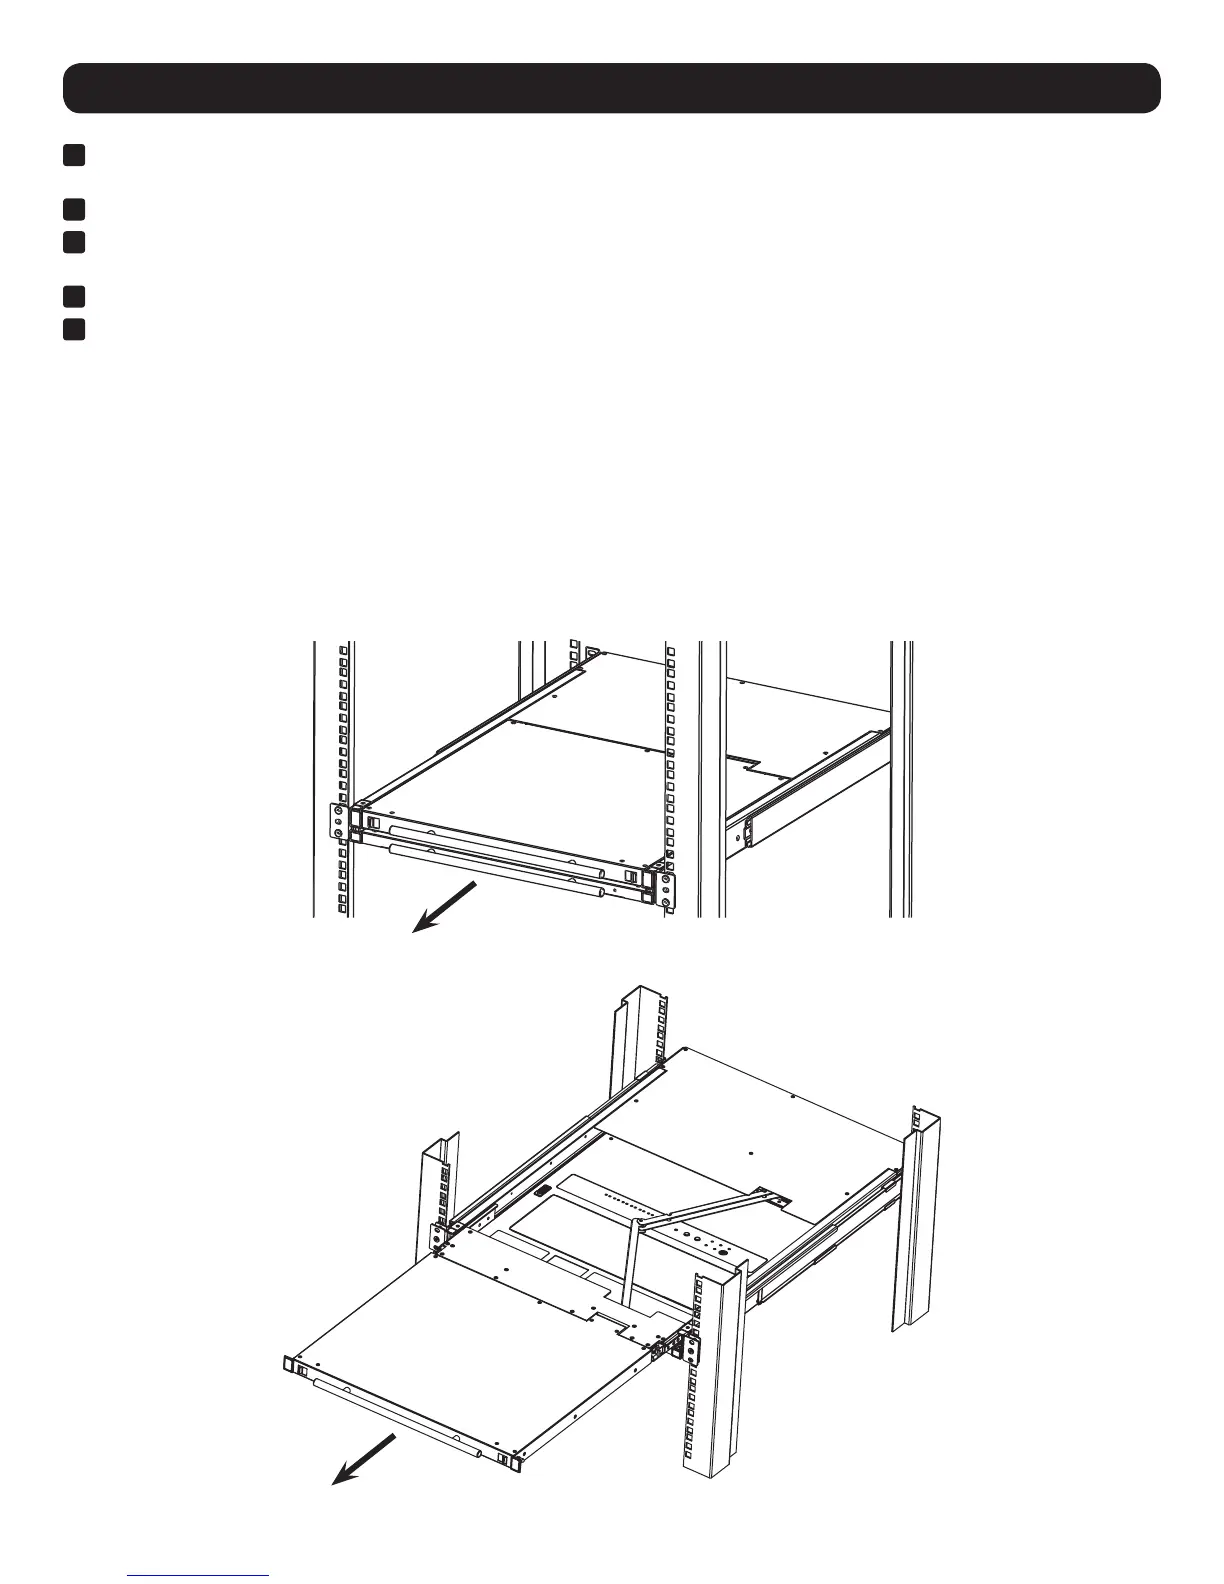
7.5.1 Opening Separately
1. Release the console by sliding the front panel toward the center. Then engage the catches and pull the top panel 1-2 inches toward you.
Once the console has been released, release the catches.
2. Pull the top panel all the way out until it clicks into place.
 Loading...