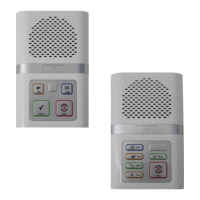
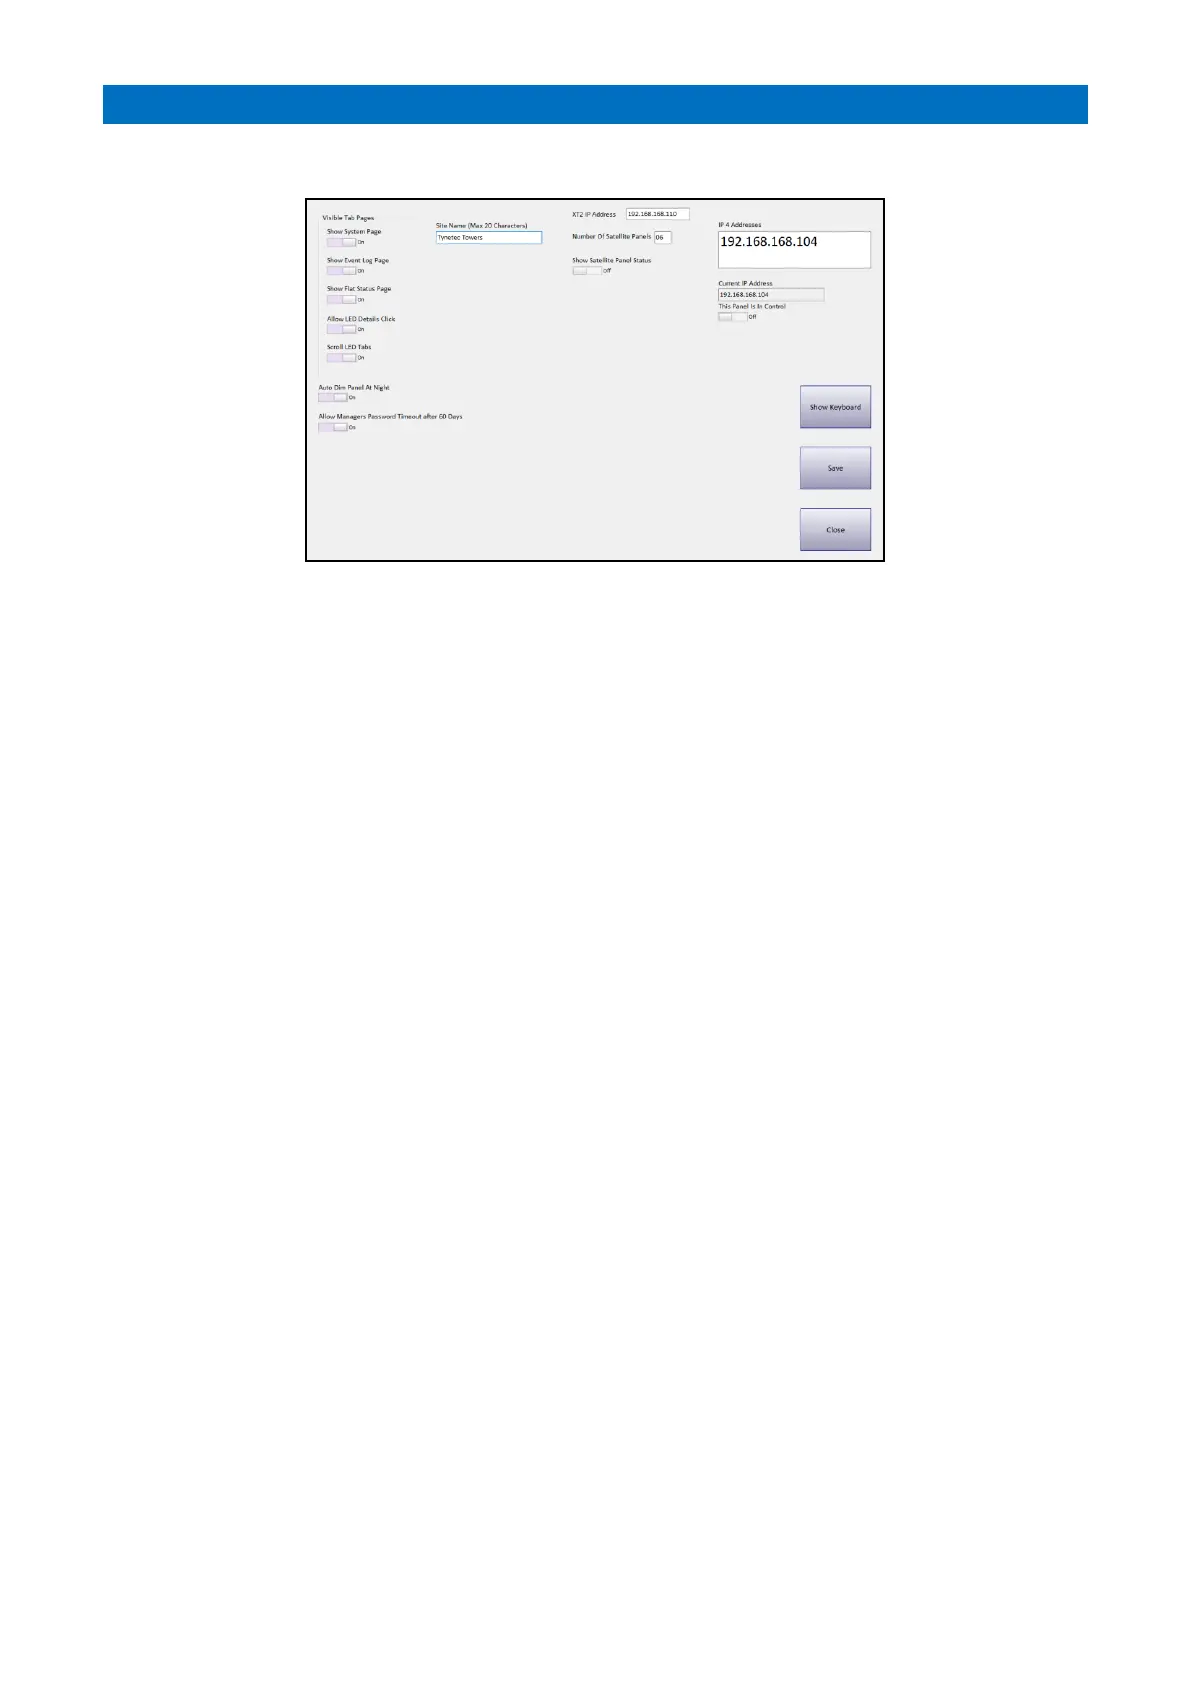
From the System Setup screen press the Panel Settings button;
The Visible Tab Pages group of switches allows you to set which Tab Pages are to be visible on the panel.
For example, the Flat Status page may not be required on panels in communal areas or it may be that it is visible, but
the communal areas should not allow access to the Information Circle (in which case “Allow LED Details Click” should
be disabled’). The facility to scroll though the LED pages can be enabled or disabled. If the system has more than 60
flats it may be a requirement to scroll to show the status of all flats on the system.
The Auto Dim Panel at Night option can be used to reduce the impact of a bright panel at night. If enabled the panel
brightness will be dimmed between 8PM and 7AM.
If Allow Managers Password Timeout after 60 days is enabled and the password has not been changed for 60 days,
the Manager will be prompted to change both the Managers and User password when they Log On. If the password is
not changed, the user interface in terms of displaying calls and allowing the User or Manager to set the system into
Offsite Mode (for example), will continue to operate as normal. However, the Manager will not be able to modify any
system configuration from the System Settings Page.
The Site Name can be entered by pressing the Show Keypad button. This will be displayed on the Notice Board.
The Main panel on the system needs to know the IP address of the XT2 Controller to pass data between the panel and
the controller. This IP address can be set in the XT2 IP Address box.
The Main panel needs to know the number of Satellite panels that are connected to the system so that data can be
transferred between the Controller and the Satellites. Enter this into the Number of Satellite Panels box.
A typical set up could be:
XT2 IP Address: 192.168.168.100
Manager’s Panel (Controller) Current IP Address: 192.168.168.101
Number of Satellite Panels: 5
Satellite Panel IP Addresses: 192.168.168.102, 192.168.168.103, 192.168.168.104, 192.168.168.105, 192.168.168.106
i.e. they must be together in sequence.
The Controller has an option to Show Satellite Panels Status via an array of LED’s on the System page. If Satellites fail
to respond they will show in AMBER, after 5 fails they will be RED. Panels which respond as expected will be GREEN.
If the Show Satellite Panel Status is disabled, the array of status LED’s will only show if one of the panels is failing.
Once all faults are cleared, the array will disappear.
The current list of IP addresses associated with the panel are listed in the IP4 Addresses box. Double-click on the IP
address that has been set for this panel and the address should appear in the Current IP Address box. Once this is
done, the address for this panel is set on the system.
Only 1 panel on the system can be in control. The designated panel should have the This Panel is in Control check
enabled. Note: if more than 1 panel is set to be the controller, the communications between the panels will be
compromised as more than one panel will be sending actions on the Ethernet connection.