20
First Time Installation
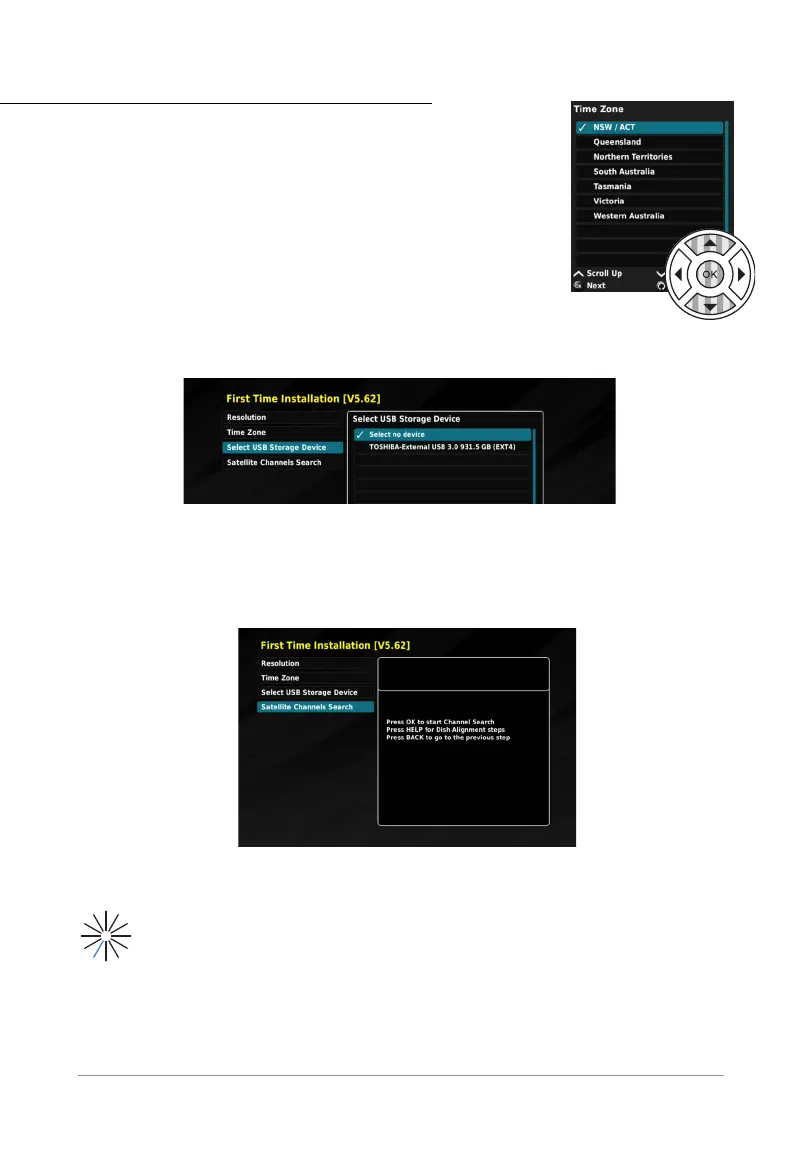
Step 2: Time Zone
Similarly use the NAV buttons to determine your Australian Time
Zone. Press OK button when the correct Time Zone is selected.
Step 3: Select USB Storage Device
If you have connected a recording device (hard disk drive externally
attached), you have the option to select it during the FIRST TIME INSTALLATION.
See “External Storage Setup” on page 37 for further instructions on installing a
storage device.
Step 4: Satellite Channels Search
Finally, the STB needs to search for available channels.
*
Using the NAV buttons, select the SATELLITE CHANNELS SEARCH option and press the OK
button.
Once in the SATELLITE CHANNELS SEARCH, press the OK button again. Your STB will now
automatically search for available satellite channels, this process may take a few minutes.
You will see this icon (loading icon) once the searching process has begun, and the
number of available channels will be calculated.
* It is critical that your satellite dish is installed correctly, and with a single frequency ‘10700’ LNB (via LNB In
port) as recommended by VAST™. See “Trouble Shooting” on page 47.