Step 6: attaching various parts Assembling the frame 26
6 x
4 x
2 x
2 x
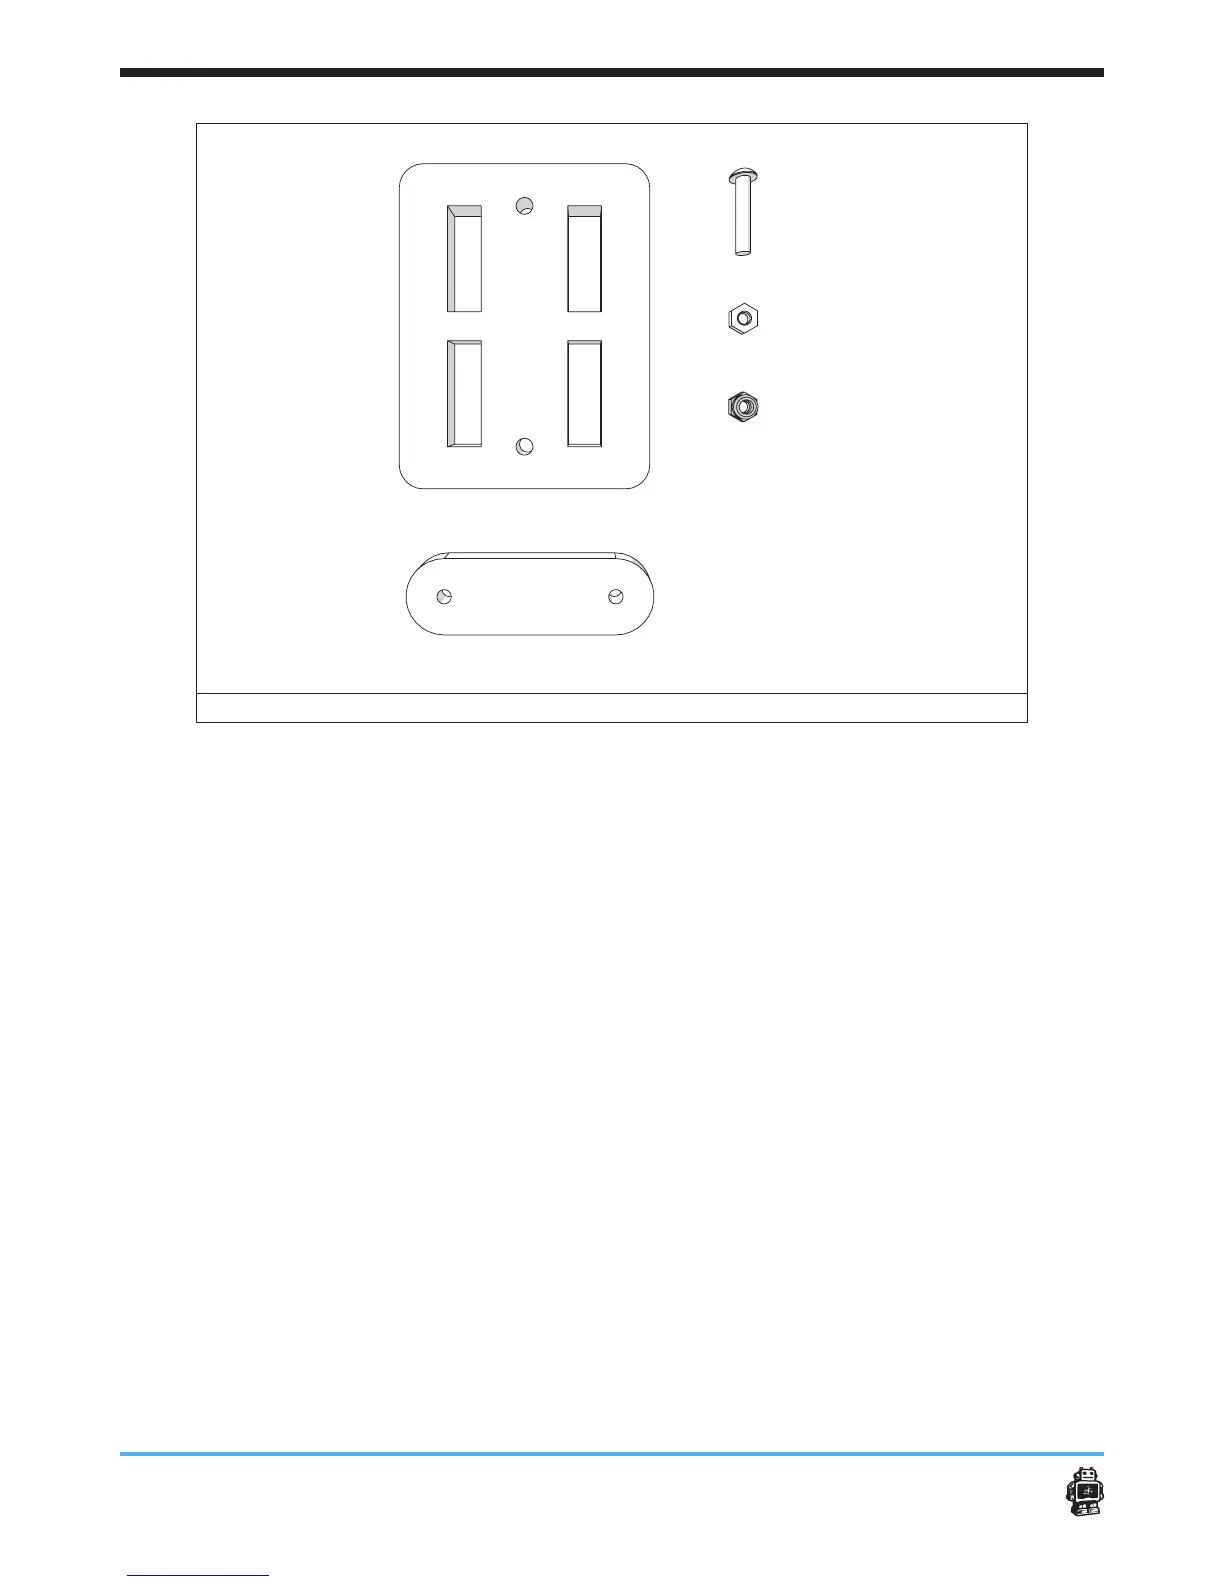
image 21: parts needed for this step
To attach the various parts, perform the following actions:
1. Attach wooden part 11A, see image 22. Make sure the lock nuts M3 are
attached on the outside.
Use two lock nuts M3 and two bolts M3 x 16mm.
2. Attach two wooden parts 3A to the bottom of the machine.
Use two bolts M3 x 16mm and two lock nuts M3 for each wooden
part3A. See image 23
5 Notice: wooden part 3A is 6mm thick, NOT 4mm.
A
B
C
D
E
 Loading...


