Step 2: connecting the controller Assembling and connecting the UltiController 95
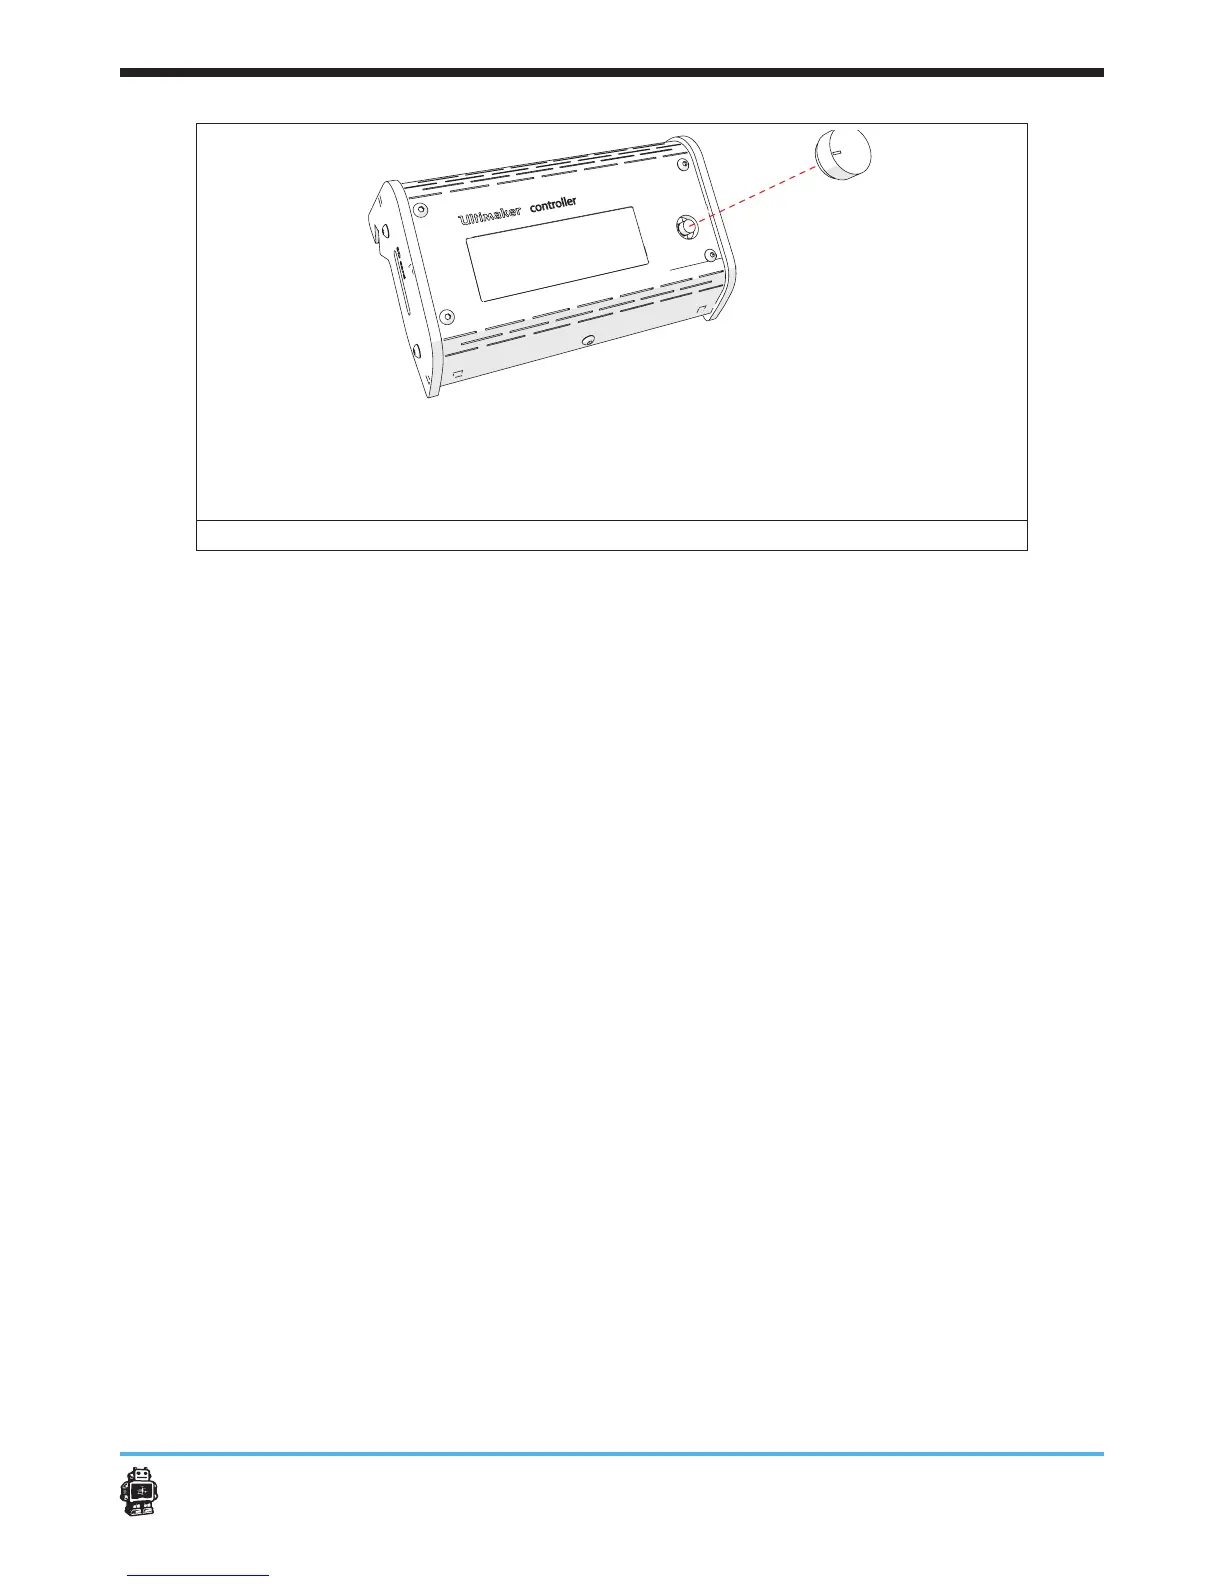
image 113: placing the button
6.7.2. Step 2: connecting the controller
To connect the UltiController, perform the following actions.
1. Turn o the Ultimaker Original+.
2. Disconnect the electronic cover.
3. Guide the cables through the hole in the BOTTOM panel.
4. Connect the cable
5. Place back the Electronics cover.
6. Put the UltiController on the lower part of the FRONT panel.
7. Turn the power on.
8. Insert the SD-card.
5 Notice: check for rmware updates and information the Software
setup guide.
Congratulations! You are ready to print now.