Home
Ultimaker
3D Printers
ORIGINAL+
Assembly Instructions
Page 9 (Different Sides Of The Ultimaker Original)
Ultimaker ORIGINAL+ - Different Sides Of The Ultimaker Original
101 pages
Manual
Save Page as PDF
To Next Page
To Next Page
To Previous Page
To Previous Page
Loading...
9
5.2
Dier
ent sides of the Ultimak
er
Original+
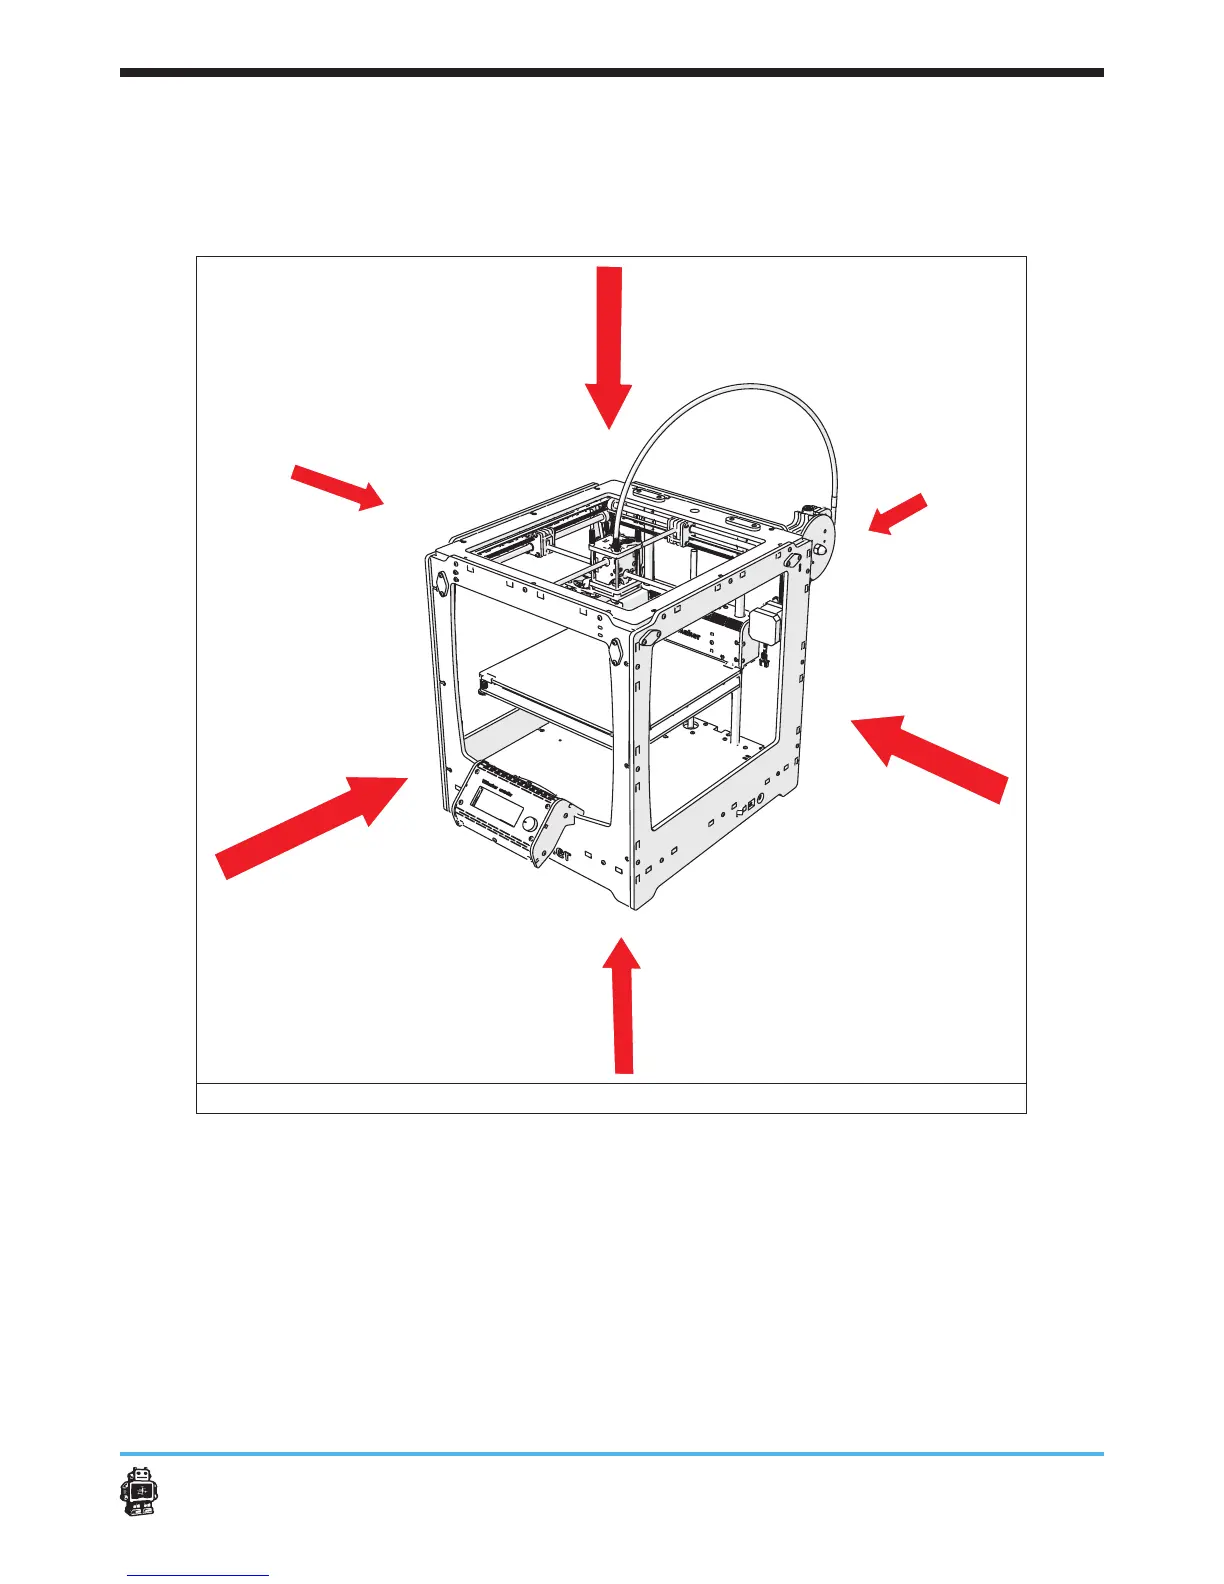
In this manual,
y
ou will r
ead about FRONT
side,
BACK
side,
LEFT
side,
RIGHTside,
T
OP side and BO
TT
OM side.
In image 1 these terms are
claried.
image 1:
sides of
the Ultimaker Original+
8
10
Table of Contents
Main Page
Default Chapter
3
Table of Contents
3
1 Introduction
5
Product Description
5
Used Symbols
5
2 Technical Specifications
6
General Product Specifications
6
Environmental Conditions
6
3 Precautions and Safety Instructions
7
4 Preparation before Assembling
8
Engraving
8
Sanding
8
5 What to Expect Reading the Assembly Instructions
8
Structure of the Assembly Instructions
8
Different Sides Of The Ultimaker Original
9
6 Assembling the Ultimaker Original
10
Assembling the Frame
10
Step 1: Inserting the Ball Bearings
11
Step 2: Mounting the Limit Switches
12
Step 3: Assembling the X and y Motor
16
Step 4: Preparing the BOTTOM Panel
19
Step 5: Assembling the 'Cube'-Shaped Frame
20
Step 6: Attaching Various Parts
25
Assembling the X/Y Axes
28
Step 1: Assembling the FRONT, BACK, RIGHT, LEFT Slider Blocks
29
Step 2: Attaching the Claws
30
Step 3: Mounting the Caps
32
Step 4: Mounting the Axes
36
Assembling the Extrusion Head
42
Step 1: Assemble the Extrusion Head Housing
43
Step 2: Cooling Fan Assembly
51
Step 3: Attaching the Housing on the XY Frame
53
Assembling the Z Stage
57
Step 1: Assembling the Aluminium Base Plate
58
Step 2: Assembling the Heated Bed PCB
60
Step 3: Connecting the PCB to the Baseplate
62
Step 4: Finishing the Z Stage Assembly
64
Step 5: Installing the Z Stage in the Machine
67
Step 7: Greas It up
69
Assembling the Material Feeder
70
Step 1: Drive Mechanism Main Body Assembly
71
Step 2: Drive Bolt Assembly
73
Step 3: Clamp Assembly
75
Step 4: Attaching the Feeder to the Machine
80
Step 5: Assemble the Filament Holder
80
Mounting the Electronics Circuit Board
83
Step 1: Mounting the Electronic Circuit Board
84
Step 2: Connecting the Heater and Heated Bed
85
Step 3: Connecting the Print Head Electronics
87
Step 4: Connecting the Limit Switches
87
Step 5: Connecting the Motors
87
Step 6: Mounting the Electronics Cover
89
Step 7: Strain Relief
89
Step 8: Aligning the Z-Stage
90
Step 9: Checking and Aligning the Top-Z Limit Switch
90
Assembling and Connecting the Ulticontroller
92
Step 1: Assembling the Ulticontroller
93
Step 2: Connecting the Controller
95
7 Usage of the Ultimaker Original
96
Using the Ultimaker Original+ for the First Time
96
Slicer Software
97
Other manuals for Ultimaker ORIGINAL+
Manual
20 pages
Assembly Manual
99 pages
Related product manuals
Ultimaker Original
35 pages
Ultimaker 3
50 pages
Ultimaker S5
68 pages
Ultimaker S3
33 pages
Ultimaker 2+
46 pages
Ultimaker 2 Go
34 pages
Ultimaker METHOD XL
29 pages
Ultimaker 3 Extended
50 pages
Ultimaker 2+ Connect
39 pages
Ultimaker 2 Extended
30 pages
Ultimaker S5 Pro Bundle
52 pages
Ultimaker S5 Material Station
128 pages