Step 3: Mounting the caps Assembling the X/Y axes32
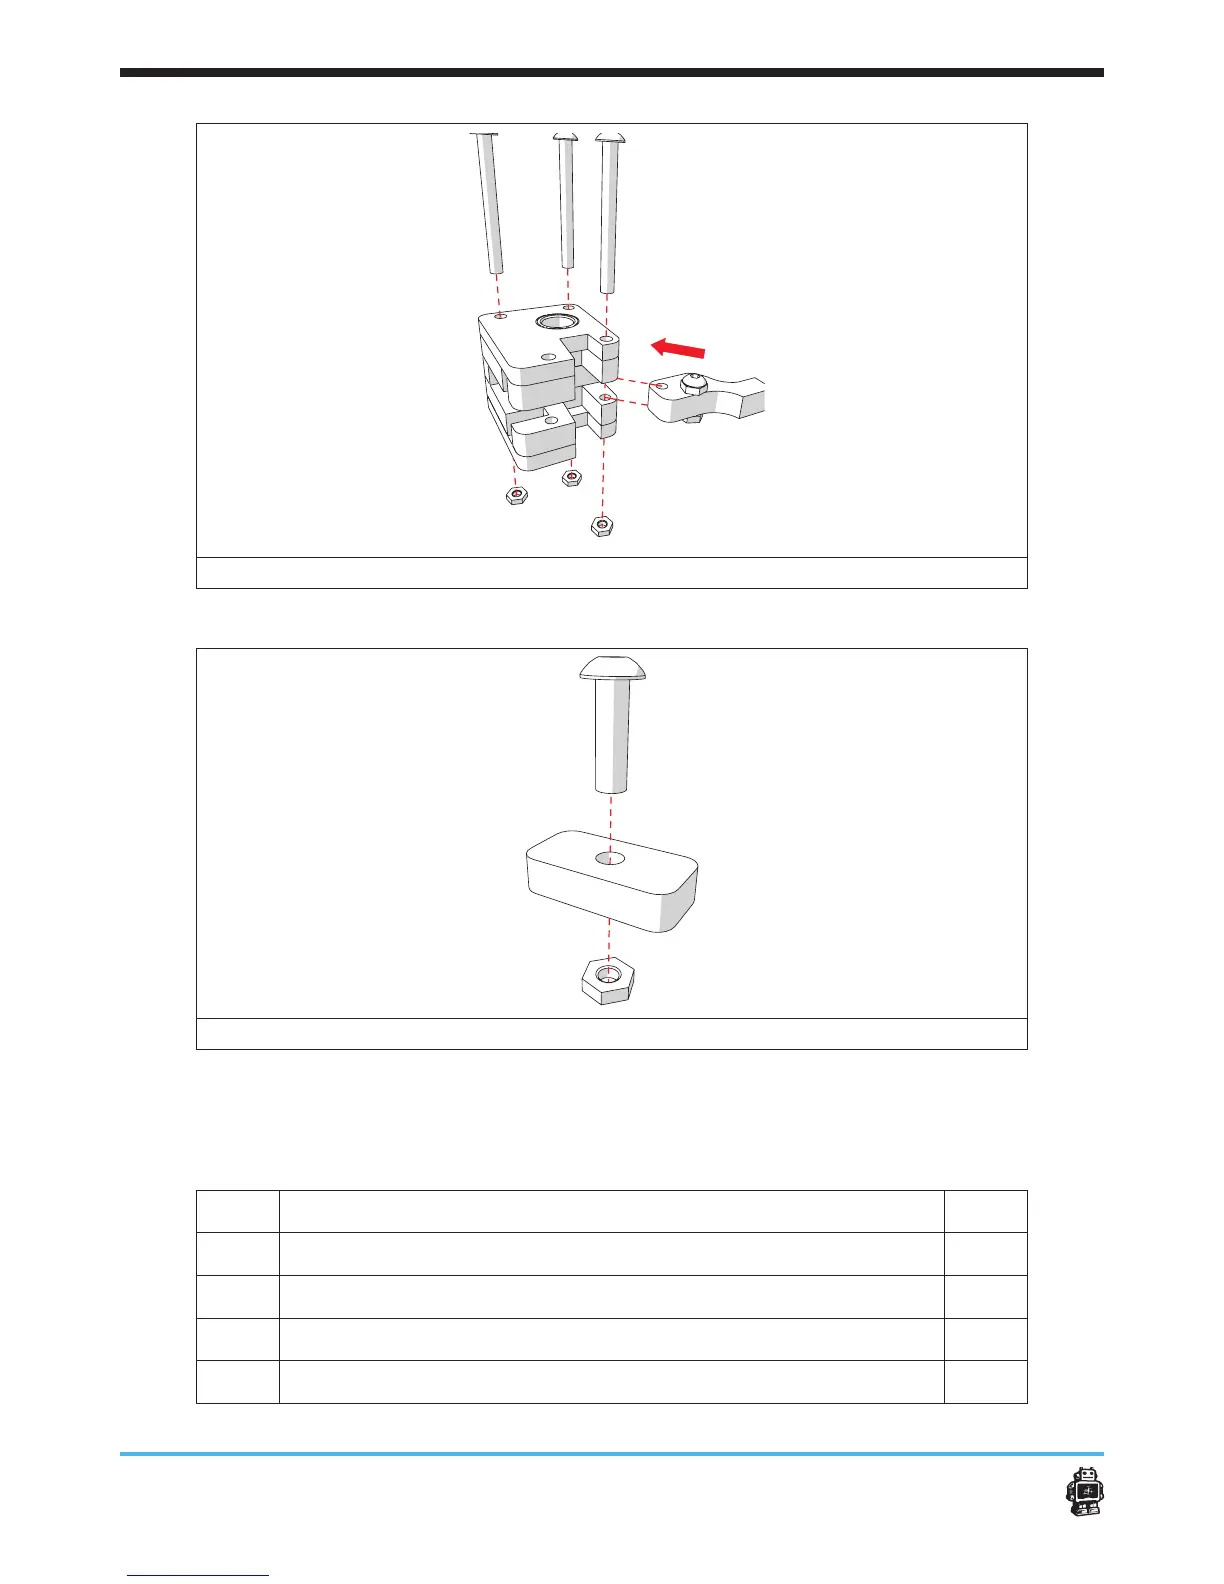
image 29: placing the wooden part marked C in the FRONT slider block
image 30: assembling wooden parts, marked FRONT C, RIGHT C, LEFT C and BACK C
6.2.3. Step 3: Mounting the caps
The following parts are needed in this step.
Letter Description Qnty.
A
wooden end caps WITHOUT hole 8
B
wooden caps WITH hole 6
C
bolts M3 x 16mm 16
D
hex nuts 3mm 16