Step 1: mounting the electronic circuit board Mounting the electronics circuit board84
What you need to know before you start attaching the electronics.
The electronics simply need to be attached to the machine and a few wire
connectors plugged in.
Warning! When handling electronics make sure that you are not
statically charged. This can permanently damage your electronics.
6.6.1. Step 1: mounting the electronic circuit board
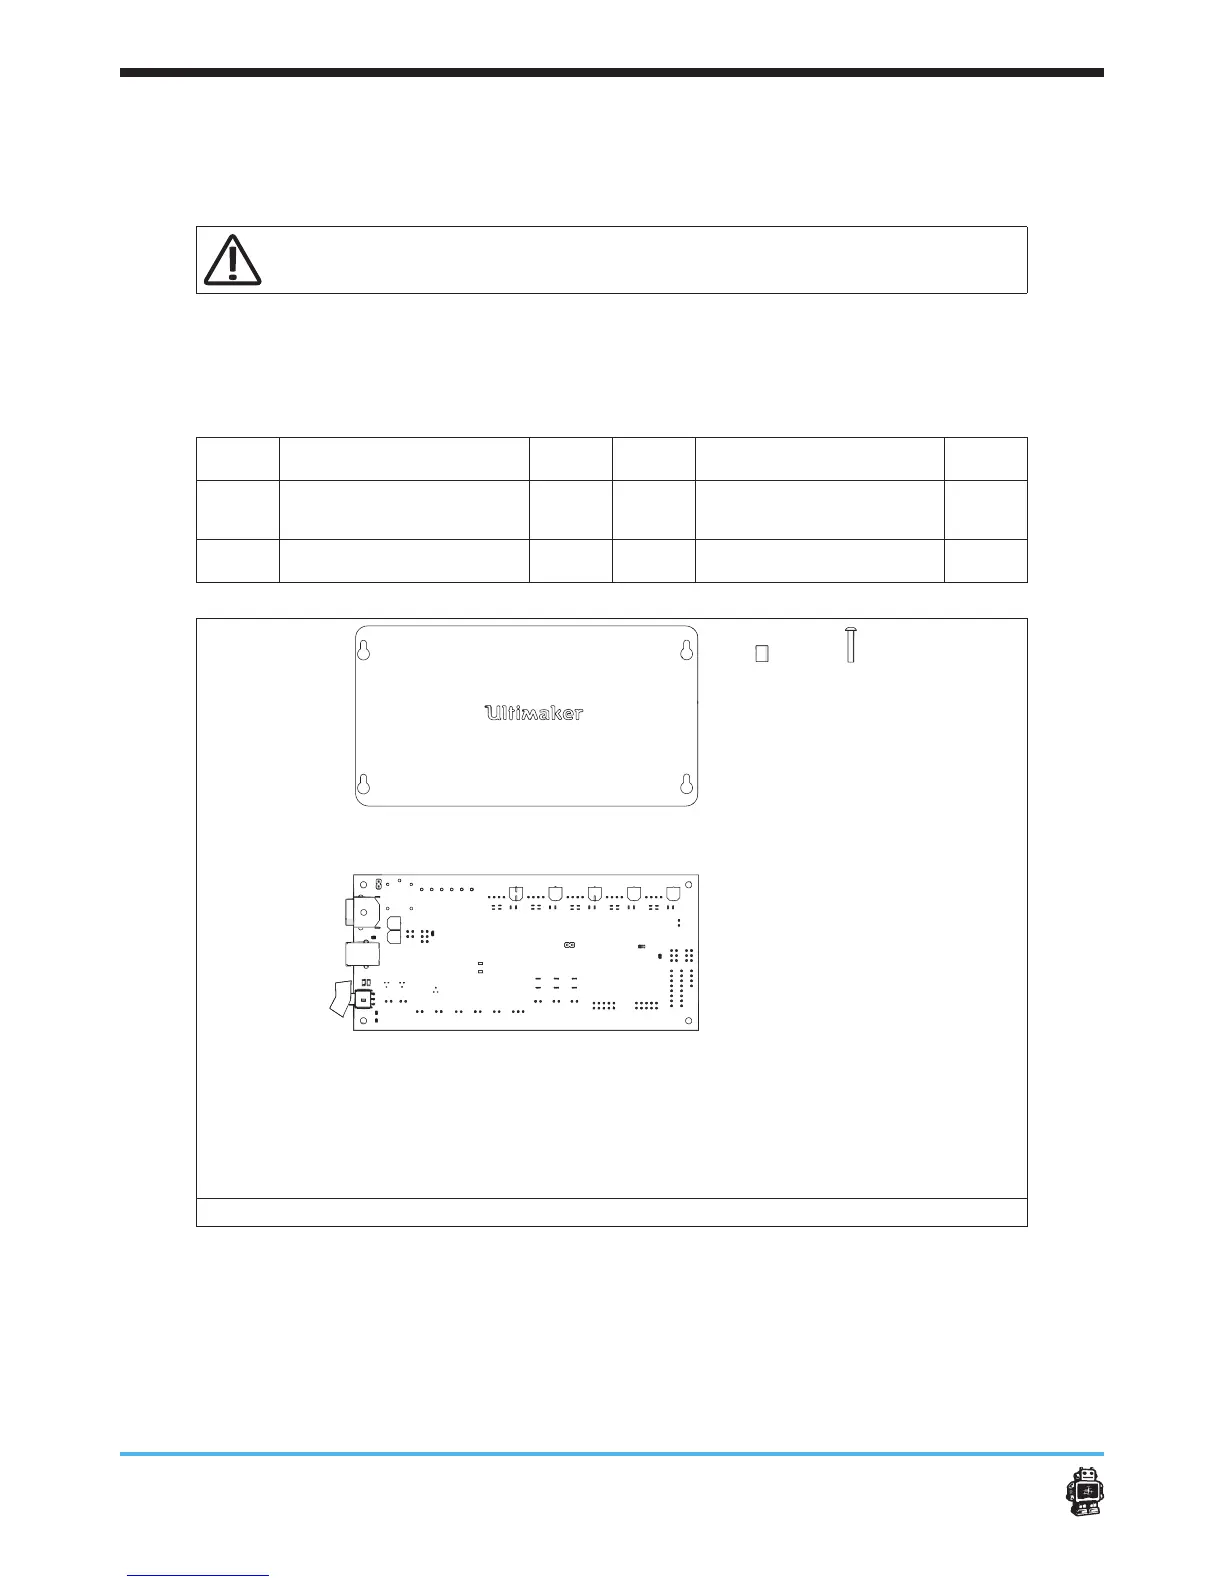
The following parts are needed in this step.
Letter Description Qnty. Letter Description Qnty.
A
bolts M3 x 30mm 4
C
electronic circuit
board
1
B
Spacer 8mm 4
D
Electronics Cover 1
image 105: parts needed for this step
To attach the electronic circuit board, perform the following actions.
(for action 1-4 see image 106)
1. On the BOTTOM panel put four bolts M3 x 30mm from INSIDE towards
OUTSIDE.
2. Place the tube spacers over the four bolts M3 x 30mm.
3. Place the electronic circuit board over the bolts M3 x 30mm, on the
AB
C
D