30
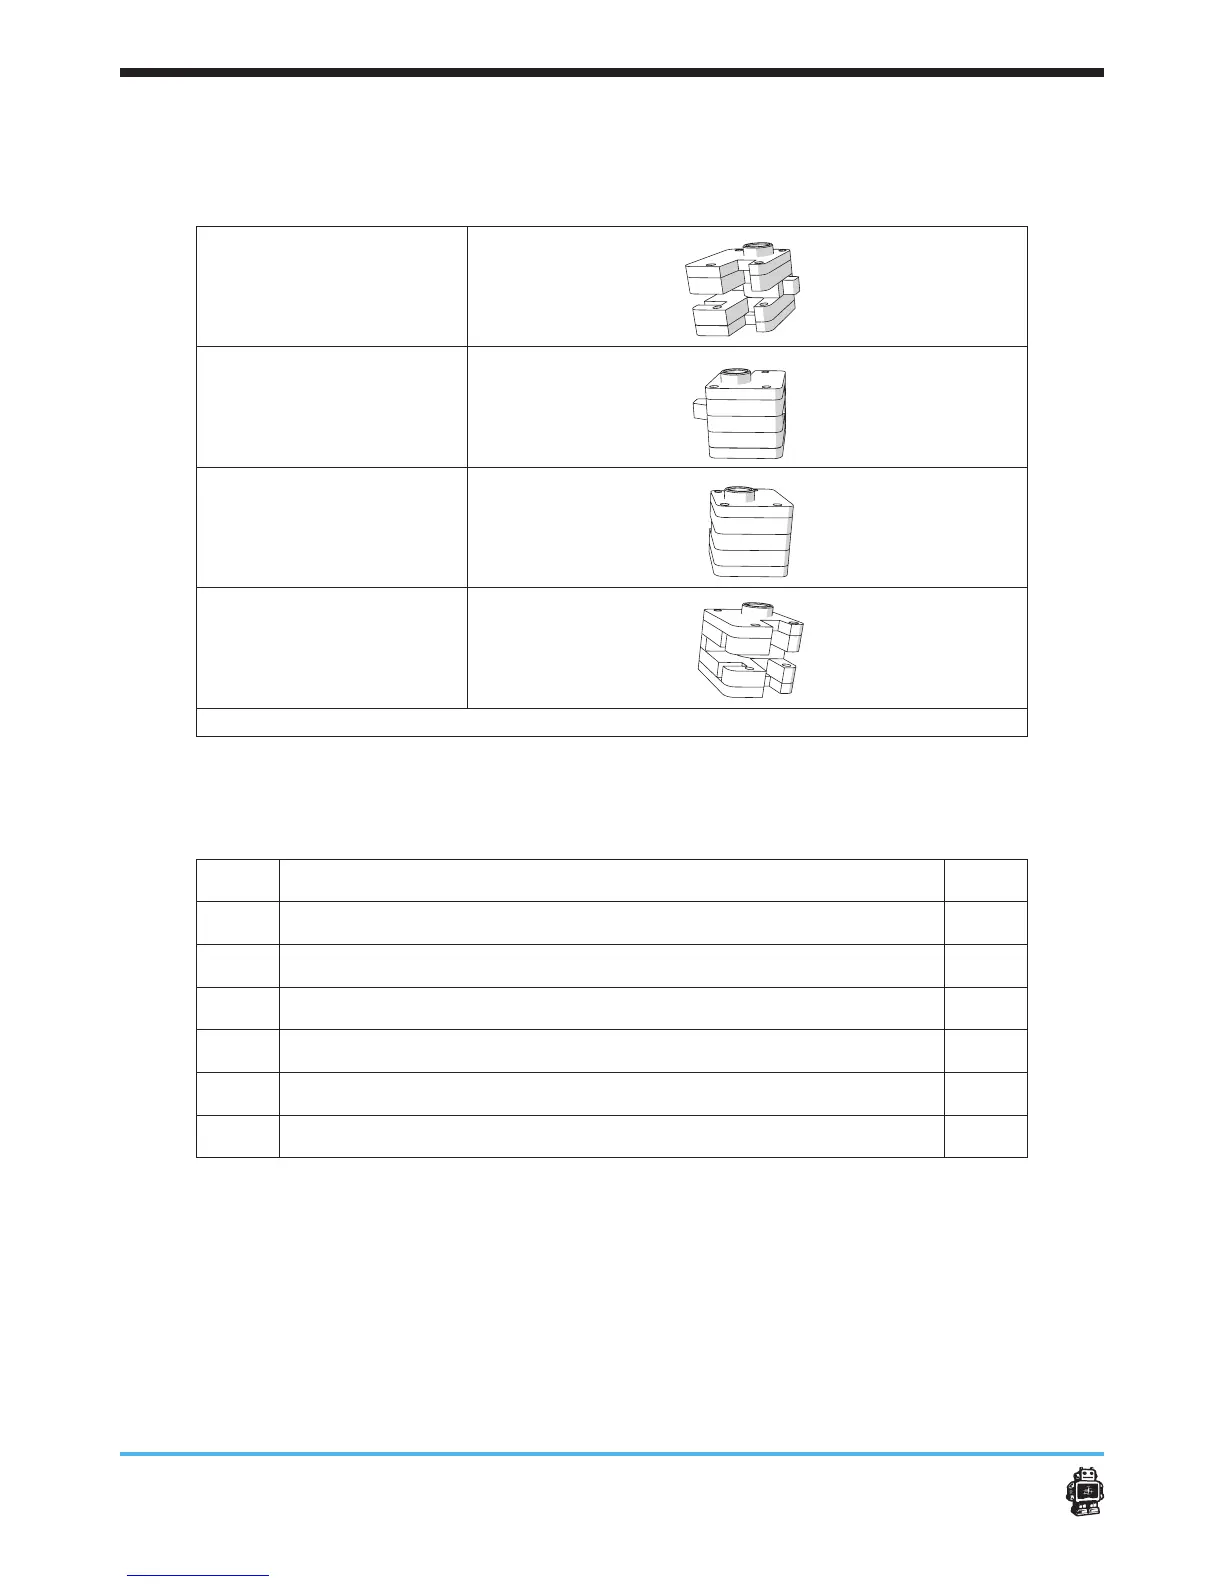
2. Do the same for the RIGHT, LEFT, and BACK slider blocks. Make sure
the order of the wooden parts are correct.
FRONT slider block
LEFT slider block
RIGHT slider block
BACK slider block
image 26: Result assembling FRONT, LEFT, RIGHT and BACK slider blocks
6.2.2. Step 2: Attaching the claws
The following parts are needed in this step.
Letter Description Qnty.
A
FRONT, LEFT, RIGHT, BACK slider blocks 4
B
bolts M3 x 10mm 8
C
4mm wooden parts marked C 4
D
hex nuts 3mm 24
E
bolts M3 x 30mm 12
F
wooden parts marked C 4