Step 1: drive mechanism main body assembly Assembling the material feeder72
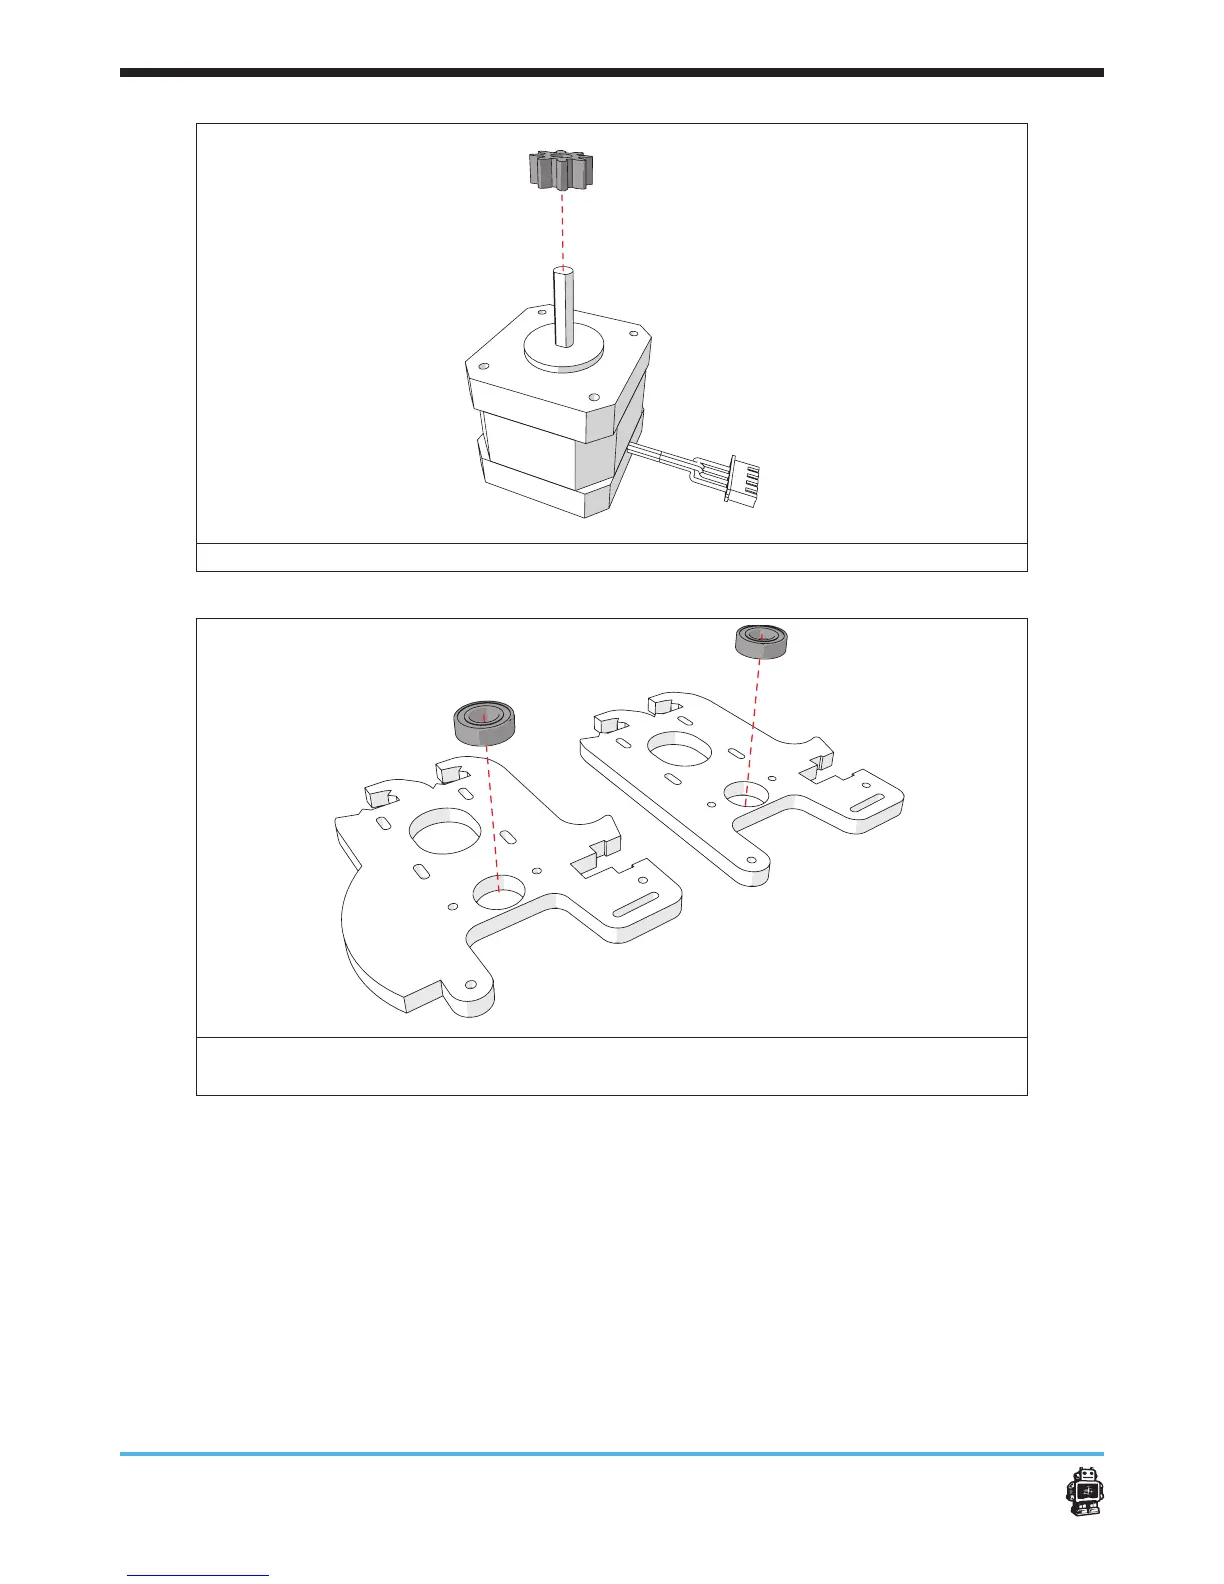
image 88: moving the small black gear over the motor axis
image 89: placing the ball bearings 8mm in the wooden part 10A and the wooden
part 10C
(for action 4-9 see image 90)
4. Place wooden part 10A on top of the motor.
5 Notice: make sure the engraving is facing the motor.
5. Place the wooden part 10B on top of the wooden part 10A.
6. Place the quick t coupling in the T-slot.
7. Place the wooden part 10C on top of the wooden part 10B.
8. Place the wooden part 10D on top of the wooden part 10C.
9. Attach the wooden parts A, B, C and D on the motor.
Use four bolts M3 x 20mm and two bolts M3x25mm