2.3.2. Mounting Description
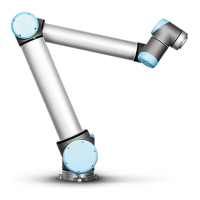
Robot Arm
The robot arm is mounted with four 8.8 strength, M8 bolts and four 8.5mm mounting holes at the
base.
WARNING
Make sure the robot arm is properly and securely bolted in place. Unstable mounting
can lead to accidents.
2.3.3. Securing the Robot Arm
Figure1.3 shows where to drill holes and mount the screws. You can purchase an accurate base
counterpart as an accessory.
1. Mount the robot on a sturdy, vibration-less, surface that can withstand at least ten times the
full torque of the base joint and at least five times the weight of the robot arm.
If the robot is mounted on a linear axis, or a moving platform, then the acceleration of the
moving mounting base is very low. High acceleration might cause the robot to make a safety
stop.
2. Tighten the bolts to 20Nm torque. (Torque values have been updated SW5.14. Earlier printed
version will show different values)
3. Use the two Ø8 holes provided, with a pin, to accurately reposition robot arm.
WARNING
Power down the robot arm to prevent unexpected start-up during mounting and
dismounting.
To power down the robot arm:
1. Press the power button on the Teach Pendant to turn off the robot.
2. Unplug the mains cable / power cord form the wall socket.
3. Allow 30 seconds for the robot to discharge any stored energy.
CAUTION
Mount the robot in an environment suited to the IP rating. The robot must not be
operated in environments that exceed those corresponding to the IP ratings of the
robot (IP54), Teach Pendant (IP54) and Control Box (IP44)
UR5e User Manual
Copyright © 2009–2023 by UniversalRobotsA/S. All rights reserved.
 Loading...


