EasyManua.ls Logo

Urban MilkShuttle User Manual

Urban MilkShuttle
88 pages
To Next Page IconTo Next Page
To Previous Page IconTo Previous Page
Page #52 background imageLoading...
Page #52 background image
Programming and calibrating
52
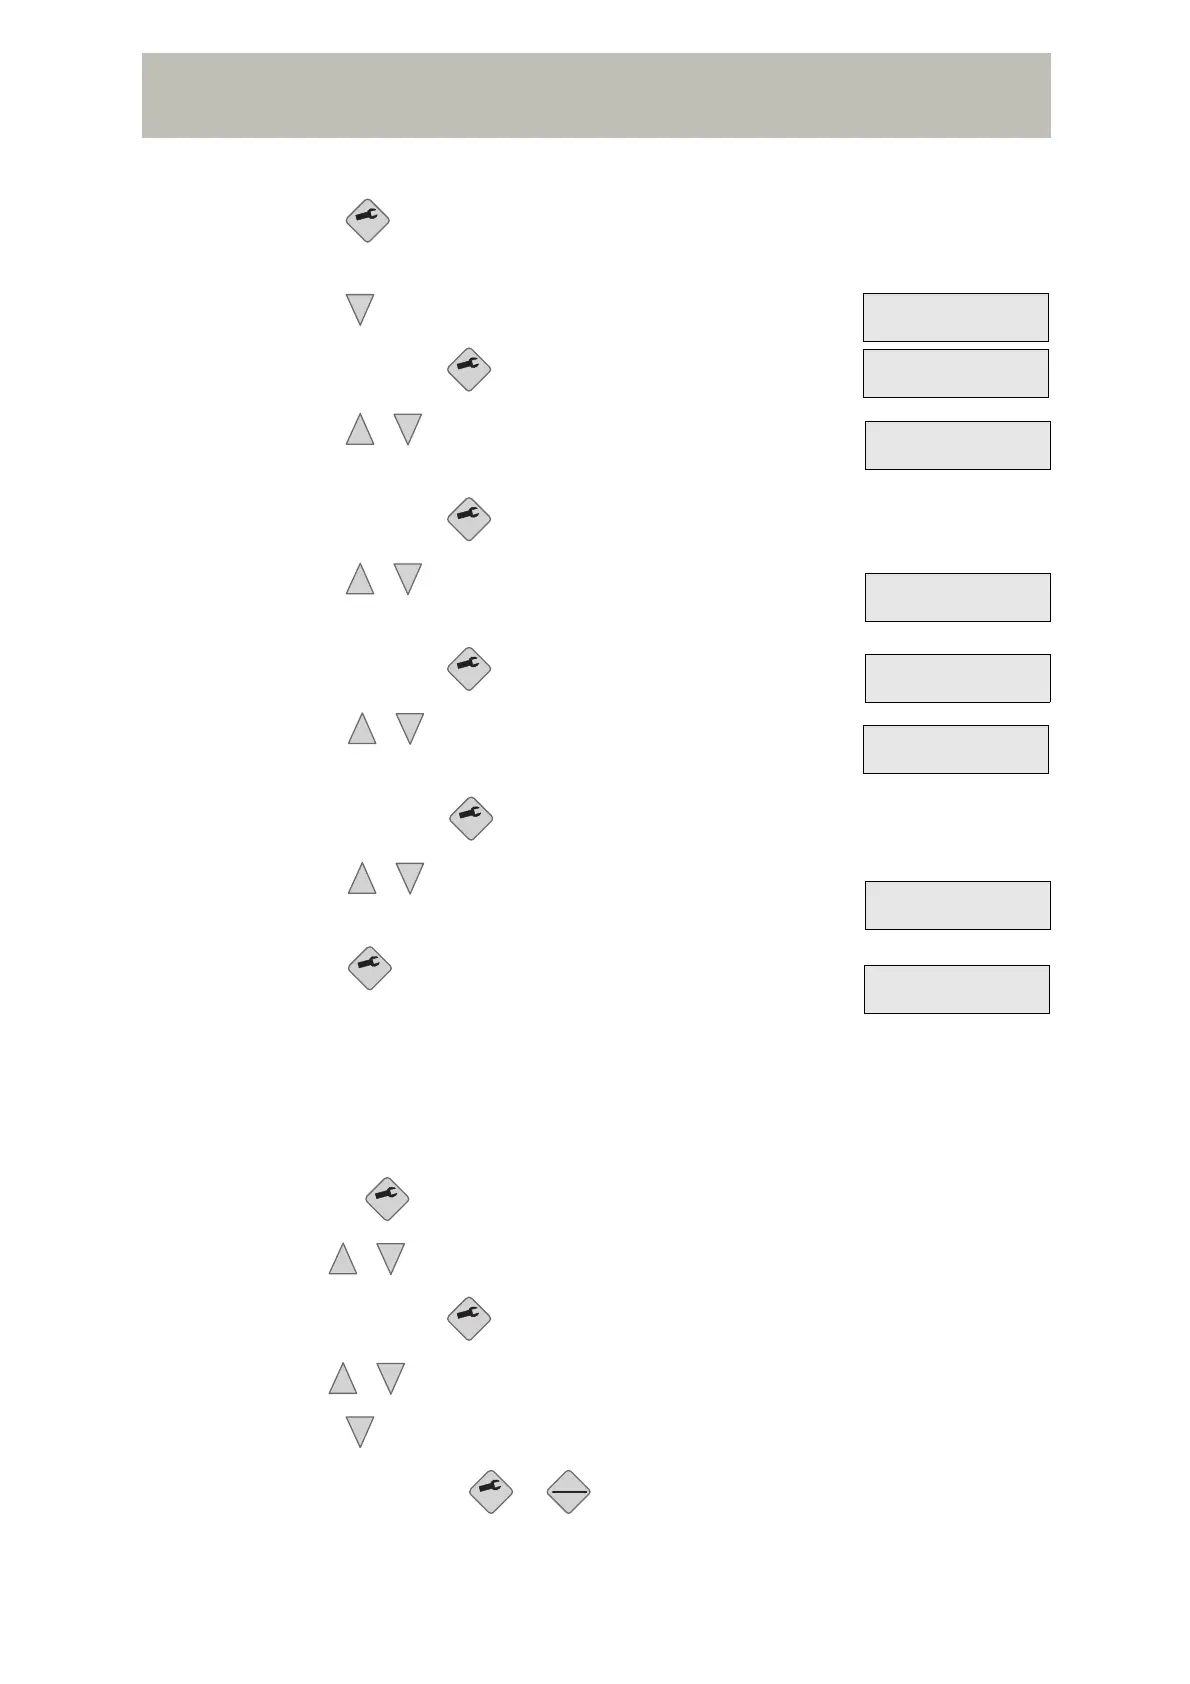
3. Press (approx. 2 seconds) to switch to the programming mode.
4. Press to switch to the "SET Start time 1" display:
5. Briefly press the key again:
6. Press / to set the required start time (hours)
for mornings:
7. Briefly press the key again.
8. Press / to set the required start time (minutes)
for mornings:
9. Briefly press the key again.
10.Press / to set the required start time (hours)
for evenings:
11.Briefly press the key again.
12.Press / to set the required start time (minutes)
for evenings:
13.Press briefly again to exit the programming mode.
Start times 2 and 3 can be programmed accordingly.
7.3.4 Deleting the start times
You can delete the programmed start times as follows:
1. Use the key to move to the start time to be deleted.
2. Use / to set the hours to "00".
3. Briefly press the key.
4. Use / to set the minutes to "00".
5. Press once; "--:--" is displayed.
6. Exit the menu with or .
SET
-
SET Start time 1
--:-- --:--
SET
SET Start time 1
>--<-- --:--
+
-
SET Start time 1
>07<00 --:--
SET
+
-
SET Start time 1
07>00< --:--
SET
SET Start time 1
07>00< >--<--
+
-
SET Start time 1
07:00 >15<00
SET
+
-
SET Start time 1
07:00 15>30<
SET
SET Start time 1
07:00 15:30
SET
+
-
SET
+
-
-
SET
ESC
INFO

Table of Contents

Question and Answer IconNeed help?

Do you have a question about the Urban MilkShuttle and is the answer not in the manual?

Urban MilkShuttle Specifications

General IconGeneral
BrandUrban
ModelMilkShuttle
CategoryFarm Equipment
LanguageEnglish

Summary

2 For Your Safety

2.1 Symbols Used in Instructions

Explanation of safety symbols and their meanings.

2.2 Warning Symbols on the Device

Location and identification of warning symbols on the Milk Shuttle unit.

2.3 Possible Dangers

Identifies potential hazards and risks associated with operating the device.

2.4 Recommended Personnel

Specifies the required qualifications and capabilities for operating personnel.

3 Technical Data

4 Overview of Milk Shuttle

4.4 Operating and Display Elements

Identifies and describes the controls and displays on the Milk Shuttle.

4.4.1 Operating Panel

Detailed explanation of the buttons and functions on the main operating panel.

5 Start-up

5.3 Unpacking

Step-by-step instructions for safely unpacking the Milk Shuttle.

5.5 Electrical Connection

Requirements and procedures for connecting the Milk Shuttle to a power source.

5.5.1 Requirements

Specifies the electrical safety and connection requirements.

5.5.2 Connecting to the Power Supply

Detailed steps for connecting the Milk Shuttle to the mains power supply.

6 Operation

6.2 Heating/Agitating

Instructions for heating and agitating milk or feed mixtures.

6.2.1 Filling/Mixing the Feed

Process for filling and mixing the feed into the Milk Shuttle.

6.3 Feeding

Procedures for dispensing the prepared feed to calves.

6.4 Cleaning

Procedures for cleaning the Milk Shuttle after use.

7 Programming and Calibrating

7.2 Calibration

Procedures for calibrating device functions like pump and temperature.

7.2.1 Calibrate Pump (Time-Controlled)

Calibrating the pump based on time-controlled dispensing amounts.

7.3 Programming Heating and Agitating

Setting parameters for heating and agitating milk or feed.

7.4 Programming Feeding

Setting up pre-programmed feed amounts for different feeding cycles.

7.5 Programming the Cleaning Programs

Configuring different cleaning cycles, including simple and extended options.

8 What If...

8.1 General Errors

Common error descriptions and their possible causes and remedies.

8.2 Display Messages

Explanation of various error and status messages shown on the device display.

9 Maintenance/Repairs

9.1 Replace Wearing Part Set

Instructions for replacing worn components of the agitator assembly.

9.3 Replace Batteries

Procedures for replacing the device's internal batteries.