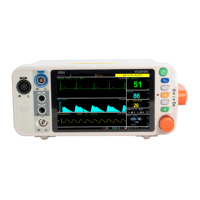
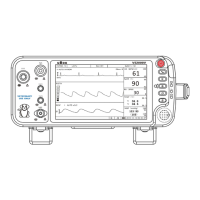
Chapter 4: Setting up the Monitor
VS2000 Vital Signs Monitor Operation Manual 4-1
Chapter 4: Setting up the Monitor
4.1 Unpacking the Monitor and Check the Shipment
1. Carefully remove the monitor and its accessories from the shipping
carton. Save the packing materials in case the monitor must be shipped
or stored.
2. Compare the packing list with the supplies and equipment you received
to make sure you have everything you’ll need.
4.2 Quick Setup Instructions
Follow these setup steps every time you begin monitoring a patient. See
Detailed Setup Instructions in this chapter for a thorough explanation of each
step.
1. Choose the installation site.
2. Check the monitor’s AC rating.
3. Connect the AC power cord.
4. Press the ON/OFF key to turn on the monitor.
5. Set the patient information.
6. Use the main menu to define some general configuration information and
parameter options.
7. If necessary, set the time and date on the display.
4.3 Detailed Setup Instructions
1. Set up the monitor in a room with a temperature of 0-40° C (32-104° F) and
a relative humidity of 15-95%, non-condensing.
a. If the monitor was in an area having a temperature higher or lower than
this, wait a few minutes before setting up and using the monitor.
2. Check the monitor's AC rating. Check the monitor's AC rating plate to
ensure the nominal voltage at your installation site matches the monitor's
rating.
a. If the AC rating is not correct, do not use the monitor. Contact your
authorized repair center for help.