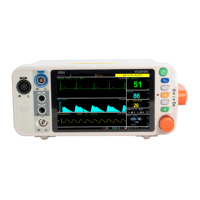
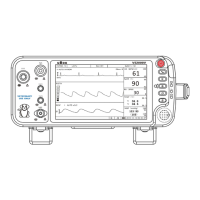
Chapter 5: Monitoring the Patient
VS2000 Vital Signs Monitor Operation Manual 5-3
NOTE! Alarms may be tested while the monitor is in use by setting alarm
limits such that the measured value is outside the limits. Return
the alarm limits to their clinically appropriate settings after testing.
To set the high and low alarm limits:
1. Be sure that the sensor for each parameter is connected to the monitor, and
the parameter or measured value is shown on the display.
2. Press the menu key to pop up the main menu at the bottom of the display.
Turn the rotary knob on the monitor to move the cursor, highlight “Alarm” and
push the knob to select.
3. Highlight the name of each measured value and push the knob to select.
4. Highlight the high alarm limit and push the knob to select.
5. Turn the rotary knob to choose the desired value and push the knob to
select.
6. Turn the rotary knob to highlight the low alarm limit and push the knob to
select.
7. Turn the rotary knob to choose the desired value and push the knob to
select.
8. Turn the rotary knob to “OK” or “Cancel” button and push it to save or
delete your settings.
5. 6 Use these Features as Needed
5.6.1 Responding to an Alarm
1. When a numeric measured value matches or exceeds the high or low limit
set for that parameter, an alarm is issued. An audible alarm tone will sound,
alarm event will appear in the alarm status bar, and the violating measured
value will flash in the parameter box.
2. The alarming action will cease when the measured value is once again
within the alarm limits. Your monitor will either automatically stop alarming as
soon as the measured value returns to within the alarm limits, or it will require