2. If assembling a 50-in. to 99-in. plenum, skip to step 5.
–or –
If assembling a 122-in. plenum, continue with step 3.
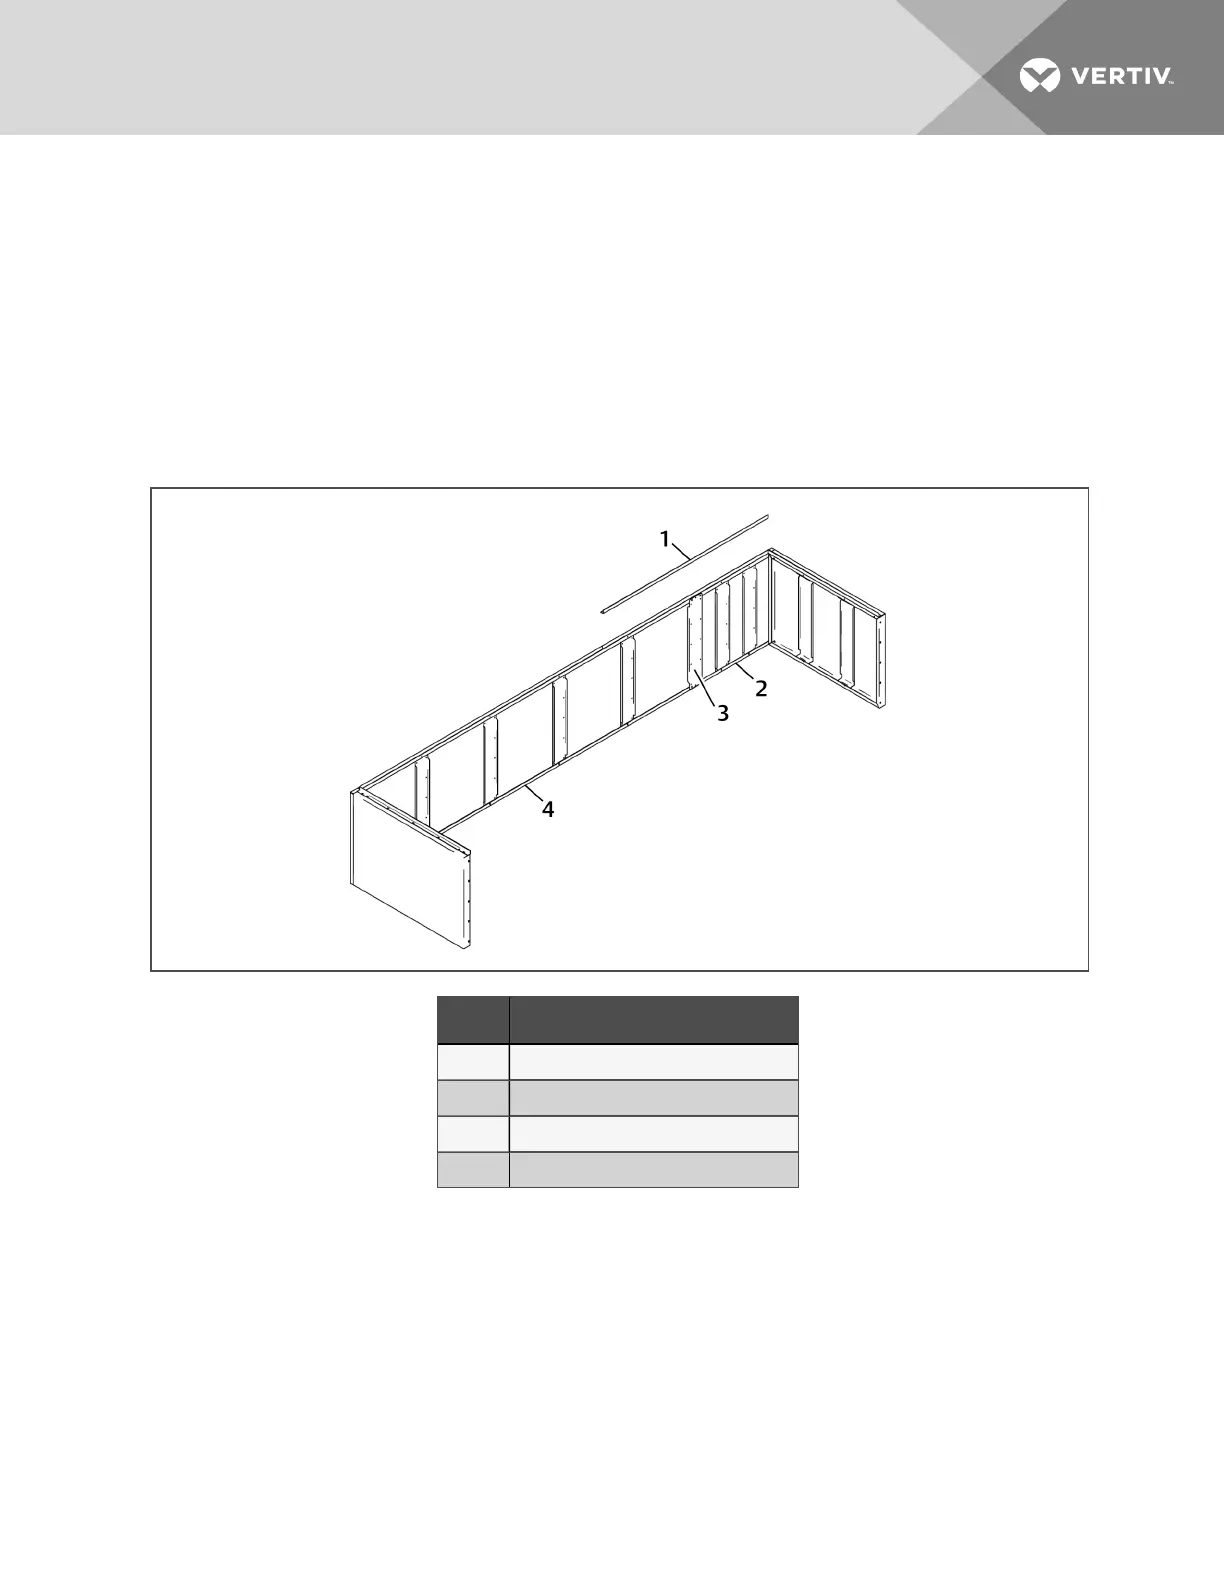
3. Attachthe long and short panel together using the channel panel and sheet-metal screws as shown inFigure
7.8 below.
4. If assembling a non-grilled plenum, attachthe angle along the top of the rear panel.
NOTE: Figure 7.8 below shows a non-grilled rear plenum as an example. If your unit is rear-discharge,
the rear plenum panels have grilles.
Figure 7.8 122-in. Rear-Panel Assembly
Item Description
1 Angle
2 Short rear panel
3 Channel panel
4 Longrearpanel
6 ECFans and Plenums
53
 Loading...