NOTE: When installing the UPS or making input and output connections, comply with all relevant safety codes and
standards.
3.3.1 Tower Installation
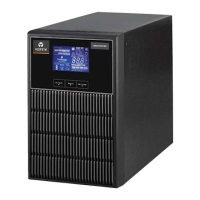
To install the UPS as a tower:
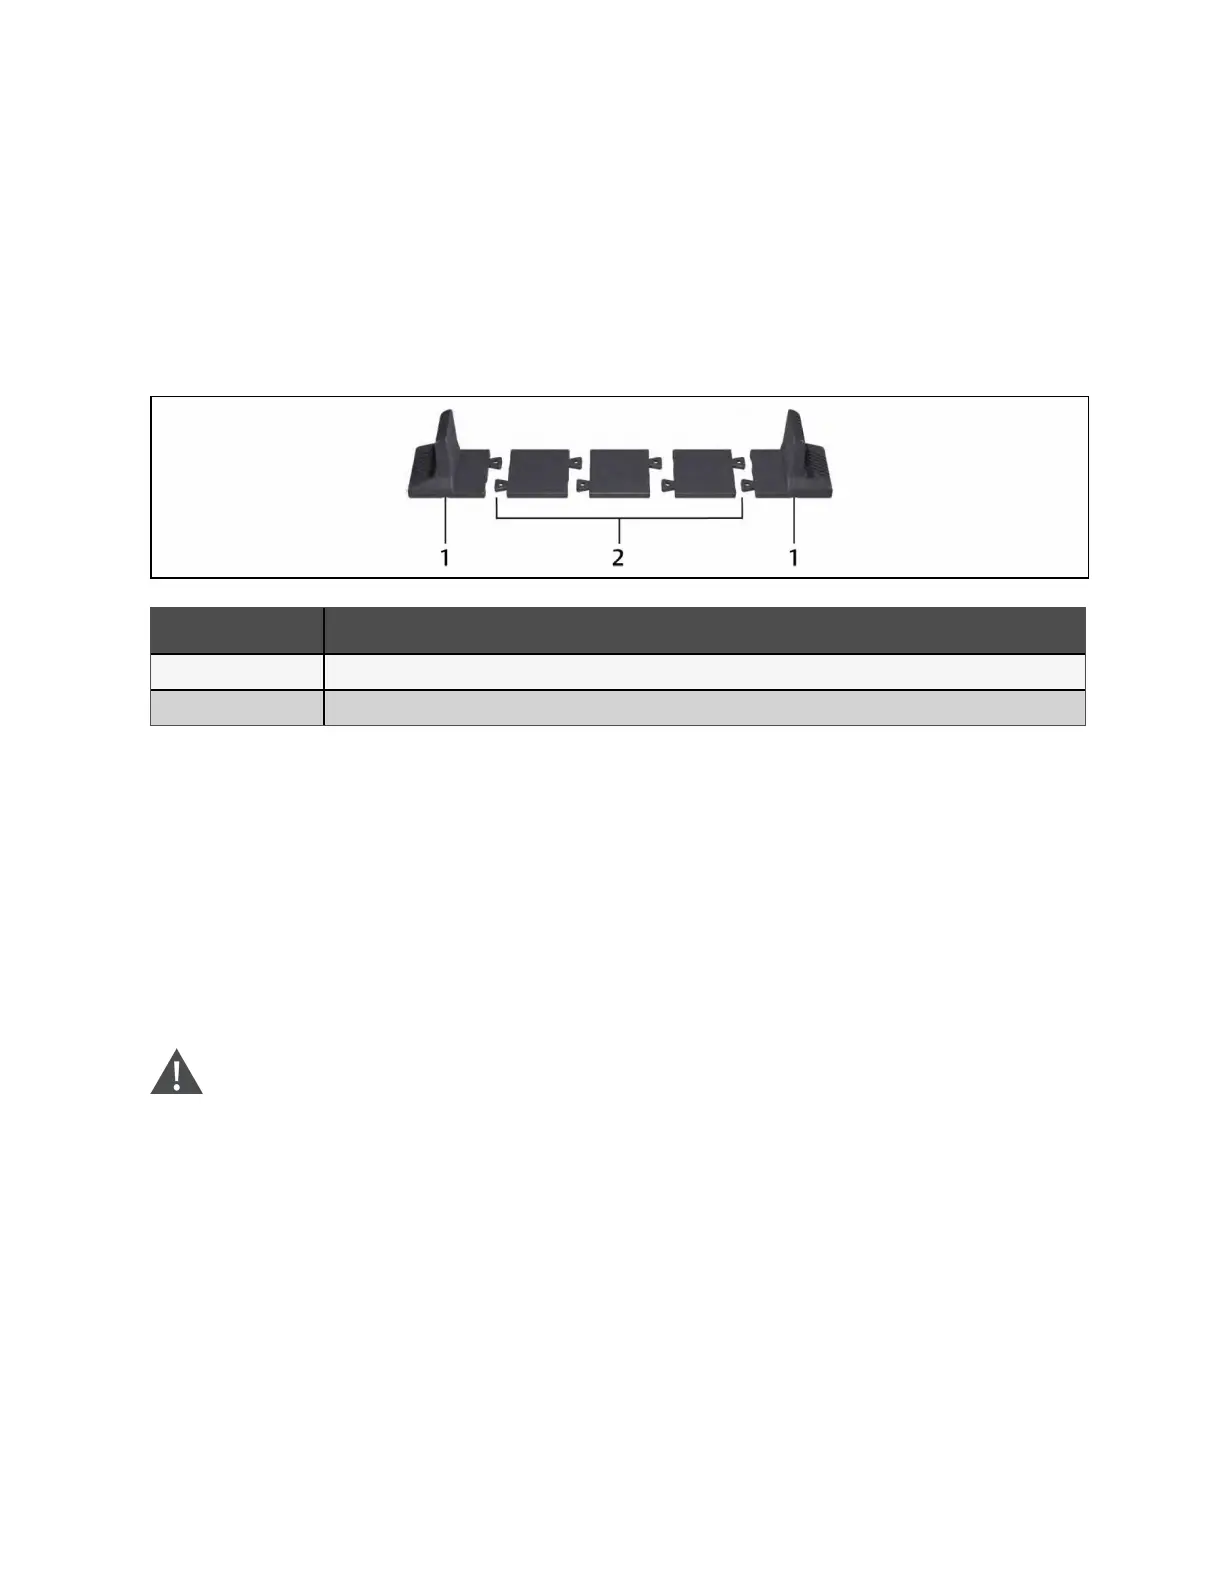
1. Take the support bases out of the accessories box.
Figure 3.1 Support Bases
Item Description
1 Support bases
2 Spacers with connectors
2. If optional external battery cabinets will be connected, take out the spacers shipped with the battery cabinet.
3. Connect the spacers and the support bases as shown in Figure 3.1 above. Each Vertiv™ Liebert® GXT5 requires 2
support bases, one in the front and one in the rear.
4. Place the Liebert® GXT5 and any battery cabinets on the 2 support bases.
5. See Installing the Internal Battery Kits below, to install the battery packs.
3.3.2 Rack Installation
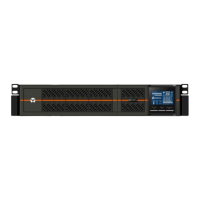
When installed in a rack enclosure, the Liebert® GXT5 UPS and external battery cabinets (EBC) must be supported by a shelf
or rack-mount rails. Because different rack-mount options install differently, refer to the installation instructions provided with
the rack-mount kit.
CAUTION: The Liebert® GXT5 is heavy. The UPS must be installed as near the button of a rack as possible. If
placed too high, it can make the rack top-heavy and prone to tipping over. For unit weights, see Specification
on page65.
3.4 Installing the Internal Battery Kits
The internal battery kits are packed separately in boxes and are shipped in main box with the Liebert® GXT5, which is also in
its own box.
1. Loosen and remove the screws on the battery door, see Figure 3.2 on the facing page.
2. Lay the battery door and screws aside for reassembly.
3. Unpack the battery pack.
18 Proprietary and Confidential ©2024 Vertiv Group Corp. 3 Installation
Vertiv™ Liebert® GXT5 UPS Installer/User Guide



 To Next Page