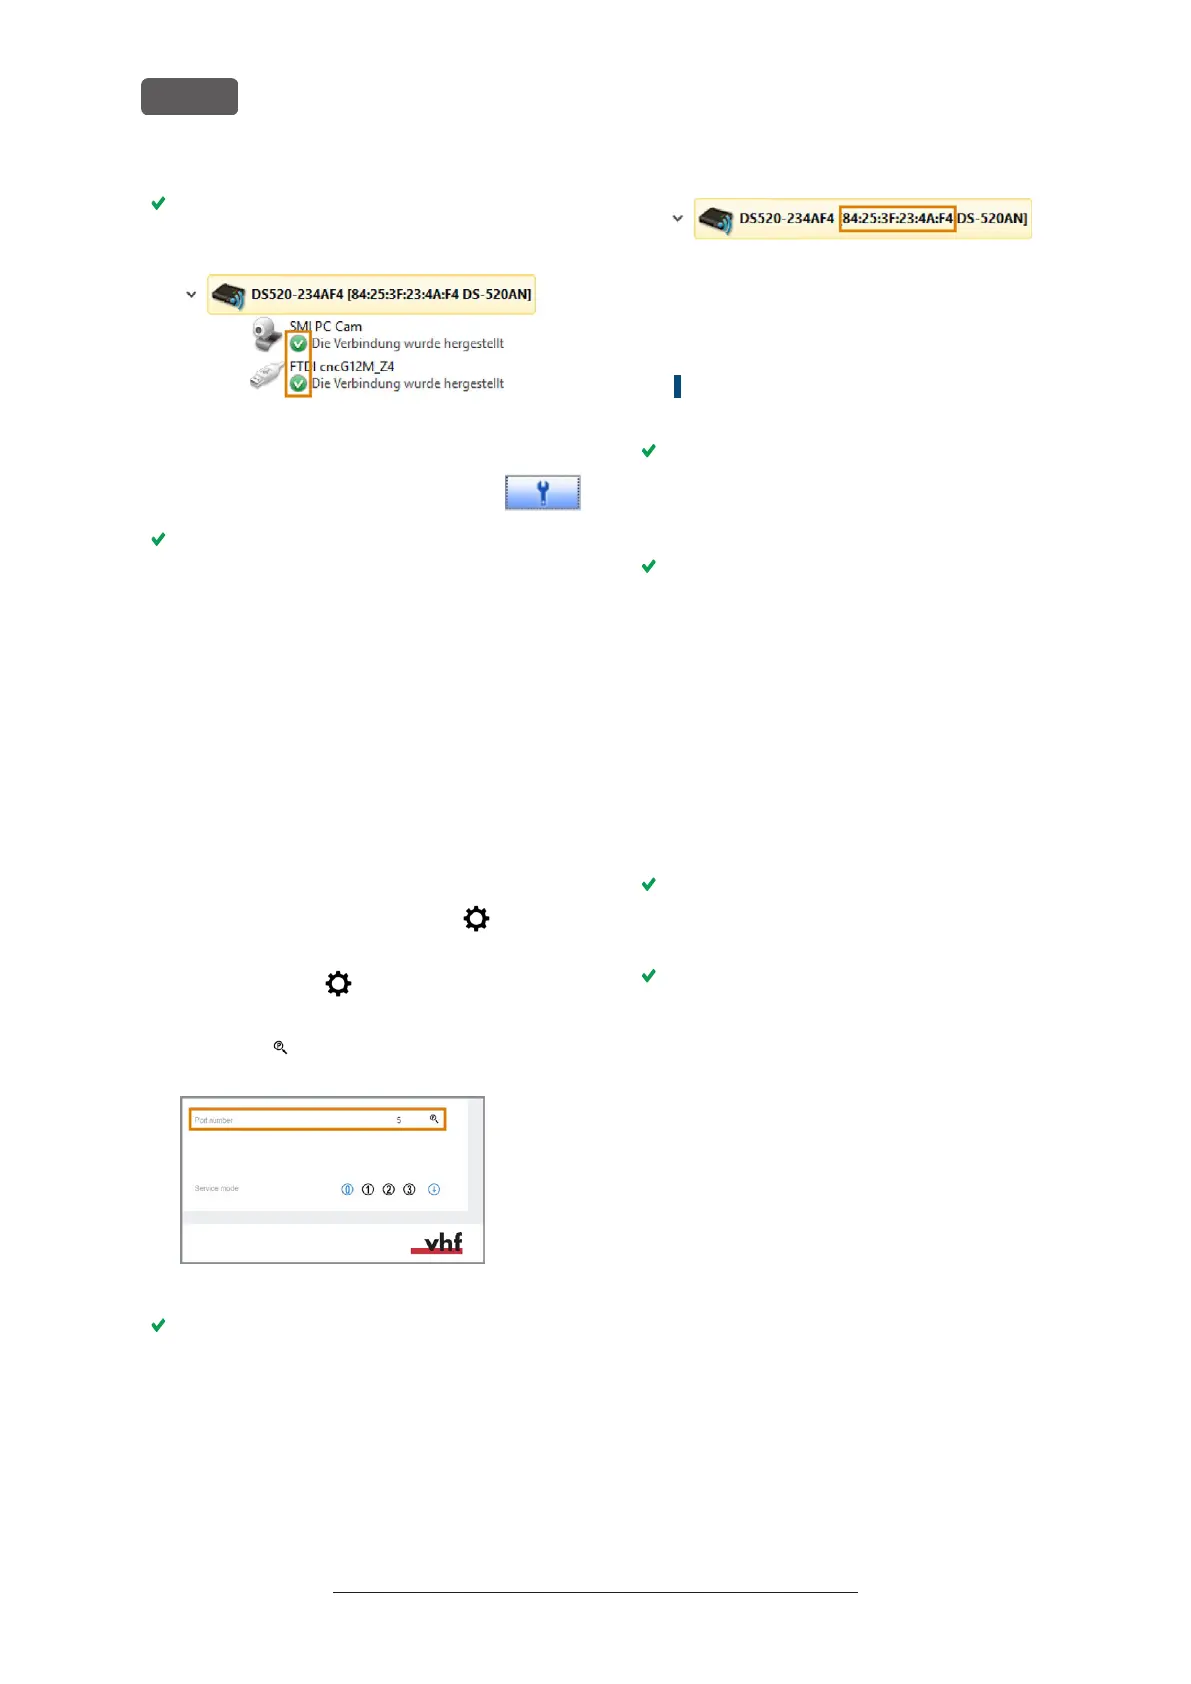
Green check marks (marked orange) indicate that
the connections have been established.
FIG. 26 GREEN CHECK MARKS INDICATE SUCCESSFUL CONNECTIONS
(MARKED ORANGE)
15. In the SX Virtual Link application win-
dow, select the depicted icon.
The Options window opens.
16. In the Options window, activate the following
options:
n
Launch SX Virtual Link at Windows startup
n
Don't show SX Virtual Link main window on pro-
gram launch
n
Hide the main window if the close button is
clicked
17. Deactivate the Automatically connect newly discovered
USB devices option.
18. To save your settings, select [OK].
19. Start DENTALCNC.
20. Open the DENTALCNC Application settings with the
following icon in the main iconbar:
21. Open the General settings with the following icon in
the local iconbar:
22. Select the following icon next to the Port number
input field:
FIG. 27 DETERMINING THE PORT NUMBER
If DENTALCNC is able to determine the port
number, the number displays in the Port number
input field. The machine references.
23. In the SX Virtual Link application window, locate
the Ethernet address of the machine. It displays
behind the device name.
FIG. 28 THE ETHERNET ADDRESS OF THE MACHINE (MARKED
ORANGE)
24. Enter the Ethernet address into the Machine Ethernet
address input field in DENTALCNC.
Example: 84:25:3F:23:4A:F4
25. Press <ENTER>.
From now on, DENTALCNC will connect and dis-
connect the machine.
26. Activate the Launch application at Windows startup
option in DENTALCNC.
From now on, DENTALCNC will launch with Win-
dows
®
. This is required to automate the connection
process.
27. Close DENTALCNC.
If you do not close DENTALCNC now, your changes
may not be saved.
28. In the SX Virtual Link application window, right-
click on SMI USB 2.0 Camera.
29. From the context menu, select Disconnect.
30. Right click on the entry starting with FTDI.
31. From the context menu, select Disconnect.
In the SX Virtual Link application window, the 2
check marks no longer display.
32. Start DENTALCNC.
DENTALCNC establishes the connection to the
machine. The 2 check marks display again.
33. (Optional) Install hub, router or switch to connect
the computer and the machine. This may require
additional configuration.
Original Operating Instructions:K5+
Version: 12/16/2021
K5+ – Installing the machine
EN 26