VX100Q/VX136Q/VX186Q, VX136QD/VX186QD, VX136QDM2/VX186QDM2
Pos: 217 /Übersc hriften/Überschrif t 3 /Drehkol benwechsel - B aureihe VX136Q DM2, VX186QDM 2 @ 58\mo d_131280981 6458_48.doc @ 309212 @ 3 @ 1
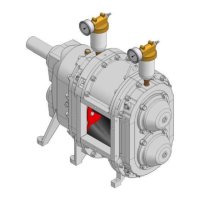
8.7.3 Rotary lobe change - series VX136QDM2, VX186QDM2
Pos: 218 /WBV/P umpen/Instandse tzung/002 Kol benwechsel QDM 2-Baureih e 1. und 2. Stufe @ 58\mod_13 12880933364 _48.doc @ 30 9303 @ @ 1
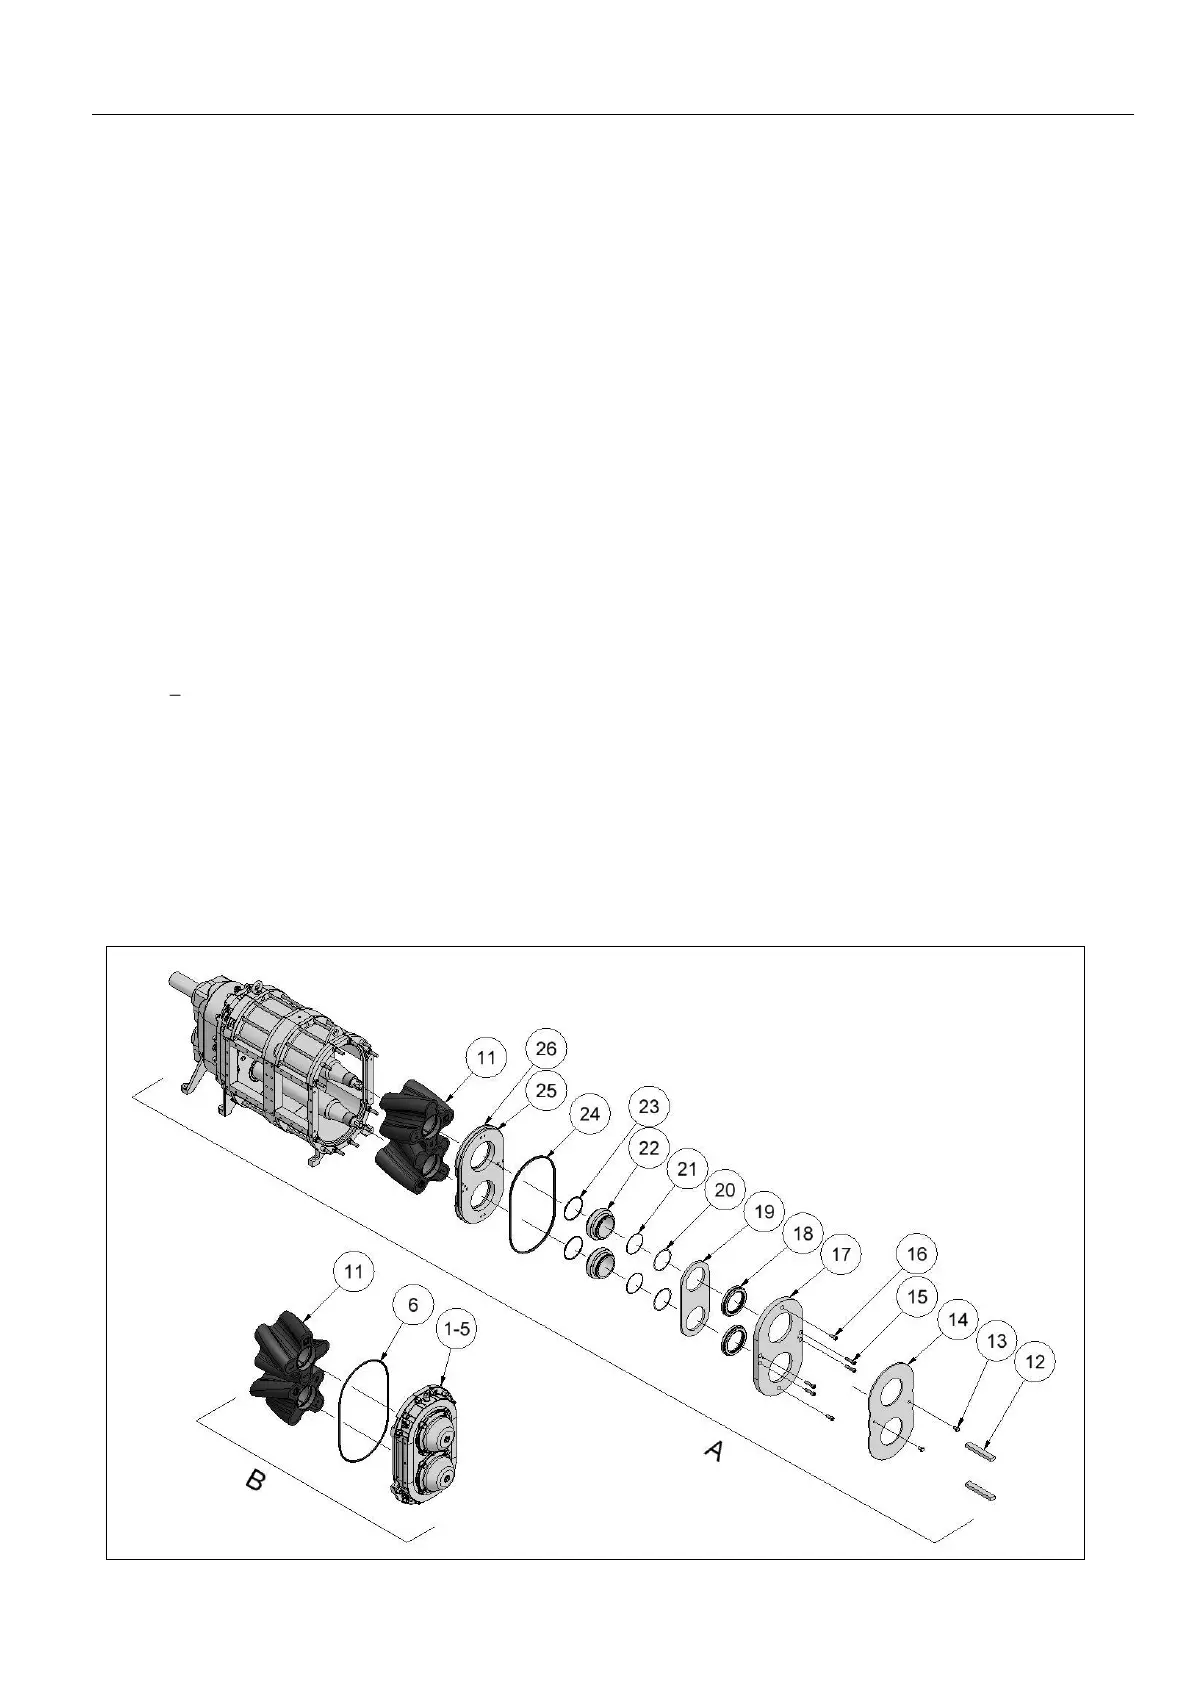
Fig. “Rotary lobe change, QDM2 series"
Rotary lobe change of the 2nd stage (B) in Fig. "Rotary lobe change QDM2 series"
The rotary lobe change of the 2nd stage is done as described in chap. “Rotary lobe change - series
VX136QD, VX186QD".
Rotary lobe change of the 1st stage (A) in Fig. "Rotary lobe change QDM2 series"
1. Remove the keys (12) from the shafts.
2. Unscrew two hex socket head screws (13) of the wear plate (14) and remove the wear plate.
3. Loosen the four hex socket head screws (15) right and left and the two hex socket head screws (16)
above and below and take off the fixing plate(17).
4. With the series VX186QDM2, remove the top/bottom angle rings (18) and the sealing plate (19).
5. Take off the shims (20), the O-rings (21).
6. Remove distance ring (22) incl. O-ring (23).
7. Pull off the O-ring (24).
8. Take off the fixing plate (25) incl. wear plate (26).
9. Pull the rotary lobes (11) from the shafts using a rotary lobe puller (see spare parts list).
Assemble HiFlo- and HiFloplus-Rotary lobes in pairs, i.e. simultaneously to the upper and the
lower shaft.
10. Install the new HiFlo or HiFloplus-rotary lobes in reverse sequence Fig. "Arrangement, HiFlo- and
HiFloplus".
11. Assemble in the reverse order. Attention! Install the wear plates as in chap. "Wear plate
replacement" (Observe installation position and tightening torques).
12. Close QD cover chap. "Closing the QD cover".
13. Apply pressure to buffer chamber chap. "Buffer chamber".
Pos: 219 /Grafi ken/Pumpen/ WBV/Instandsetzung /Kolbenwechs el/neu/Kolbenw echsel der QDM2 -Baurei he @ 59\mod_13 13137039577 _48.doc @ 30999 2 @ @ 1
Fig.
: Rotary lobe change QDM2 series (A = 1st stage, B = 2nd stage)
Pos: 220 /---Seitenum bruch--- @ 21\mod_12 01696136229 _0.doc @ 805 75 @ @ 1
 Loading...