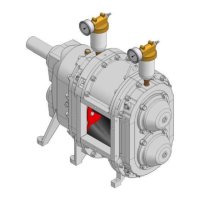
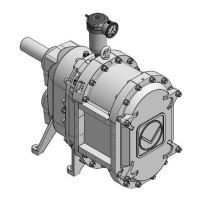
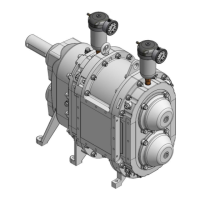
VX100Q/VX136Q/VX186Q, VX136QD/VX186QD, VX136QDM2/VX186QDM2
Pos: 241 /Übersc hriften/Überschrif t 2 /Nachst ellen der Gehäuse halbschalen @ 0\mod_1109 928758764_4 8.doc @ 1293 @ 2 @ 1
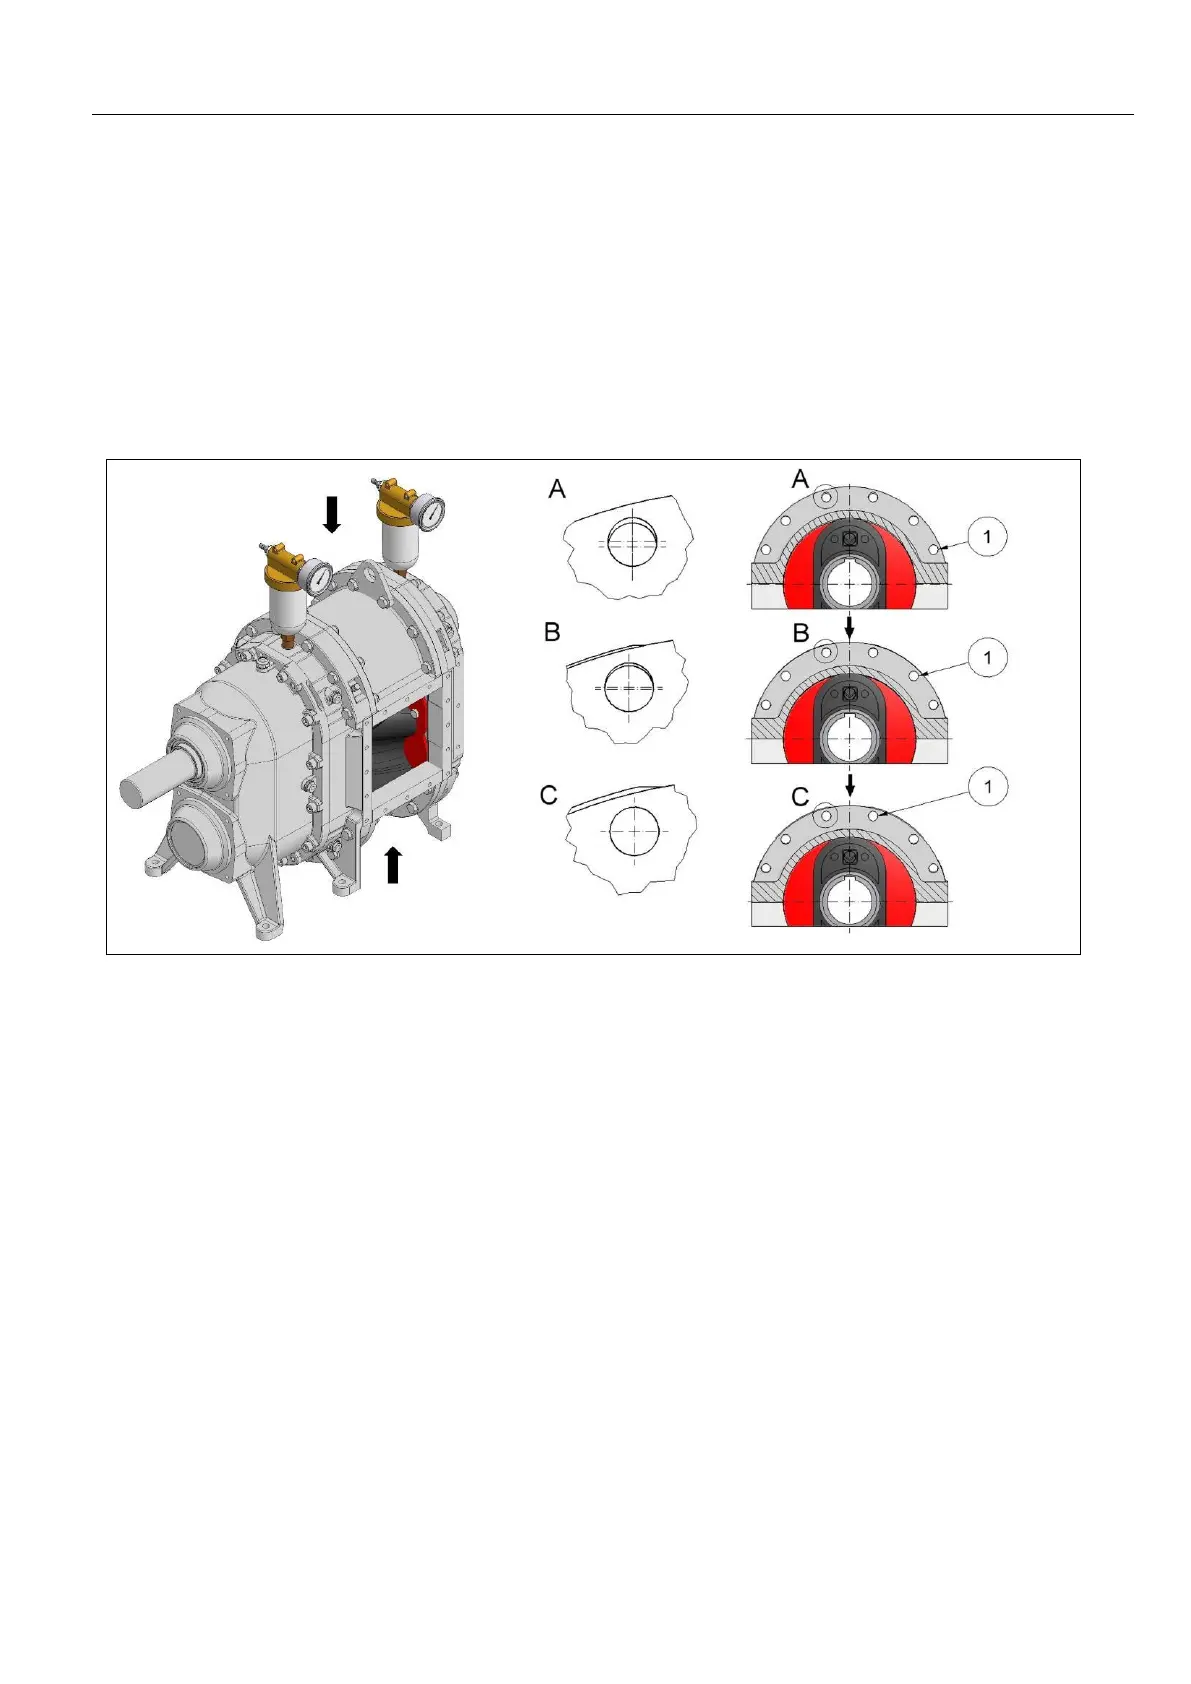
8.10 Adjusting of pump housing segments
Pos: 242 /WBV/P umpen/Instandse tzung/002 Nac hstellen der G ehäusehalbsch alen @ 58\m od_131297000 9205_48.doc @ 309631 @ @ 1
Should the pump housing shells wear out, they can be readjusted.
1. Remove Q or QD cover chap. Opening the Q cover" or “Opening the QD cover".
2. Loosen the connector parts and screws at the pump housing segments.
3. Adjust the top and bottom spring pins in the housing segments Fig. “Adjustment of housing
segments".
4. Before installation of the pump housing segments, apply surface sealant, set an asbestos free gasket
in place and coat them also with surface sealant.
5. Screw all screws back on at the pump and the connector parts.
6. Install Q or QD cover chap. “Closing the Q cover" or “Closing the QD cover".
Pos: 243 /Grafi ken/Pumpen/ WBV/Instandsetzung /Nachstellen d er Gehäuseh albschalen @ 0\ mod_111761 9241226_48.doc @ 3139 @ @ 1
Fig.
: Adjustment of pump housing segments
Pos: 244 /WBV/P umpen/Instandse tzung/002 Ta belle zu Nachst ellen der Geh äusehalbschalen V X100/VX136/V X186 @ 24\ mod_1207212 239236_48.d oc @ 87657 @ @ 1
Pos: 245 /---Seitenum bruch--- @ 21\mod_12 01696136229 _0.doc @ 805 75 @ @ 1
 Loading...