45
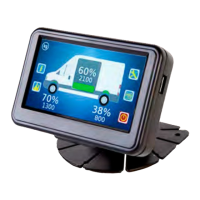
14. Tap Sensors to open the sensor set up page:
15. Swipe left or right to select a sensor to congure
16. Tap the Position value to set the position of the sensor
The position number is the position of the sensor on the vehicle. Number 1 is the sensor on
the front axle, this is the sensor on the left side of the axle, 2 is the sensor on the right. 3
is the sensor on the left side of the second axle etc. See “Sensor installation positions” on
page 23 for more information.
The sensors will be automatically placed in the correct position if the sensors have been
connected to the corresponding labelled connection cable to the junction box. E.g. sensor
on front left wheel connected to FLH label connection wire will be Sensor position 1.
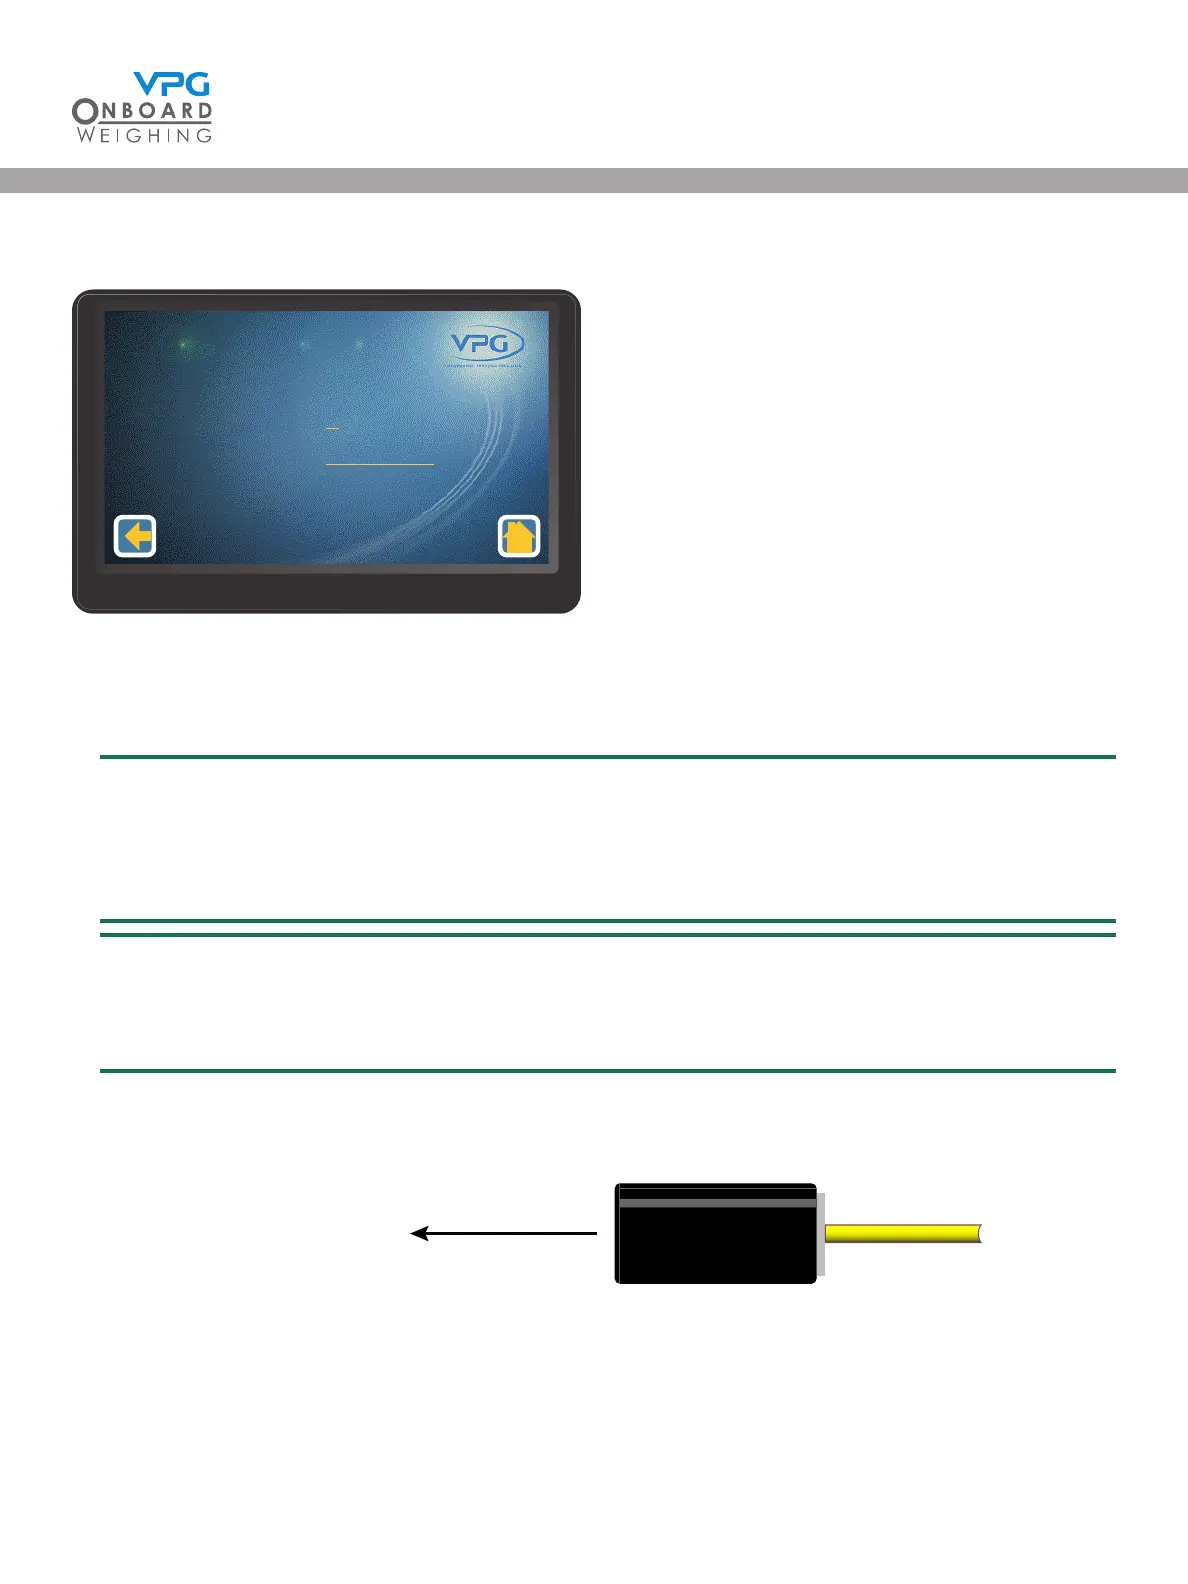
17. Tap the Direction value to set the direction for sensor:
• Select Forwards if the
sensor is facing the
front of the vehicle
• Select Backwards if
the sensor is facing
the rear of the vehicle
• Select Not Applicable
when the sensor is an air sensor or an axle sensor on a strut
18. Repeat steps 14 -16 to congure each sensor on the vehicle.
Serial Number
Posion
Direcon
Sensor
xxxxx (xxxxxxxxxx)
1
Backwards
1 - 3
Sensor Set Up
1/1
Cable attatched to the
rear of transducer
Front of the vehicle
Sensor Facing Forward
VanWeigh
®
VanWeigh
®