WAGO-I/O-SYSTEM 750 Mounting 37
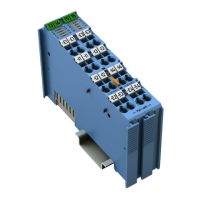
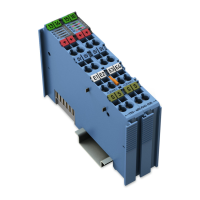
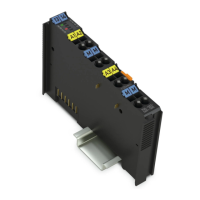
750-461 2AI Pt100/RTD
Manual
Version 1.4.1
Pos: 26 /Alle Serien ( Allgemeine Module)/ Überschriften/Ebene 1/ Montieren - Überschri ft 1 @ 3\mod_1225446744750_21. docx @ 24900 @ 1 @ 1
5 Mounting
Pos: 27.1 /Serie 750 (W AGO-I/O-SYSTEM)/Montieren/Demonti eren/Montagerei henfolge @ 3\mod_123177021 0031_21.docx @ 2599 2 @ 2 @ 1
5.1 Mounting Sequence
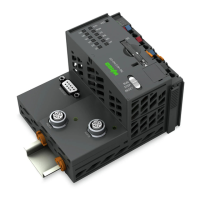
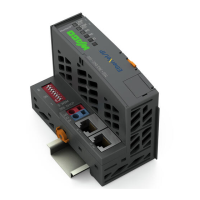
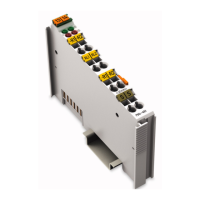
Fieldbus couplers, controllers and I/O modules of the WAGO-I/O-SYSTEM 750
are snapped directly on a carrier rail in accordance with the European standard
EN 60175 (DIN 35).
The reliable positioning and connection is made using a tongue and groove
system. Due to the automatic locking, the individual devices are securely seated
on the rail after installation.
Starting with the fieldbus coupler or controller, the I/O modules are mounted
adjacent to each other according to the project design. Errors in the design of the
node in terms of the potential groups (connection via the power contacts) are
recognized, as the I/O modules with power contacts (blade contacts) cannot be
linked to I/O modules with fewer power contacts.
Pos: 27.2 /Serie 750 (W AGO-I/O-SYSTEM)/Wichtige Erläuterun gen (alte Struktur )/Sicherhei ts- und sonstige Hinweise/Vor sicht/Vorsicht: Verletzungsgefahr durch scharfkantige Messer kontakte! @ 6\mod_12561 93279401_21.doc x @ 43414 @ @ 1
Risk of injury due to sharp-edged blade contacts!
The blade contacts are sharp-edged. Handle the I/O module carefully to prevent
injury. Do not touch the blade contacts.
Pos: 27.3 /Serie 750 (W AGO-I/O-SYSTEM)/Wichtige Erläuterun gen (alte Struktur )/Sicherheits- und sonstige Hinweise/Ac htung/Achtung: I/O-Modu le nur in vorgesehener Reihenfolge stecken! @ 6\mod_1256194177073_21.d ocx @ 43429 @ @ 1
Insert I/O modules only from the proper direction!
All I/O modules feature grooves for power jumper contacts on the right side. For
some I/O modules, the grooves are closed on the top. Therefore, I/O modules
featuring a power jumper contact on the left side cannot be snapped from the
top. This mechanical coding helps to avoid configuration errors, which may
destroy the I/O modules. Therefore, insert I/O modules only from the right and
from the top.
Pos: 27.4 /Serie 750 (W AGO-I/O-SYSTEM)/Wichtige Erläuterun gen (alte Struktur )/Sicherheits- und sonstige Hinweise/Hin weis/Hinweis: Busabsc hluss nicht vergessen! @ 6\mod_1256194225557_ 21.docx @ 43432 @ @ 1
Don't forget the bus end module!
Always plug a bus end module (750-600) onto the end of the fieldbus node! You
must always use a bus end module at all fieldbus nodes with WAGO-I/O-
SYSTEM 750 fieldbus couplers or controllers to guarantee proper data transfer.
Pos: 27.5 /Dokumenta tion allgemein/Glied erungselemente/---Sei tenwechsel--- @ 3\mod_12211 08045078_0.docx @ 21810 @ @ 1
 Loading...