Preparing the column compartments 81
Notes:
• Advanced Mode features are not compatible with older column
managers (CM).
• You can use as many as three of the following external valves with the
CM-A:
Monitoring the CM-A and CM-Aux LEDs
Light emitting diodes on the CM-A and each CM-Aux indicate the
instrument’s state of functioning.
Power LED
The CM-A’s power LED, on the left-hand side of the front panel, is steady
green to indicate that the instrument is powered on. The CM-Aux’s power
LED, also on the left-hand side of the front panel, is steady green after the
CM-Aux is configured (in the ACQUITY UPLC Console) and the CM-A is
rebooted. The power LED is unlit after the CM-Aux is removed from the
instrument configuration and the CM-A is rebooted.
Run LED
The run LED, on the right-hand side of the power LED on the CM-A’s and
CM-Aux’s front panel, is steady green when the instrument with the
program-selected column (either the CM-A or CM-Aux) is running a method.
The run LED is unlit when the instrument is idle and functioning normally.
Installing the columns
To install the columns:
1. Refer to the ACQUITY UPLC Console, locate column position 1, and
install the column in position 1. When installing the column, be sure to
install the column clip.
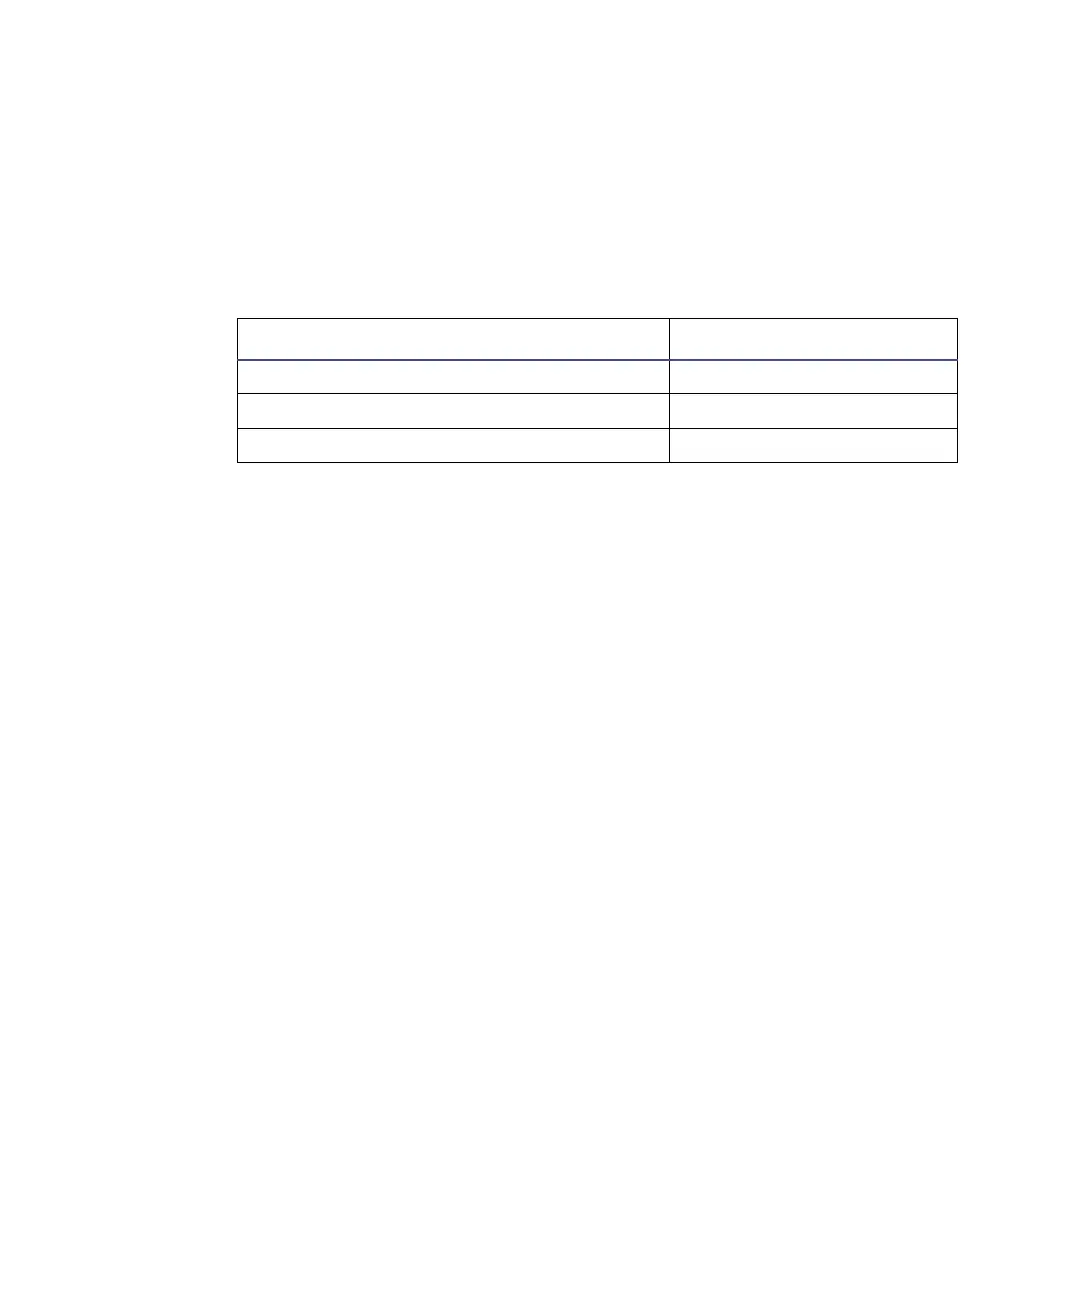
CM-A external valves:
External valve Part number
10-port, 2-position, Titanium 417000138
7-port, 6-position, PEEK 417000139
11-port, 10-position, stainless steel 417000150