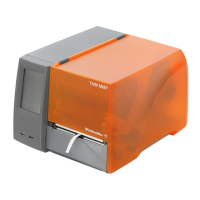
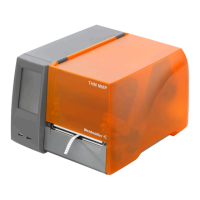
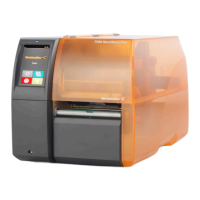
Maintenance
5661290000/00/06.08
83
9.5 Head flushing via the dis-
play
The head flushing process can be executed via the
corresponding function in the M-Print
®
PRO soft-
ware.
Read Chapter 6 "The M-Print® PRO" for
more information.
In order to execute a head flushing, proceed as de-
scribed below. Since more ink is used during this
process than in the normal cleaning, you should
execute this cleaning process only when the prob-
lem remains after multiple normal head cleanings.
NOTE
When the ink cartridge is empty, replace
it instead of cleaning the print heads. Af-
ter you replace an ink cartridge, the print
heads will automatically be cleaned.
1 Press the [Menu] button.
2 Press the [▼] or [▲] button, in order to display
[Maintenance]. Then press the [ ↵ ] button (en-
ter).
M e n u :
M a i n t e n a n c e
3 Press the [▼] or [▲] button, in order to display
[head flushing]. Then press the [ ↵ ] button (en-
ter).
M a i n t e n a n c e :
H e a d - f l u s h i n g
4 Press the [▼] or [▲] button, in order to select a
colour. Then press the [ ↵ ] button (enter).
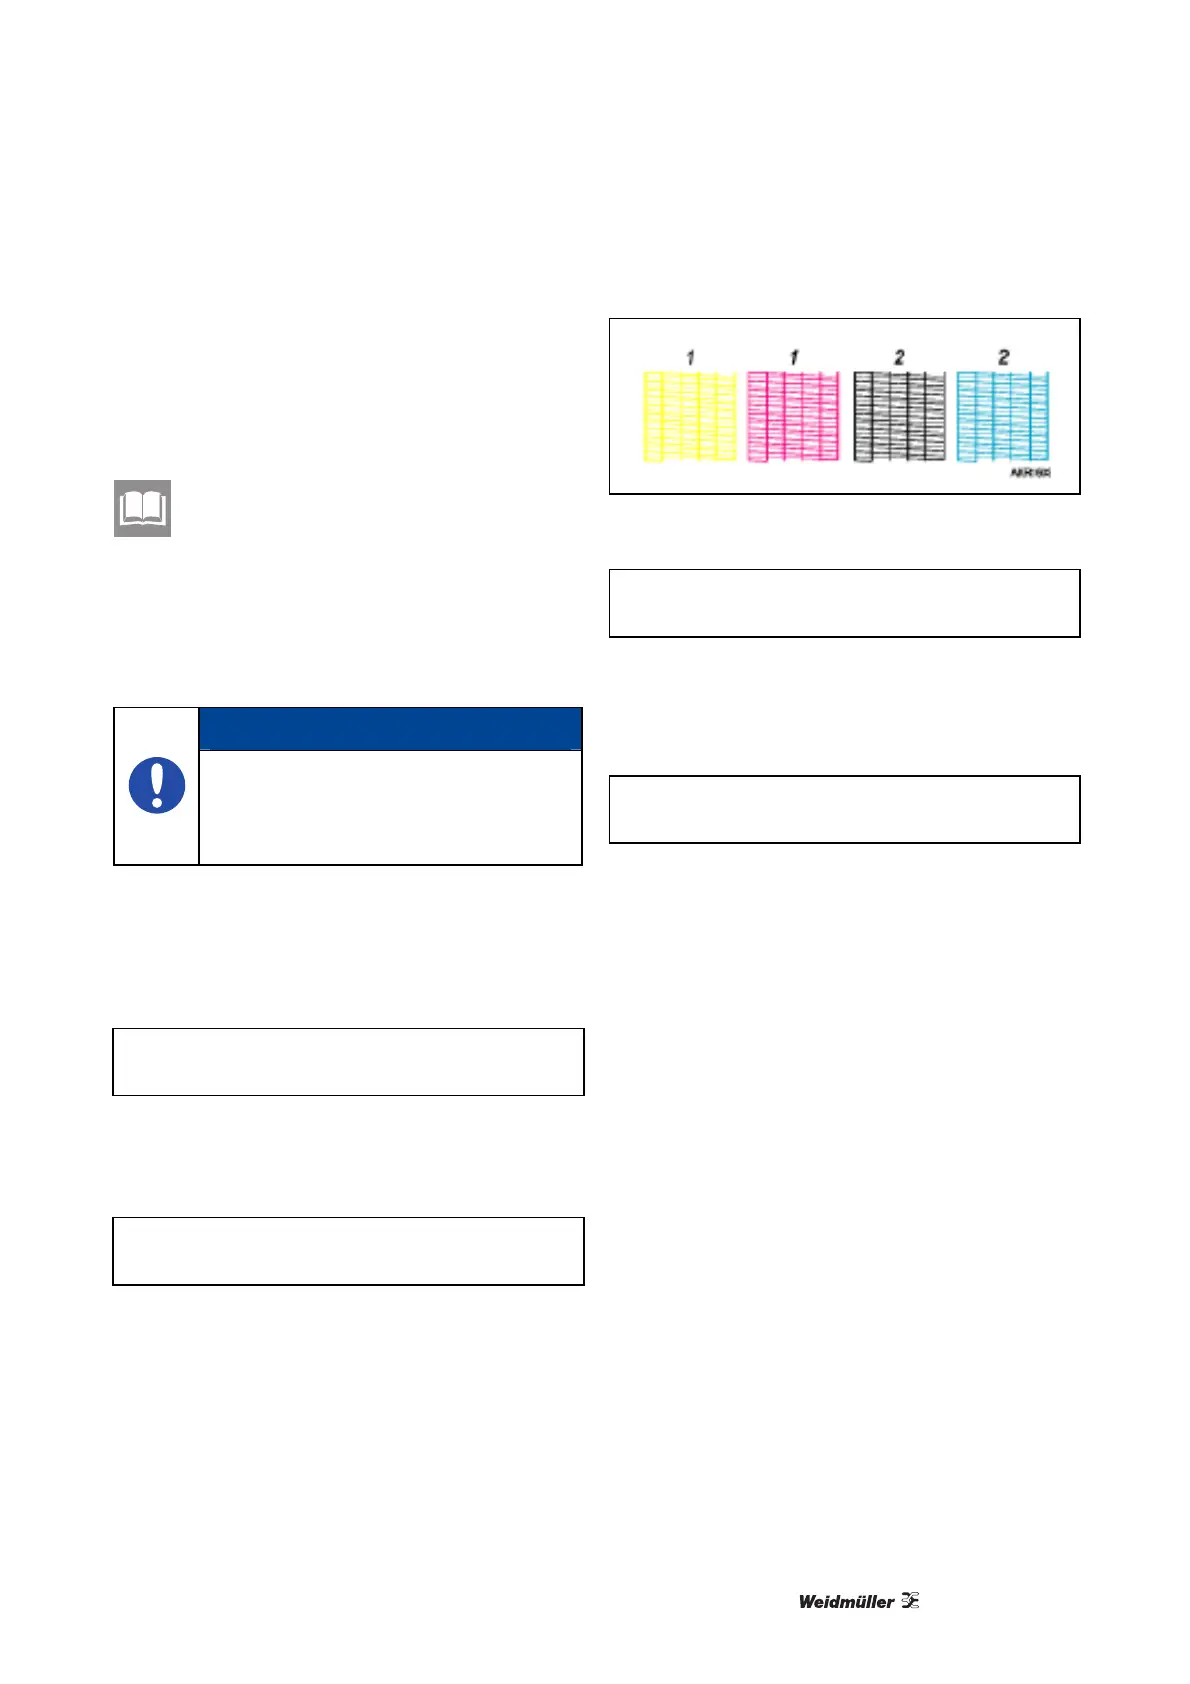
Figure 85 Test pattern – thorough cleaning
H e a d - f l u s h i n g :
A l l h e a d s
1. Head 1
2. Head 2
5 Press the [ ↵ ] button (Enter).
P r e s s # t o
f l u s h h e a d s
The head flushing begins.
6 Press the [Online] button.
The output display is then shown.