13
Indicator Technical Manua
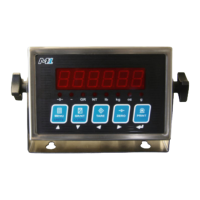
START-UP
1. Connect the AC power cord from the indicator into a power outlet.
2. The indicator will perform a short start-up sequence including the software
version before entering Weighing Mode (displaying the scale weight).
3. Installers must take proper steps to prevent noise, static, or other power
problems.
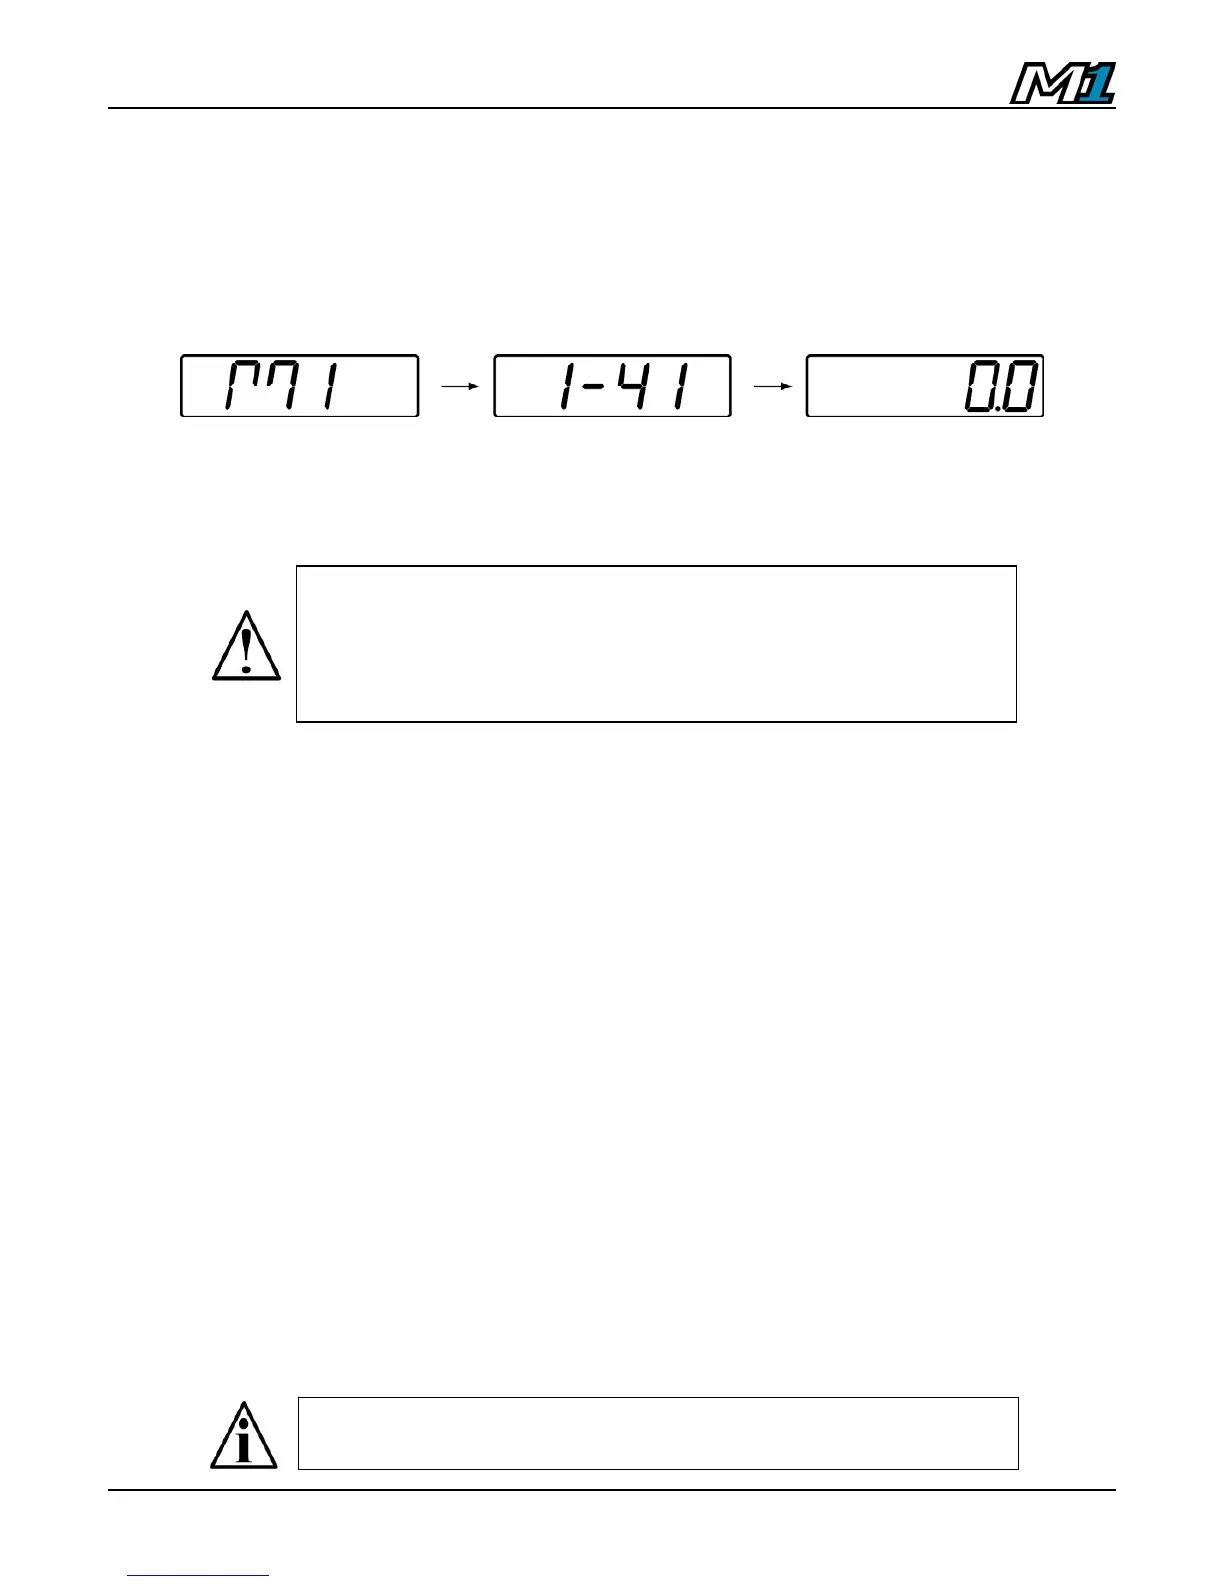
TIME & DATE
1. From Weighing Mode, press and hold the TARE key until “CLOC” is
displayed, followed by the time.
• If 12 Hour Clock is selected, the time will appear HH.MM.A/P
• If 24 Hour Clock is selected, the time will appear HH.MM
2. Adjust the time using the LEFT & RIGHT ARROW keys to select digits
and the UP & DOWN ARROW keys to alter digits.
3. Press ENTER to confirm and the date will be displayed
• If International Date is selected, the date will appear DD.MM.YY
• If US Date is selected, the date will appear MM.DD.YY
4. Adjust the date using the LEFT & RIGHT ARROW keys to select digits
and the UP & DOWN ARROW keys to alter digits.
5. Press ENTER to confirm and return to Weighing Mode.
ATTENTION! In noisy industrial environments, power-
conditioning filters are a requirement to ensure a fail-safe
operation under all conditions. Indicators should not share AC
power with electrical motors and switchgear. Consult the site
engineer for clean AC power.
Time & Date default format is 12 Hour clock and International
date. Changes may be made in Calibration Mode (P9.8).