Appendix: Cleaning instructions (Standard)
Appendix: Cleaning instructions (Standard)
33 2323 2010 12.2012
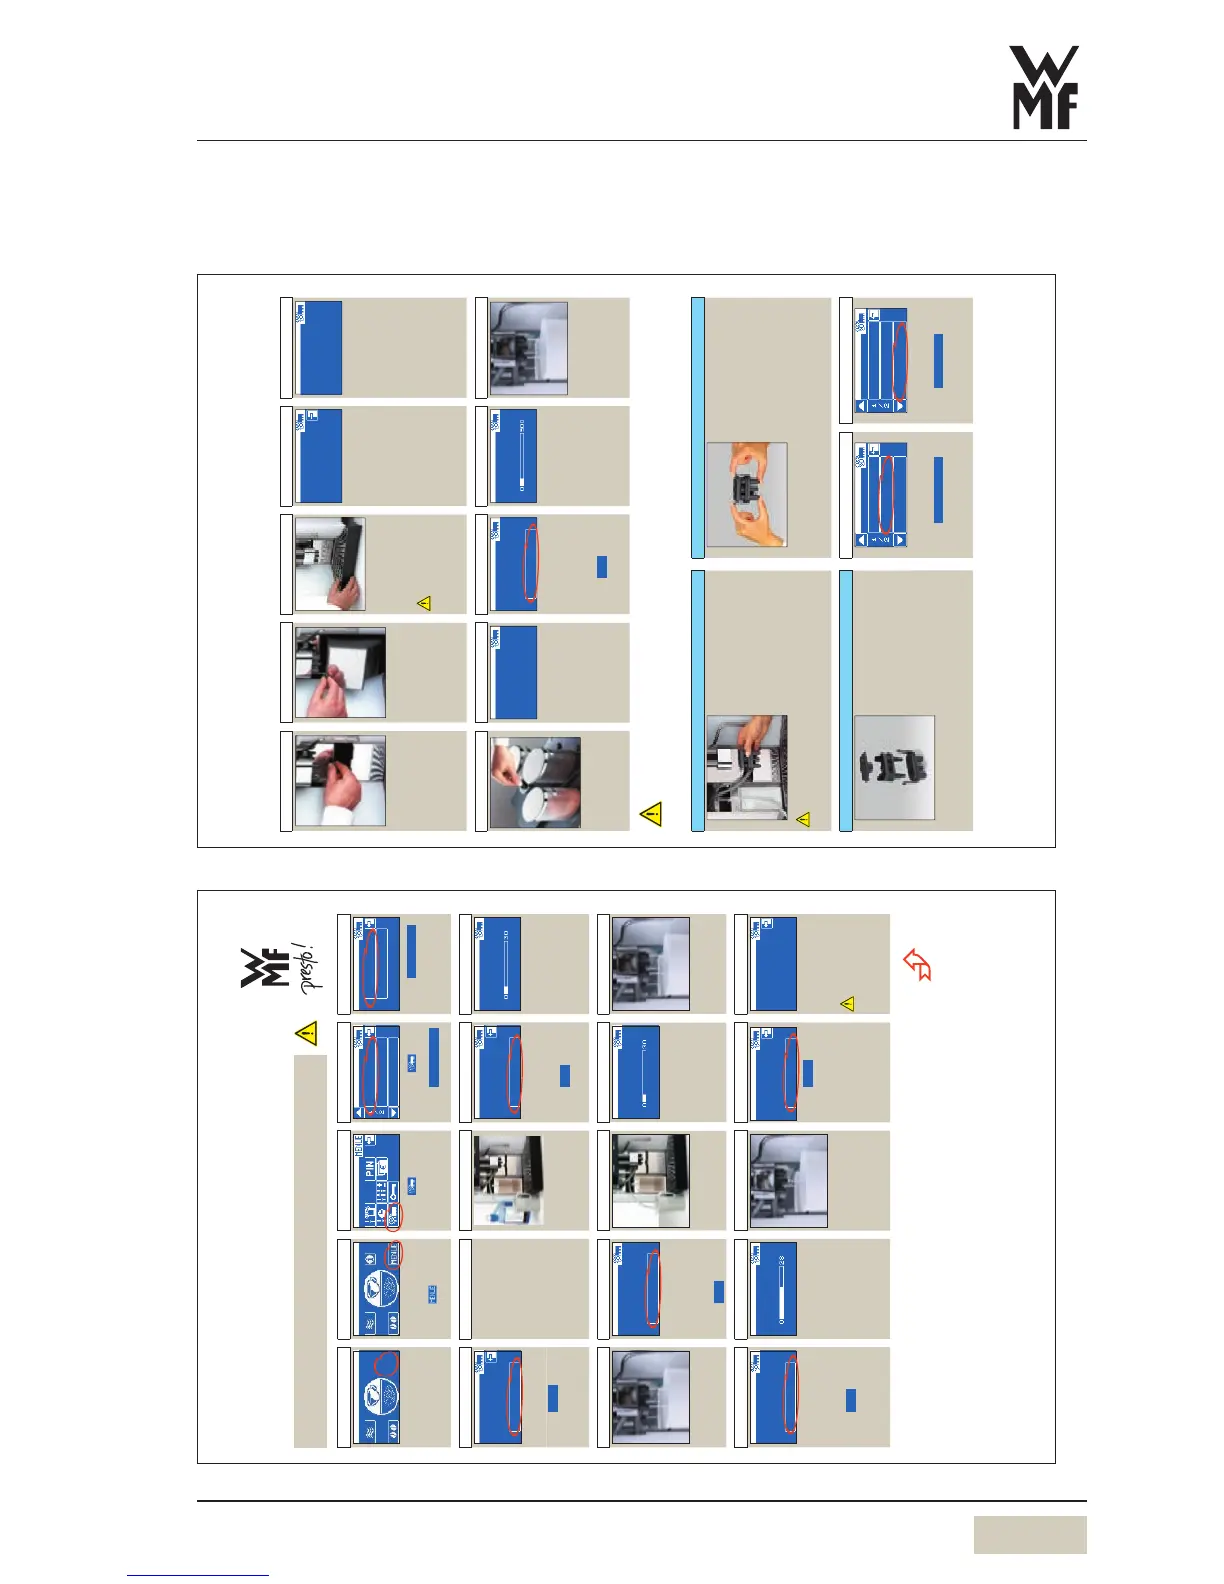
Cleaning instructions WMFpresto!
Please refer to the User Manual.
Follow the overview of the cleaning interval schedule in the Care chapter in the User Manual.
Prior to the first cleaning read the User Manual, Care chapter: “General cleaning”, “Weekly cleaning”
and “Regular cleaning”.
cleaning
cleaning prog.
Start now?
foamer cleaning
start
Cleaning solution
cleaning prog.
o.k.?
foamer cleaning
Yes
in progress…
cleaning prog.
foamer cleaning
Touch start
The cleaning program
starts.
Mix 5ml of
WMFSpecial cleaner
with 0.5l of lukewarm
water
Insert milk hose
When Step 7completed:
Touch
Yes
9.1 10 10.1 11 11.1
Prepared water
cleaning prog.
for rinsing?
foamer cleaning
Yes
Prepare 0.3l of clear,
cold water for the water
rinsing
Insert milk hose
Touch
Yes
in progress…
cleaning prog.
foamer cleaning
Rinsing starts.
Duration approx.
20seconds.
12 13 13.1 14 15
once per day into
cleaning prog.
cleaning solution
ok
foamer minimum
Please soak the
foamer cleaning
mixer rinsing
cleaning prog.
in progress…
switching off
machine cleaning
cleaning prog.
Start now?
start
Empty
cleaning prog.
grounds container
switching off
and drip tray.
Foamer cleaning reminder
appears on display.
For foamer cleaning see
next page, steps Ato C.
Touch
ok
Mixer rinsing starts.
Duration approx.
30seconds.
Touch start
Machine cleaning starts.
Empty grounds
container and drip tray
See steps 16to 19
Caution.
If not connected to
main drainage, place
collection container
(2litres) underneath.
Continue on reverse side.
16 17 18 19 20
Reinsert
cleaning prog.
grounds container
Close
switching off
and drip tray.
adjustable screen.
Open tablet insert.
cleaning prog.
Insert the
switching off
cleaning tablet.
Push combi spout all
the way up
Push up adjustable
screen all the way up
Remove and empty
grounds container
Remove and empty drip
tray
Caution.
Without adrain
connection, the
drip tray must be
emptied.
Replace drip tray
Insert the grounds
container
Close the adjustable
screen
Manual insert is either in
the centre between the
product hoppers or in the
centre behind the hoppers.
Open the manual insert
20.1 20.2 21 22 22.1
Close
cleaning prog.
manual insert.
switching off
Cleaning tablet
cleaning prog.
inserted?
Yes
switching off
in progress…
cleaning prog.
switching off
Add aspecial
WMFcleaning tablet
Close the manual insert Cleaning tablet inserted.
Touch
Yes
Machine cleaning starts.
Duration 8–10minutes.
Foamer cleaning: for intermediate cleaning, see “foamer cleaning” below.
Manual combi spout cleaning without Plug&Clean: perform at least once per day. See below.
Combi spout cleaning at least 1x daily Prior to cleaning switch off using the ON/OFF button. Disconnect mains plug
Caution.
Carefully disconnect
themilk hose.
Pull forward the lever behind the
combi spout
Remove combi spout
Remove milk hose from milk
container and release from
combi spout
If amixer is fi tted:
Release the mixer hose
Mix 5ml of WMFSpecial cleaner
with 0.5l of lukewarm water
Dismantle combi spout
Immerse one end of the milk
hose in the cleaning solution
Immerse the length of the
remaining milk hose in the
cleaning solution
This procedure prevents air bubbles
from remaining in the milk hose.
Place all parts of combi spout in
the cleaning solution (3parts)
All parts must be completely
immersed in the cleaning solution.
After 5hours, clean all parts
thoroughly with abrush
C Foamer cleaning Mixer rinsing
Rinse combi spout and milk hose
very thoroughly with clear water
If amixer is fi tted:
Rinse mixer hose very
thoroughly
Reassemble combi spout
Replace combi spout
Insert milk hose
If amixer is fi tted:
Insert mixer hose
mixer rinsing
cleaning prog.
customer care
foamer cleaning
mixer rinsing
cleaning prog.
customer care
foamer cleaning
Foamer cleaning only
On the Care submenu,
touch
foamer cleaning
See steps 6to 12.
Mixer rinsing only
On the Care submenu,
touch
mixer rinsing
Mixer rinsing starts.