Page | 20
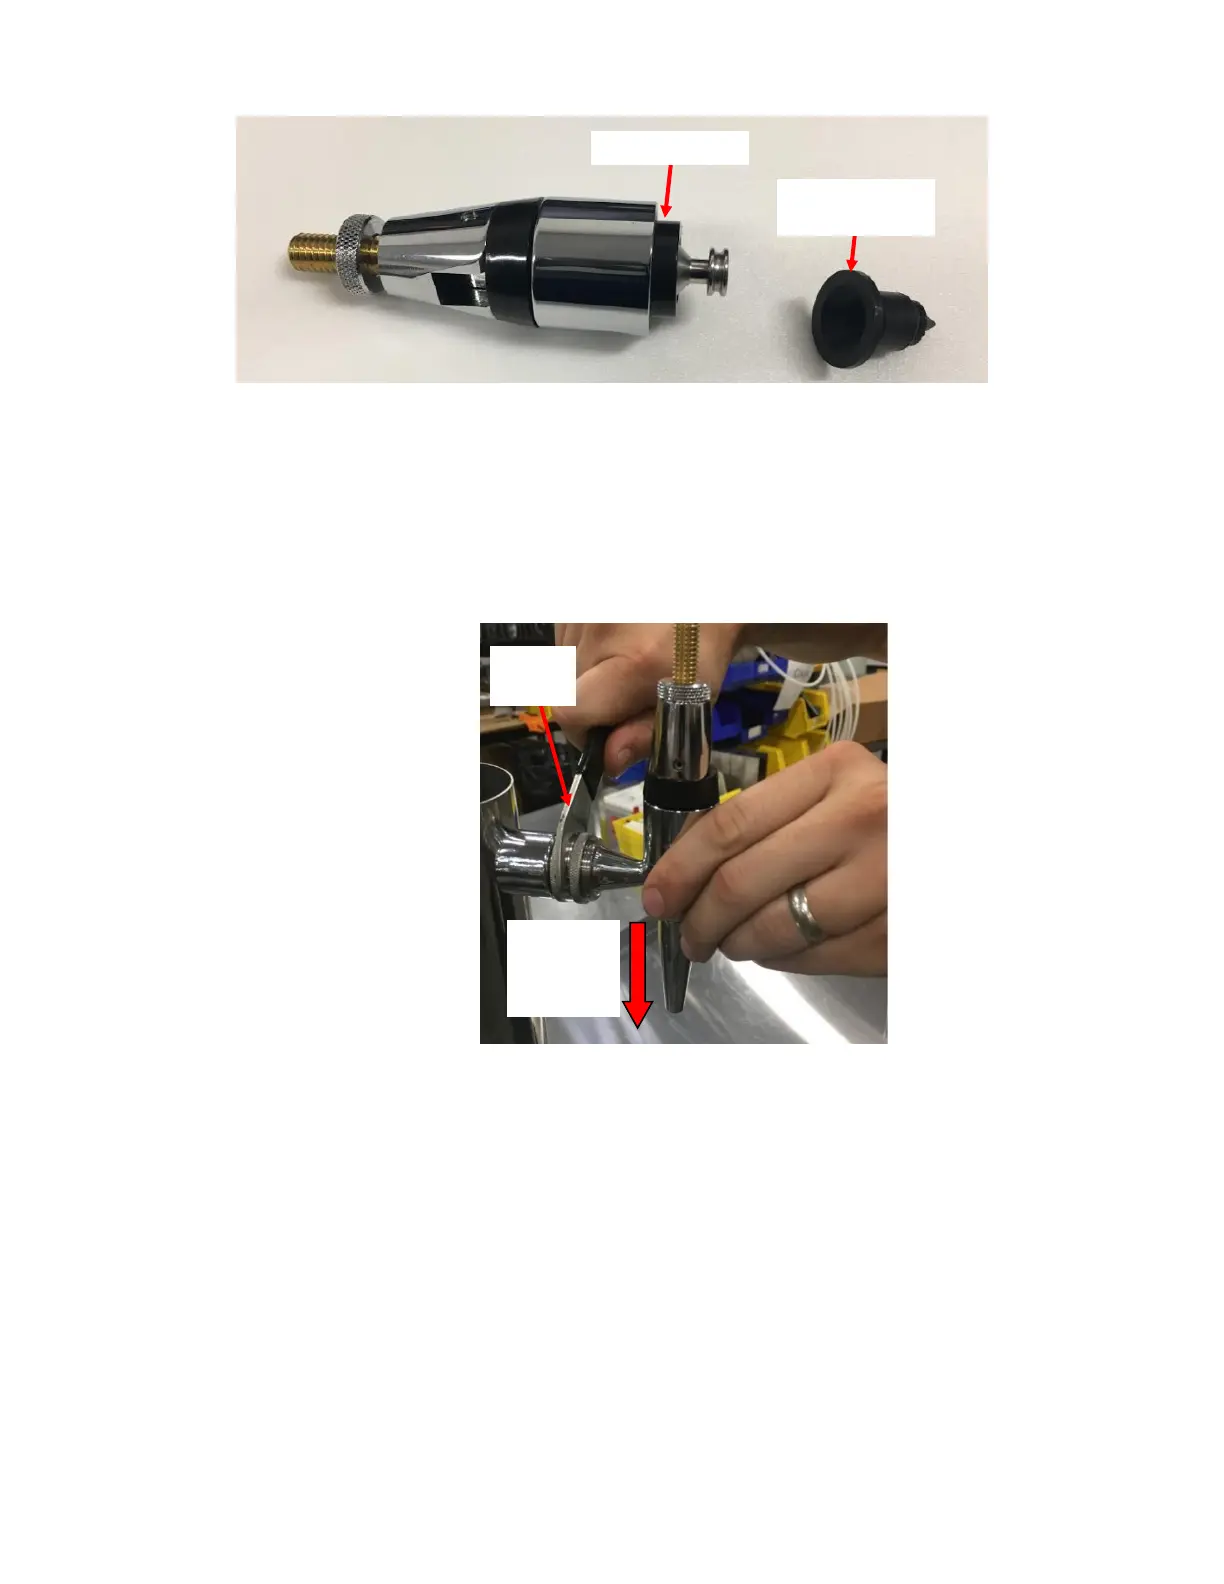
f. Identify and remove the Diaphragm using a flat head screwdriver or a pick. See Figure 39.
g. Replace the Diaphragm with a new diaphragm. Ensure that the Black Plastic Collar inside the Faucet does not
get lost. See Figure 39.
h. Screw the Faucet back together and install it back onto the tower by rotating the Silver Threaded Collar. See
Figure 39. Use the Faucet Wrench to tighten the Faucet securely in place. Ensure that the nozzle opening is
facing downwards. Insert the pin on the Faucet Wrench in the opening on the Shank Nut and apply leverage
to tighten the Shank Nut. See Figure 40.
3. Leak Inside Tower: Refer to Appendix I: Disassembling The Tower to see how to disassemble and reassemble the
Tower if necessary. Refer to Figure 41 to help identify fittings. After a fix, before reassembling the Tower, it is
recommended that you test the tower assembly outside the tower. Hook up a keg filled with water and
pressurize system to verify the leak has stopped. The fittings inside the Tower besides the Check Valve) are not
replaceable parts. If leaks inside the Tower cannot be fixed with existing fittings, replace the entire Tower Tubing
Assembly.