Page | 24
3. First check if leak is inside the Refrigerated space:
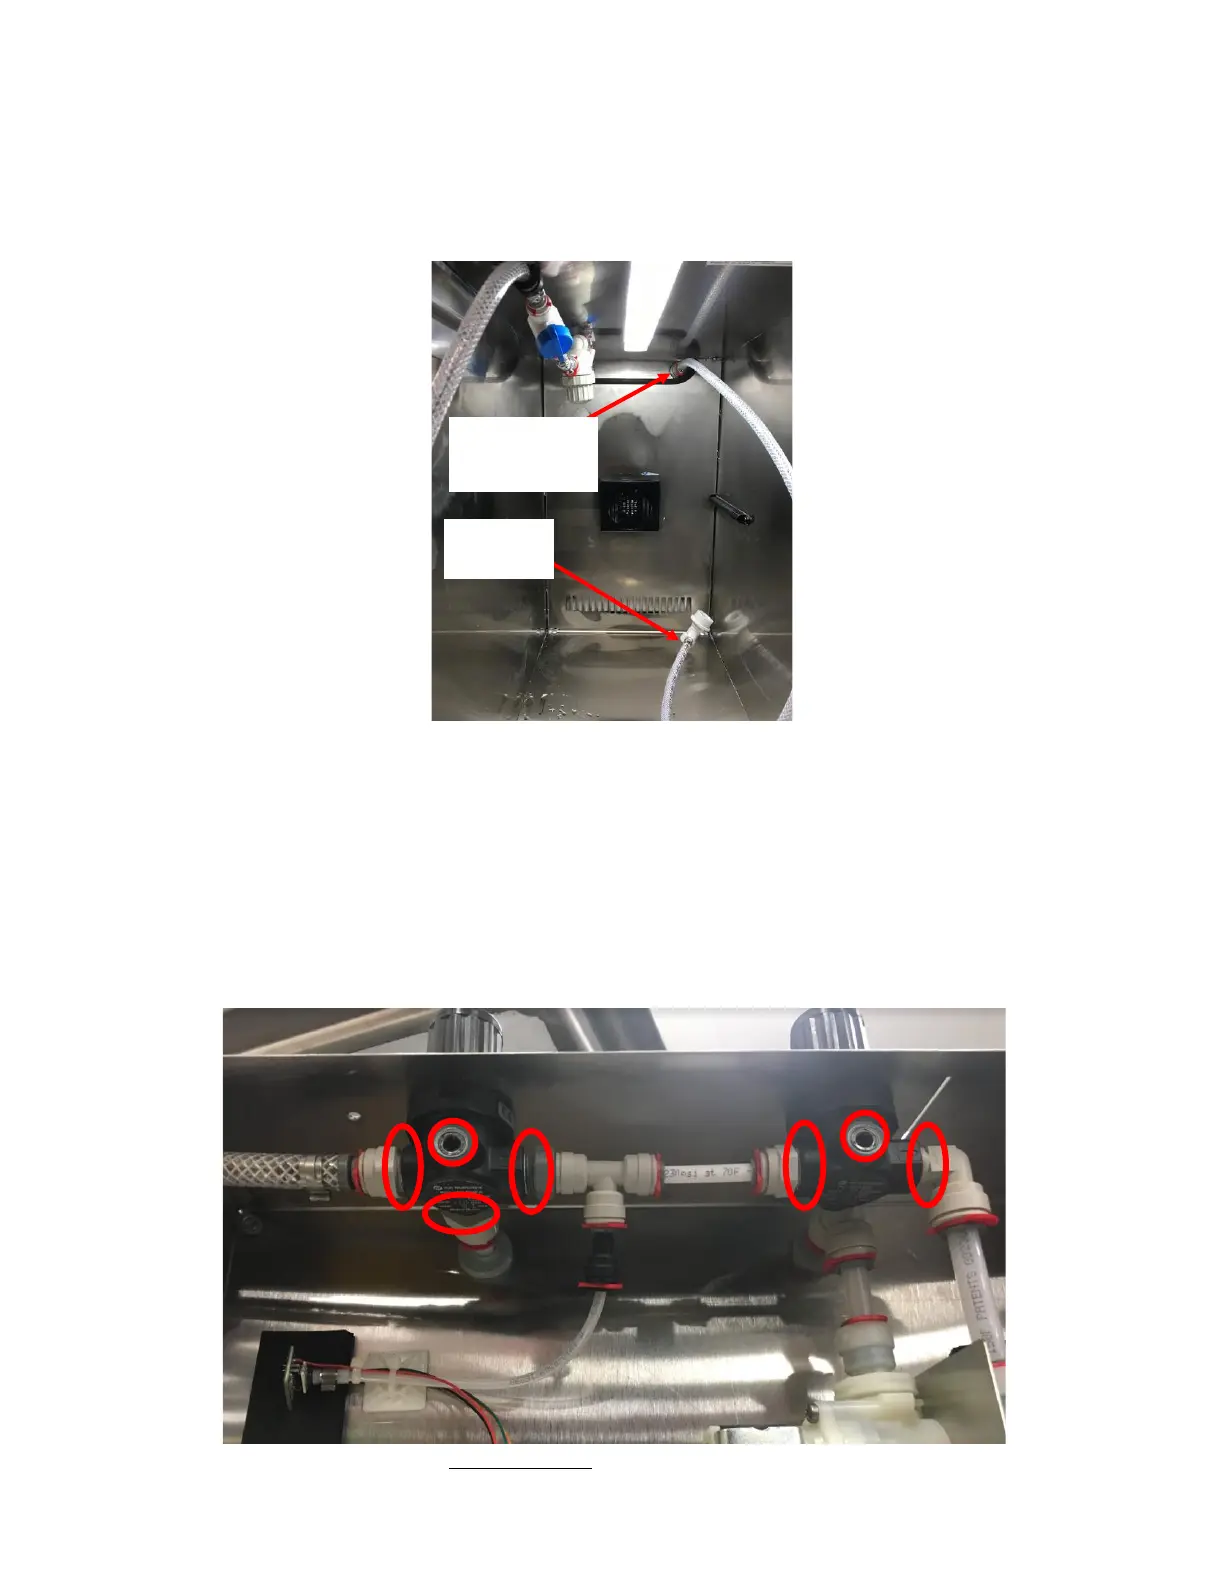
a. Verify if it is the Gray Gas Disconnect fitting that is not the cause by spraying it with soap solution and looking
for bubbles. See Figure 47.
b. Also check both barb connections at the Gray Gas Disconnect Fitting, at the Stem Barb connection at the rear
top area of the Fridge, and the push to connect bulkhead by spraying it with soap solution and looking for
bubbles. See Figure 47.
c. Wipe all connections checked with Soap Water once test is complete.
4. Then apply soap and water to each joint inside the Rear Enclosure starting at the input:
a. Remove Rear Enclosure and Check inside the Rear Enclosure.
b. Spray each connection point with Soap solution and check for bubbles
i. Leak from threaded fittings Pressure Regulator: Remove the Pressure Regulator and replace the fitting.
Apply 3-layers of Teflon tape in clockwise direction and tighten the fitting to proper torque setting. Refer to
Appendix B: John Guest Torque Settings for proper Torque Setting. See Figure 48. Wipe all connections
checked with Soap Water once test is complete.