Page | 72
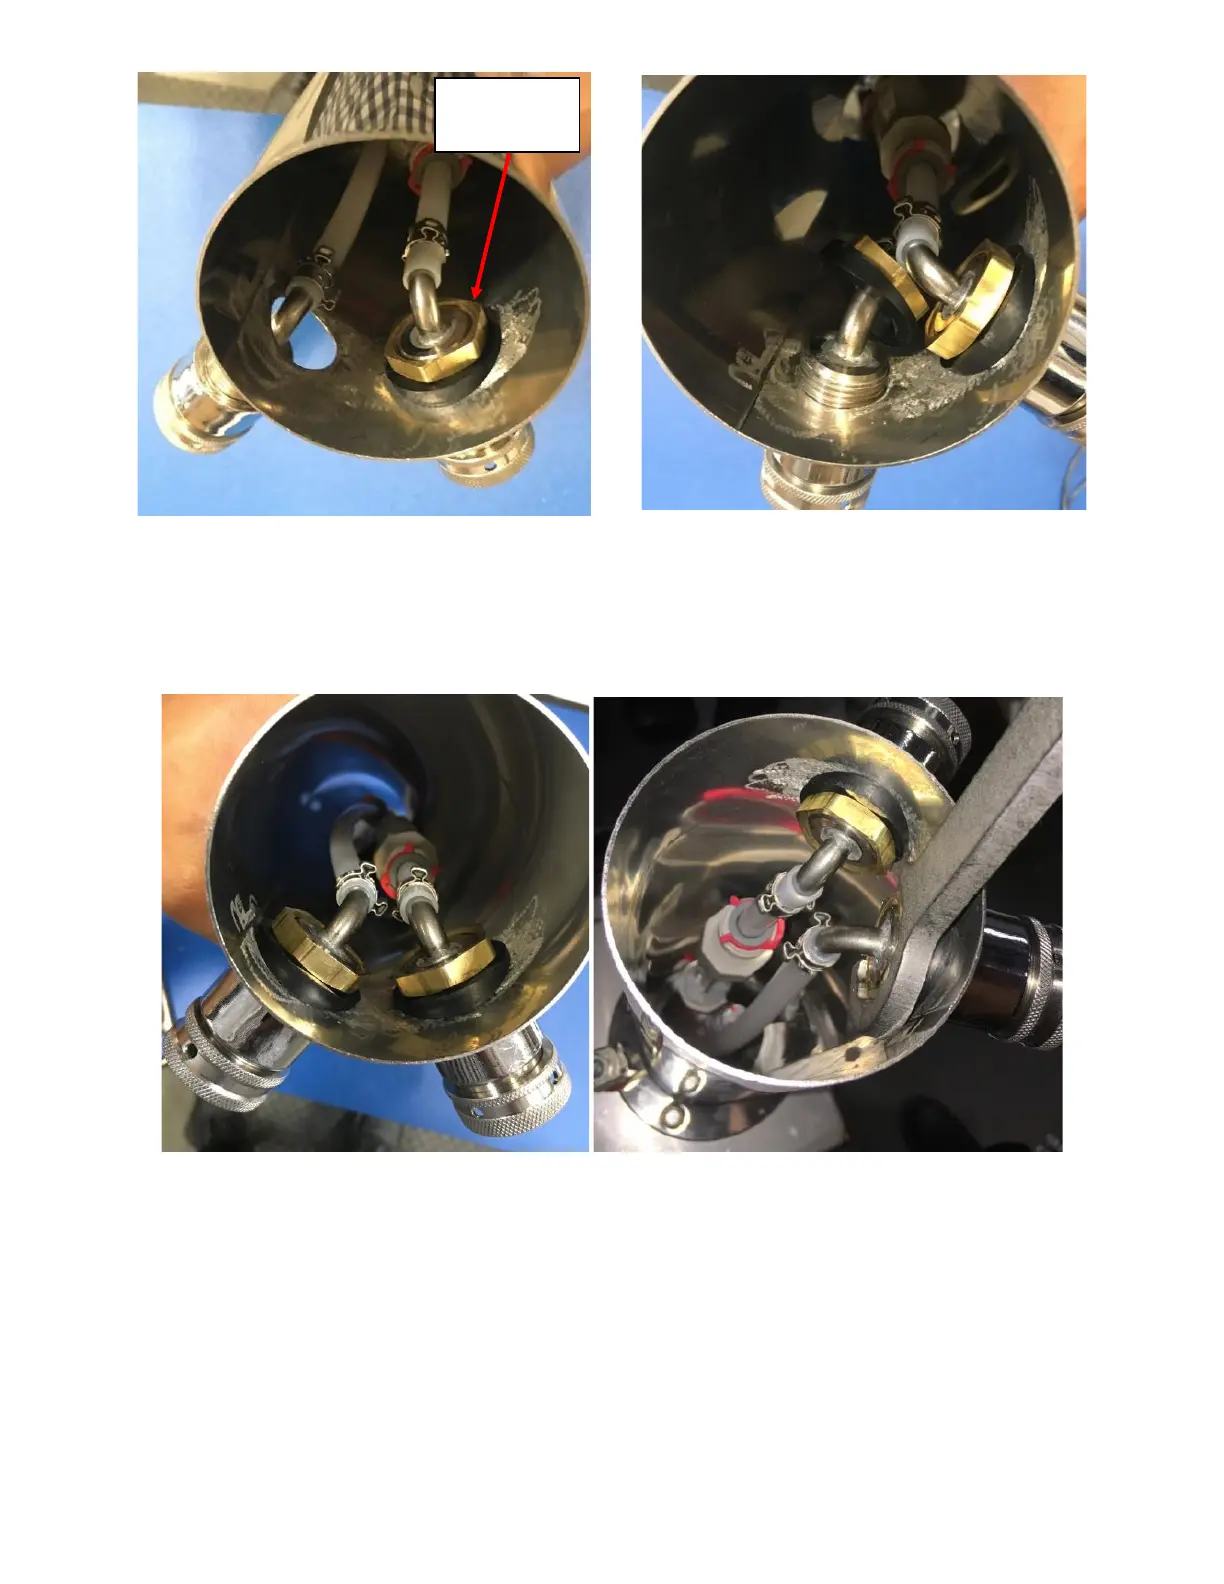
4.4.3. Turn the Tower upside down to get the Black Plastic Washer and Lock Nut to the threaded portion of the
Elbow Shank and hand tighten the Lock Nut onto the Elbow Shank. See Figure H31.
4.4.4. Secure/tighten the Lock Nut on both the Elbow Shanks with provided Flare wrench. Ensure that the tubes
do not get bent during the procedure. See Figure H32.
4.5. Place the threaded end of the faucet onto the right elbow shank and rotate the nut on the shank to hand tighten
it. Cut the Bolts to length if necessary. See Figure H33.
4.6. Use the wrench to tighten the faucet securely. Ensure that the nozzle opening is facing downwards. Repeat for the
faucet on the left. See Figure H34.