EasyManua.ls Logo

Wunder-Bar JoeTap NITCOM - Page 71

Default Icon
95 pages
Print Icon
To Next Page IconTo Next Page
To Previous Page IconTo Previous Page
Loading...
Page | 71
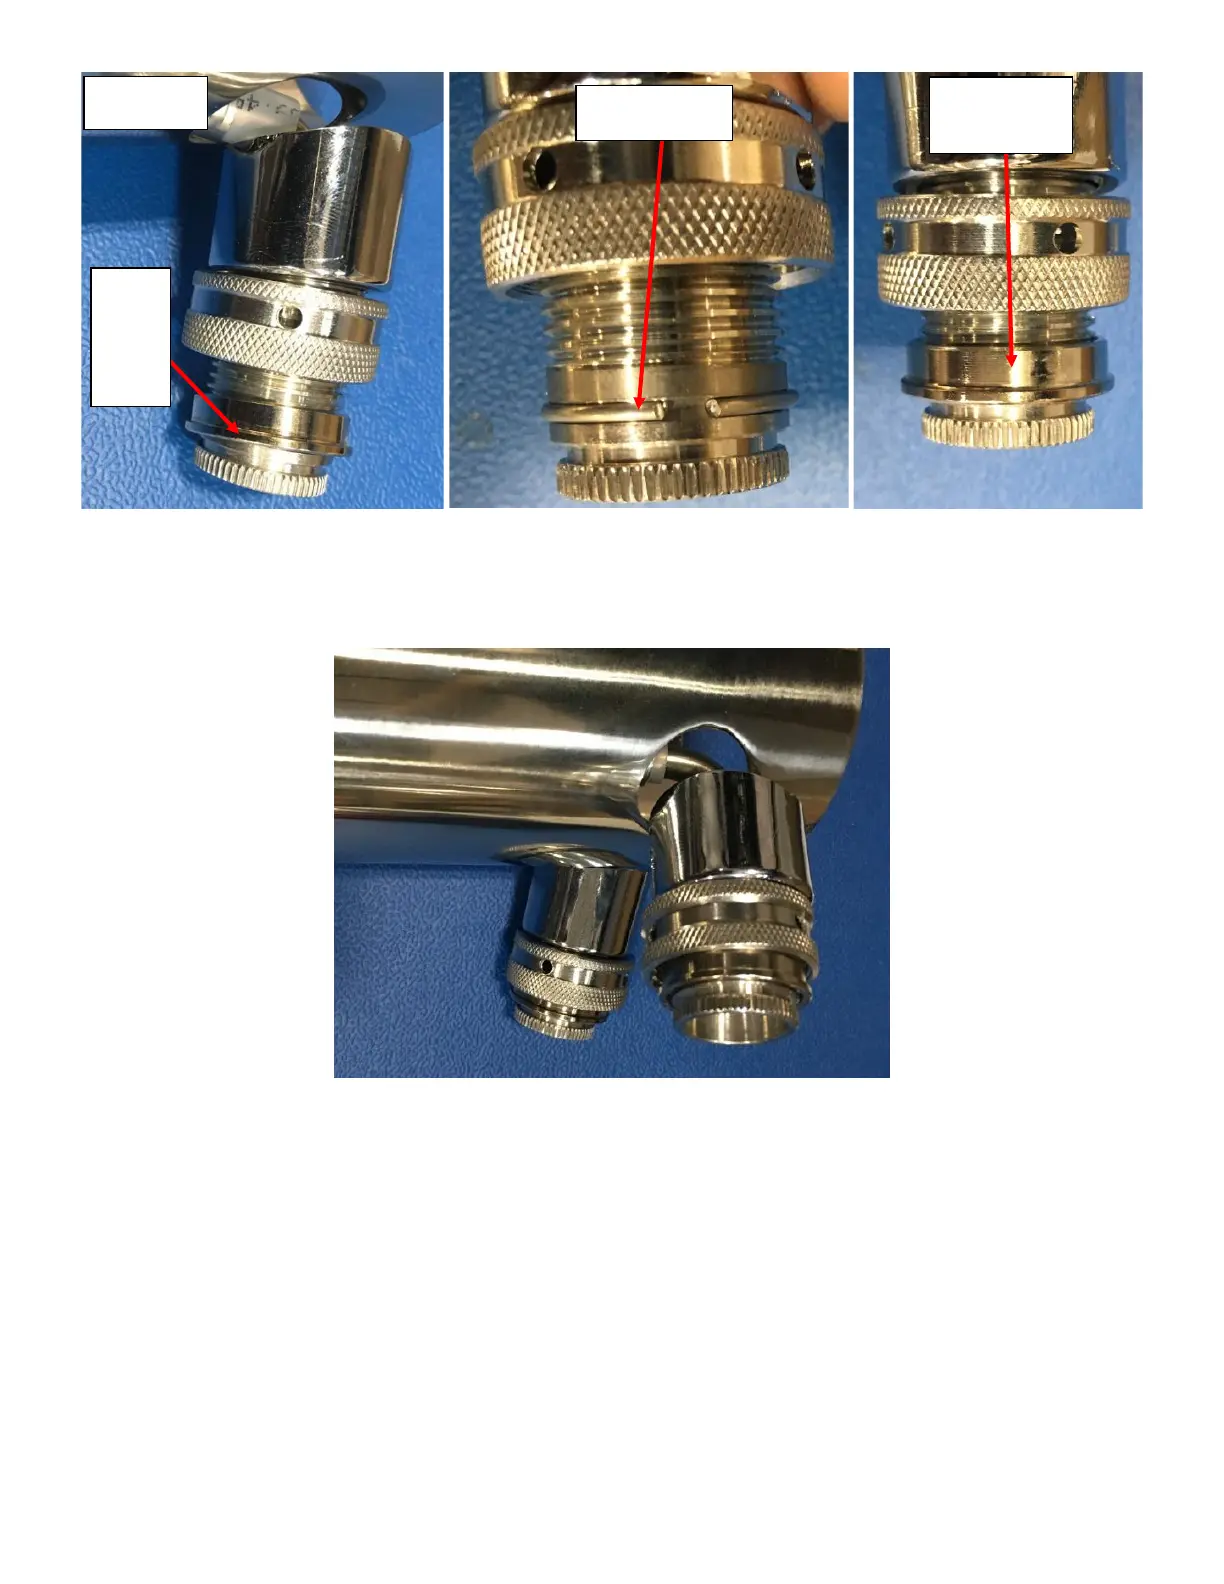
4.3.7. Repeat all the steps from 5.6.1 to 5.6.9 on the other Elbow Shank so both Elbow Shanks are fully
Reassembled. See Figure H28.
4.4. Secure the Elbow Shanks in Place:
4.4.1. Turn the Tower upside down to get the Black Plastic Washer and Lock Nut to the threaded portion of the
Elbow Shank and hand tighten the Lock Nut onto the Elbow Shank. See Figure H29.
4.4.2. Push the Threaded end of the Elbow Shank with the 10.5-inch tubing attached to it into the Left Hole in the
Tower. See Figure H30.
Figure H25: Elbow Shank Collar inserted over
Elbow Shank.
Figure H26: Snap Ring in Second Groove
Figure H27: Elbow Shank Collar over
the Snap Ring.
Figure H28: Both Elbow Shanks fully assembled.
Thick
End of
Collar
away
from
tower
Snap Ring in
SECOND GROOVE
Elbow Shank
Collar over Snap
Ring
Tower Body

Table of Contents

Related product manuals