Insulation Blowing Machine M99
Page 26 of 51
X-Floc Dämmtechnik-Maschinen GmbH
Rosine-Starz-Straße 12 · 71272 Renningen · Germany
Phone +49-7159-80470-30 · Fax -40 | info@x-floc.com · www.x-floc.com
WARNING!
Warning of danger of injury!
There is a greater risk of injury when gripping the machine’s hopper extension [1] and the
hopper [3] and when the insulation material is contaminated with foreign objects. Foreign
objects can damage machine parts and may be ejected out of the machine uncontrollably.
When filling the machine, during initial operation and all other operations, never grip the
hopper extension or the hopper!
Never grip in the conditioning unit [9]!
Make sure that no foreign objects reach the machine!
1
When using a sack support [16] (see chapter 7.1.1), place it on top of the hopper extension [1] as
seen in figure 2, chapter 3.1.
2
Connect the control and conveyor line as seen in chapter 4.1. Keep the conveyor line ready.
KFB
3: Set the toggle switch [32] to position Material [33] and activate the air and material flow.
FFB
400: Activate air and material flow by pressing the Material [38] button.
3
Open the insulation bales, get rid of the packaging material and put the insulation material into
the hopper extension. When using the sack support, place the insulation bales on top of the sack
support, get rid of the packaging material and push the insulation material into the hopper
extension.
4
When operating the insulation blowing machine M99, we recommend the first insulation bales be
put into the machine in small pieces and loosened using the conditioning unit maintenance button
S1/S2 [26]..
5
Blow the transported insulation material with the conveyor line at the desired place. If required,
increase or reduce the air and material flow volume, see chapter 5.1.2. and 5.2.2.
6
Alternatively, the material flow can be adjusted manually using the airlock feed gate, see
chapter 5.4.
7
M99/M99-DS: The blower power should be set using the blower power selector R1 [23].
The additional blower can be turned on (M2, M3) or off (M2) using the blower selector switch Q2
[20]. M99-DS-Pro: Set the blower power directly using the radio remote control FFB
2000-Pro.
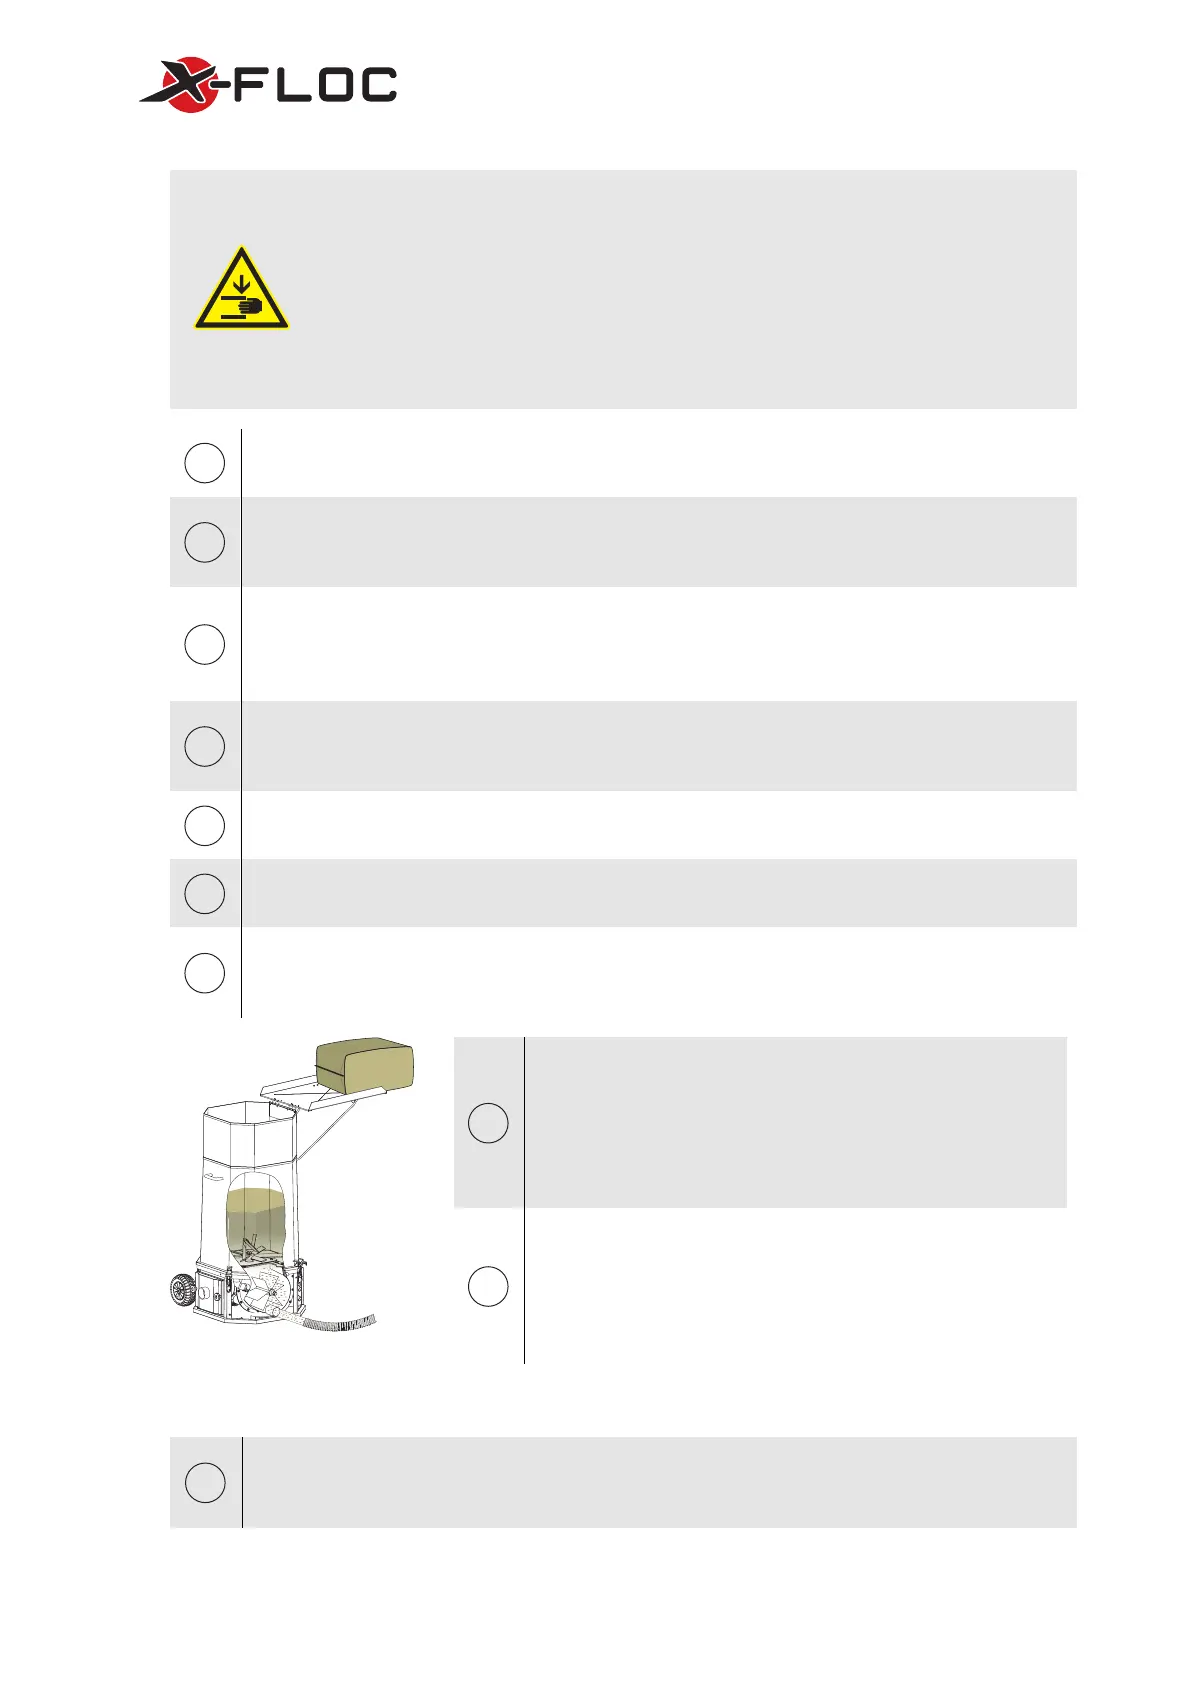
Figure 21: Minimum filling level
8
For processing hard and/or long-fibred unidimensional
aligned insulation material, or for increasing power, an
additional amplifier and vacuum station can be used. For
more information, please contact customer service or refer to
the Amplifier /Vacuum Station VS28/VS33 operating
instructions.
9
Put in the insulation material bales into the hopper extension in
regular intervals. Continue the blowing process. In order to
guarantee a flawless operation, the conditioning unit [9]
should always be sufficiently filled with insulation material
(minimum filling level).
5.7.4 Decommissioning
10
When decommissioning the insulation blowing machine, ensure that the remaining insulation
material from the hopper and the conveyor line is blown out. Set the main switch Q1 [19] to
position “0”. Pull out the net adaptor.
 Loading...